Blog
Make an iPad Arcade (Tablet Arcade) FAIL
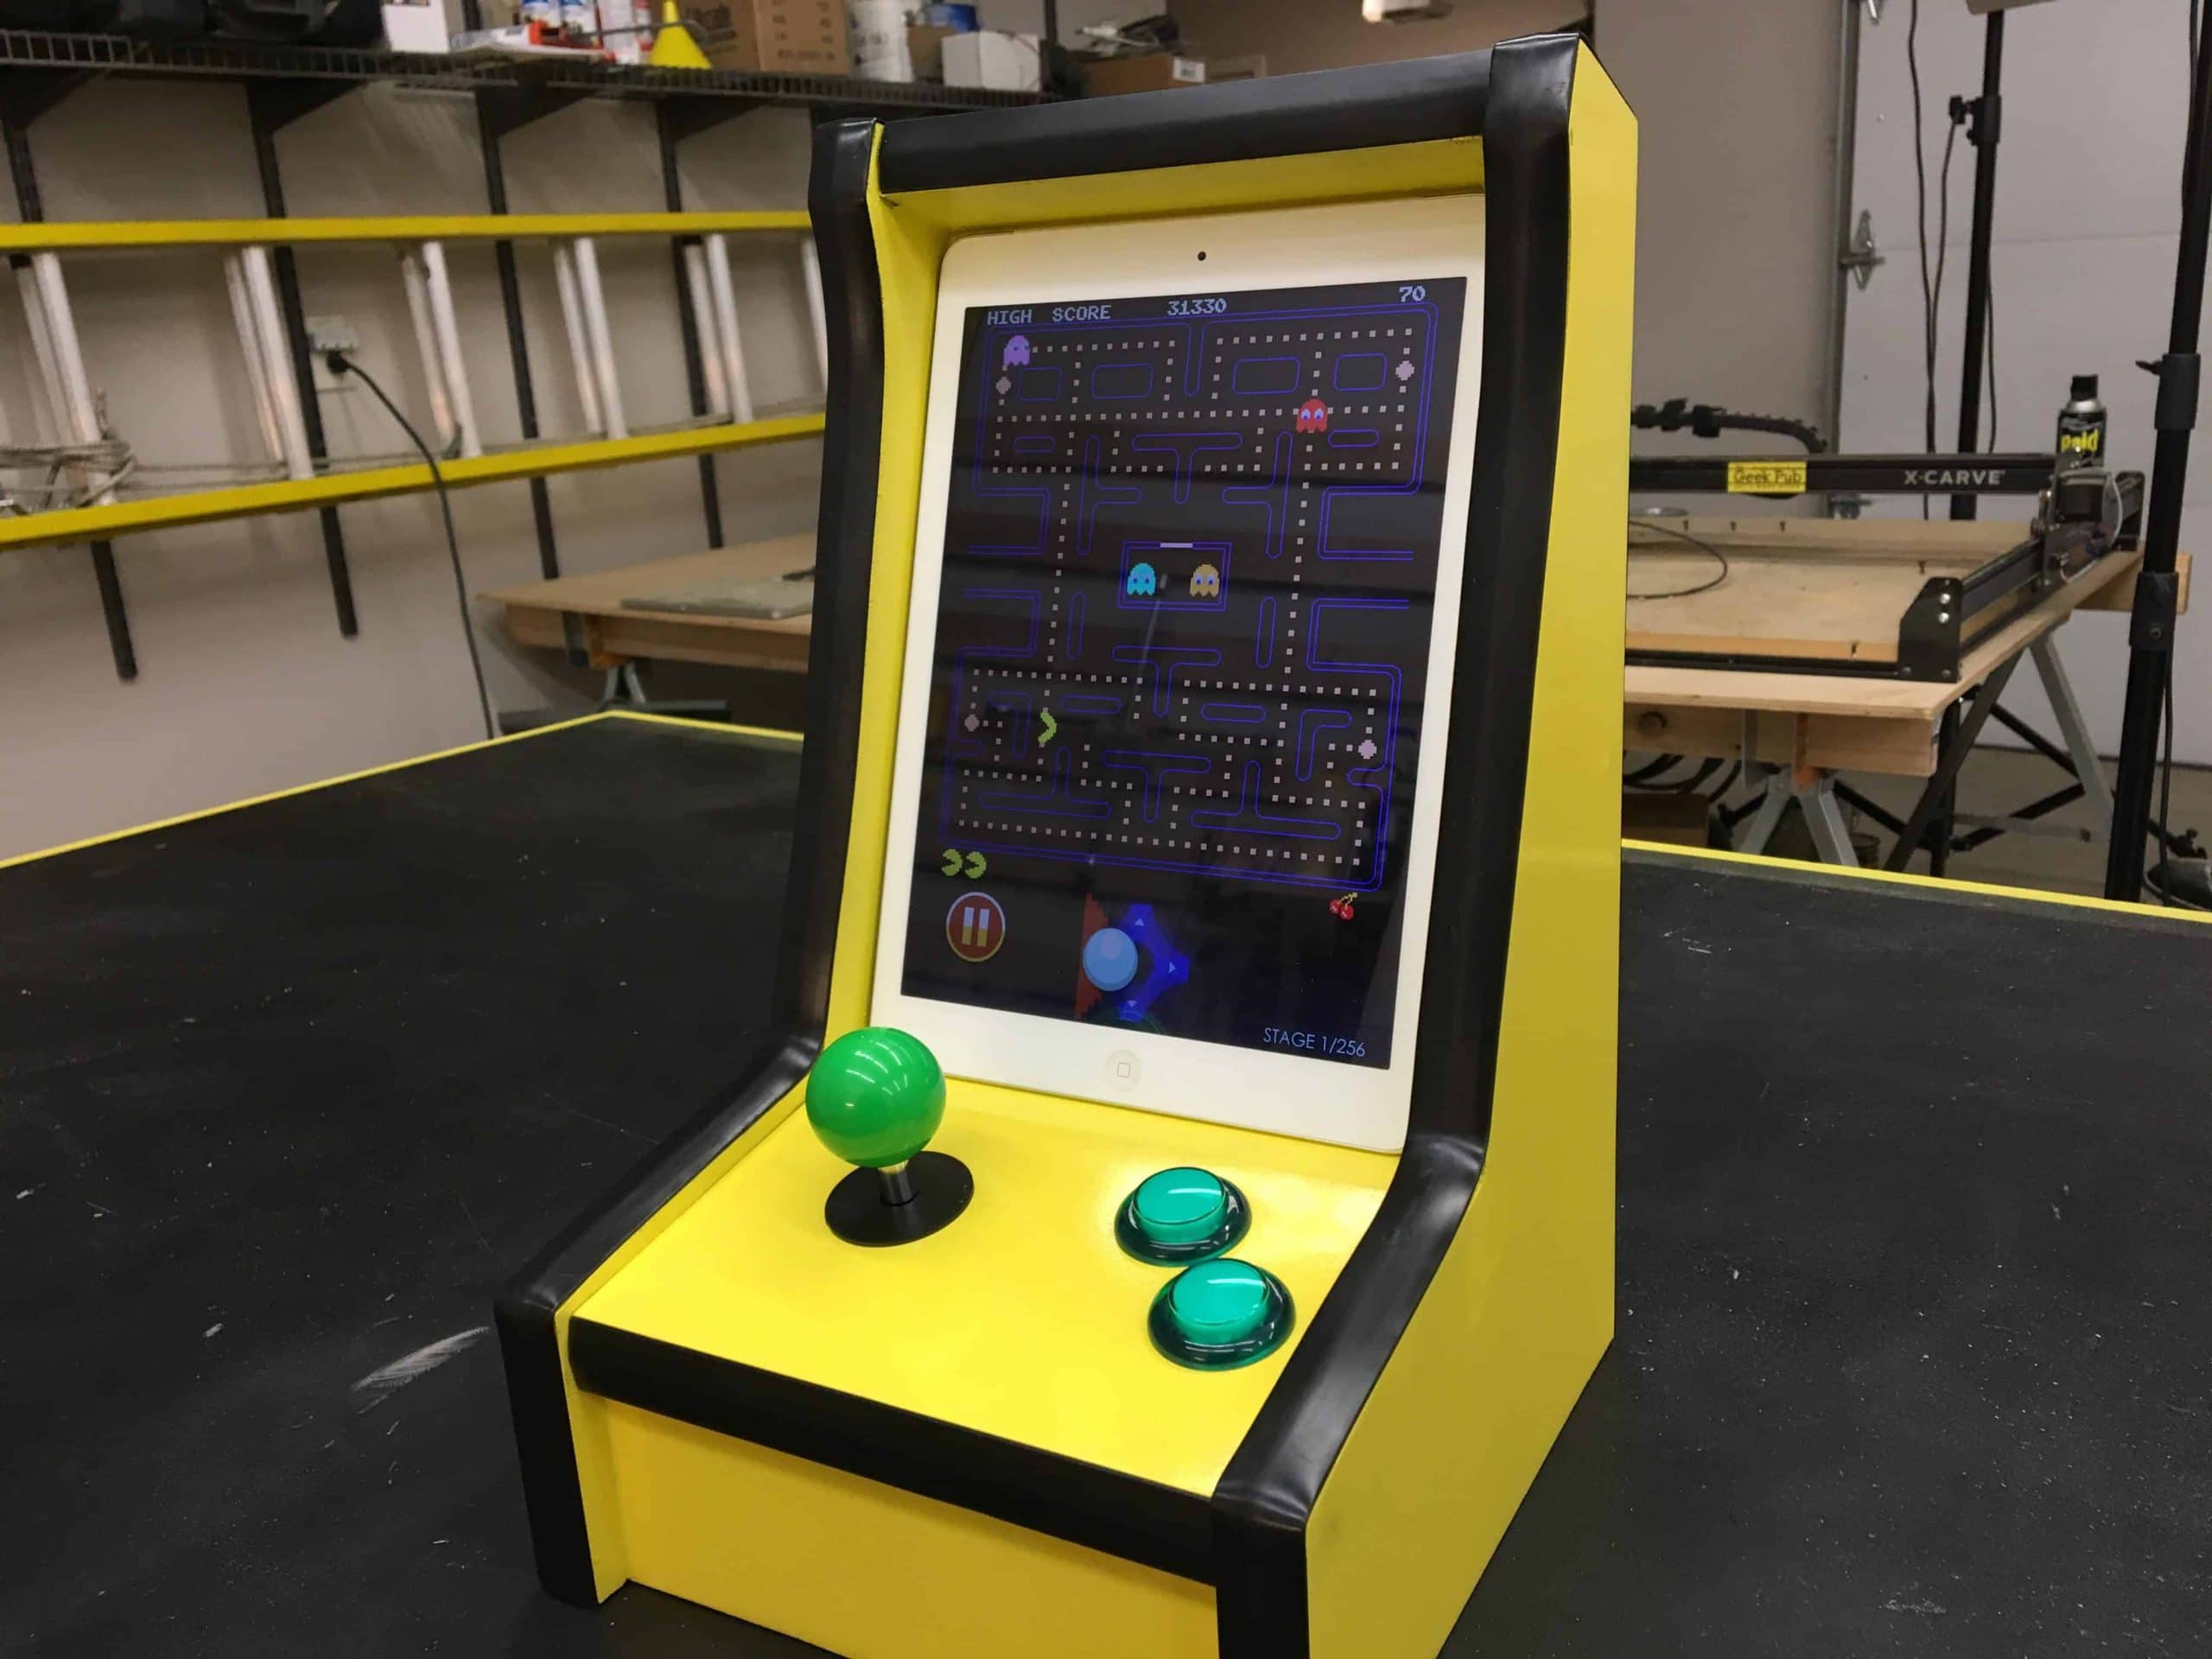
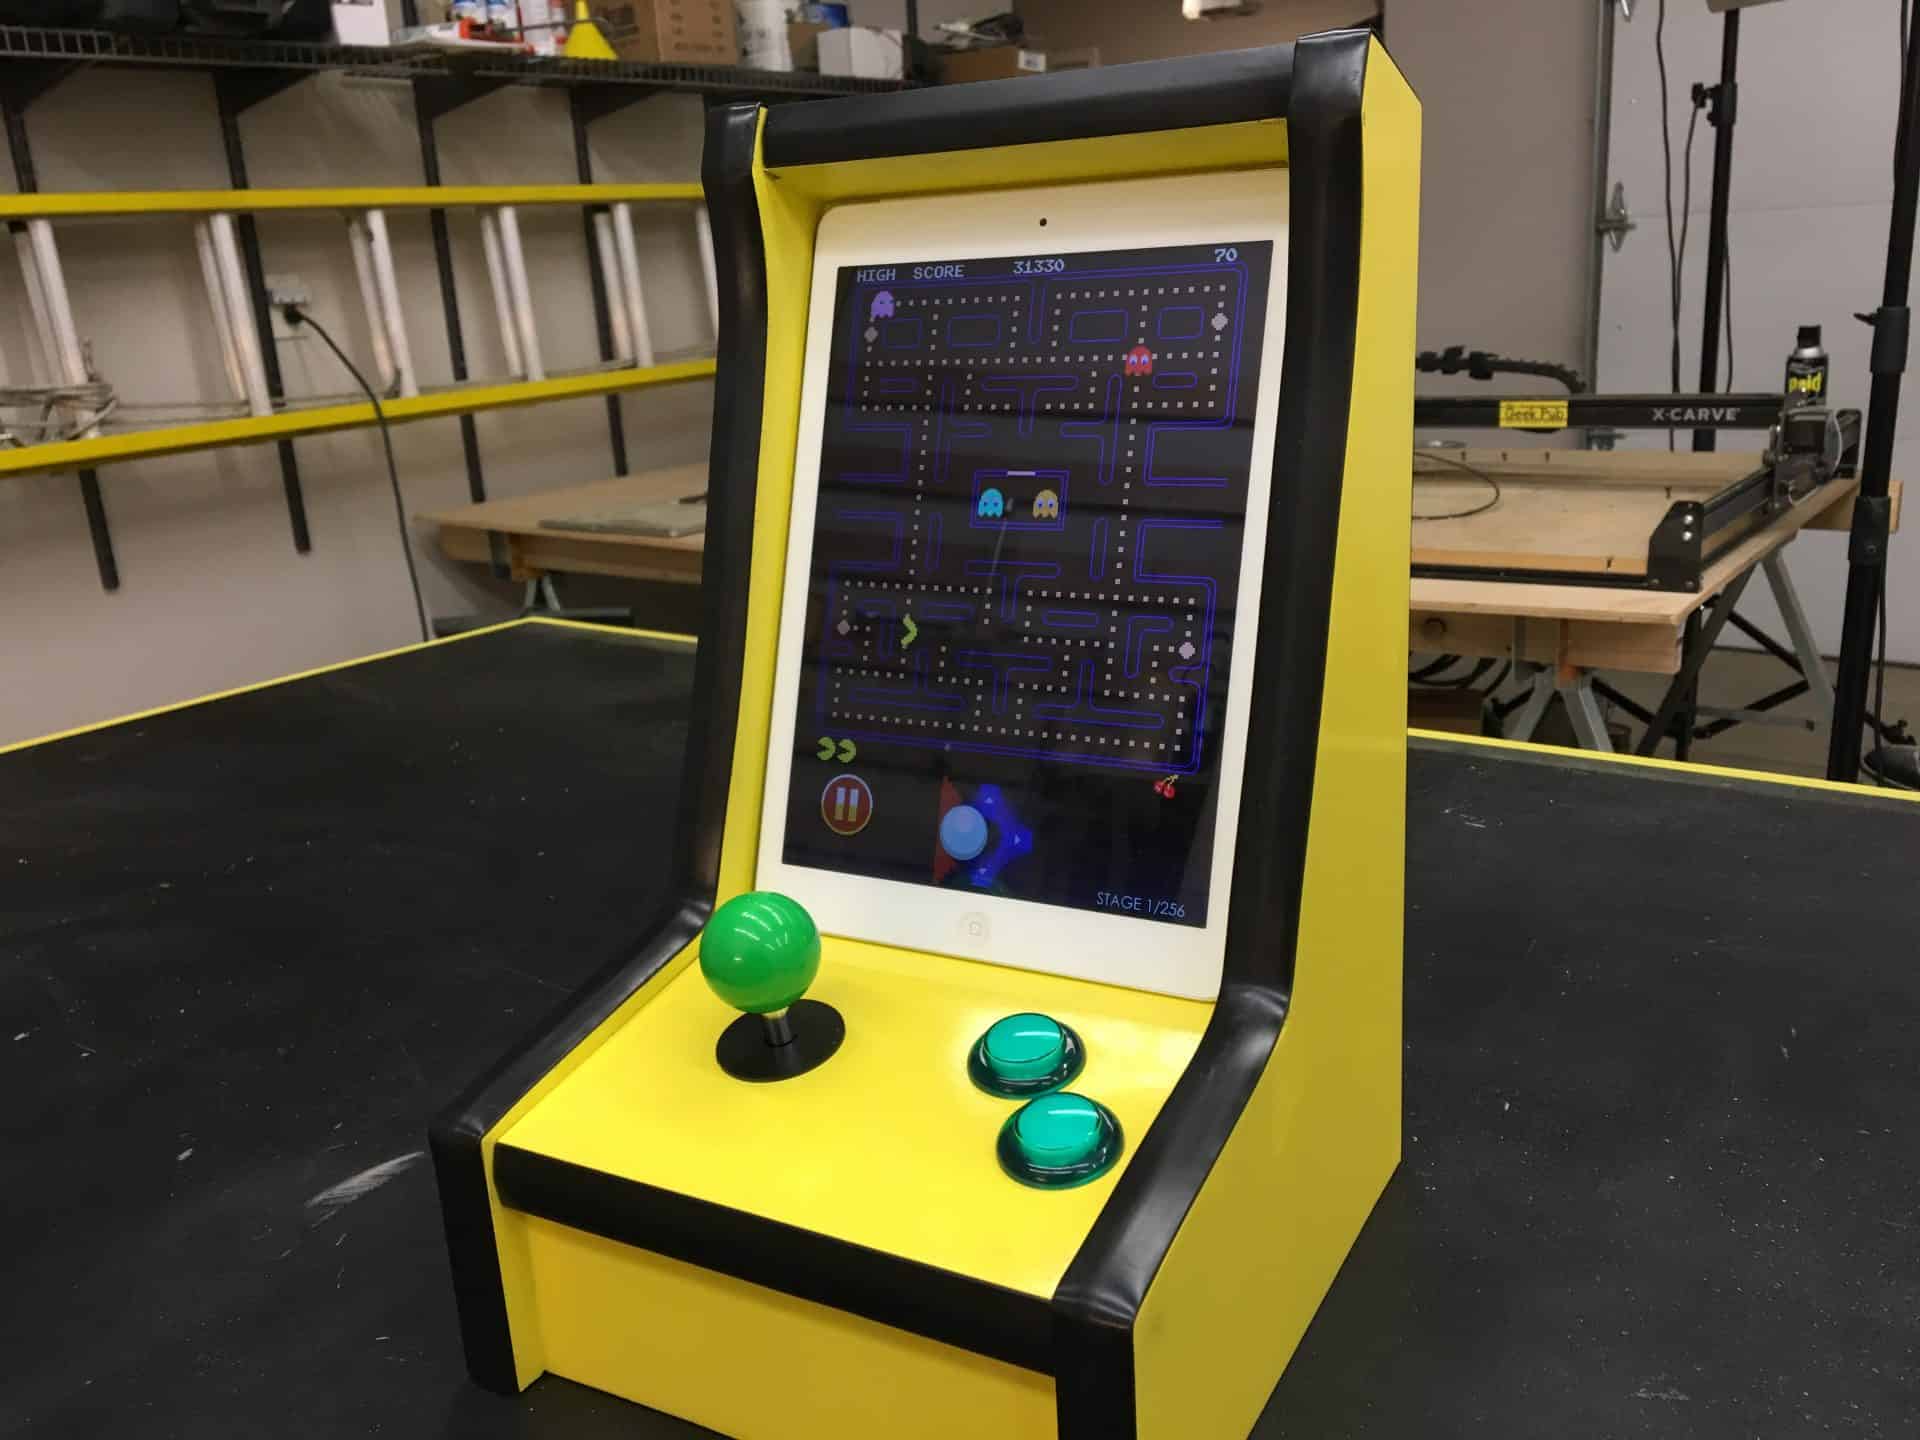
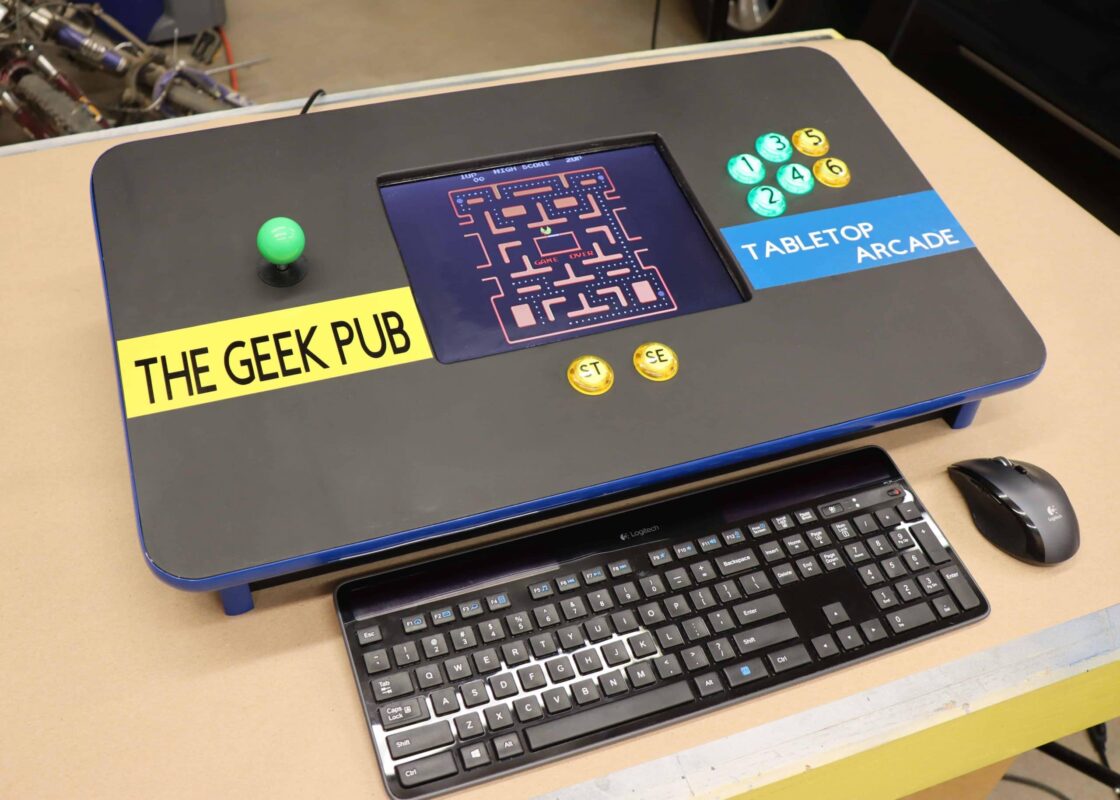
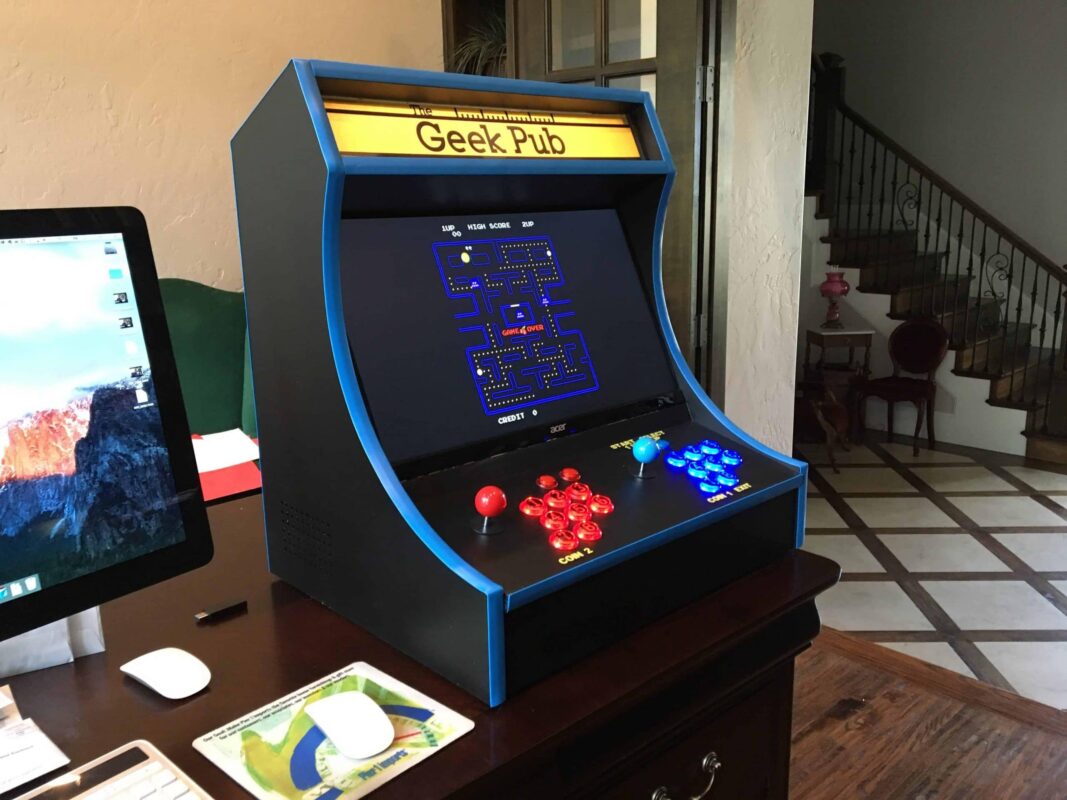
[adinserter name=”TopOfPost”]My arcade projects are some of the funnest projects I have done, and my fans have told me the same! Many of my loyal fans have built their own versions of my full-size arcade cabinet and my bartop arcade cabinet. Some of my fans though have been clear that one of these cabinets is just out of their reach for a number or reasons. Either they just can’t afford to build it, or they don’t have a place in their home to put it. Some of you have asked me to build smaller versions of the cabinet. Well today we’re building a smaller one alright! We’re building an iPad arcade! Now to be honest you can put any tablet in it you want, Apple, Android, Microsoft, etc! So follow along as we build this awesome micro-arcade!
Making an iPad Arcade
The great thing about using a tablet to make an arcade is that its super tiny! You can literally put this thing anywhere! On your kitchen cabinet, nightstand, or even your desk at work! The iPad arcade is also incredibly simple to build. It’s small, its affordable, and it connects Bluetooth to your iPad so you don’t even need any cables to make it work!
Watch the iPad Arcade Video
Building the Tablet Arcade
If you want to build your own tablet arcade, follow along with these steps and I’ll show you how. You can also download a set of plans from my website if you need some help.
Step 1: Cut out the Parts
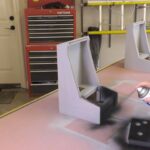
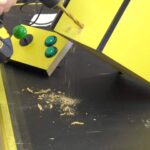
Using a handheld saw and a jigsaw, cut out all of the sections of MDF needed to make the iPad Tablet Arcade.
Step 2: Add the T-Molding Slots
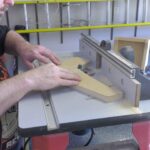
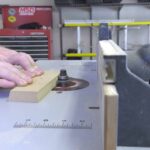
The T-Molding slots must be done before assembly, as the bit will not reach all of the sections after glue up.
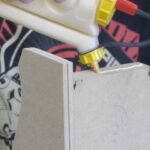
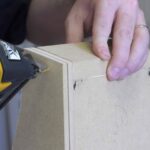
Step 3: Glue it Up!
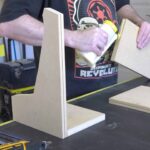
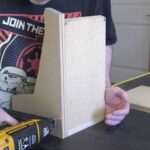
Use a brad nailer and wood glue to glue up the tablet. If you don’t have these, just use wood screws.
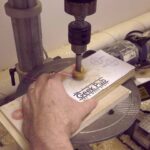
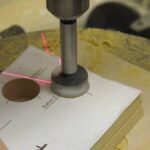
Step 4: Drill the Control Panel
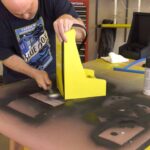
Using the template from the The Geek Pub, drill out the control panel using a Forstner bit. A paddle bit will work in a pinch. Always use a backer board to prevent blow out.
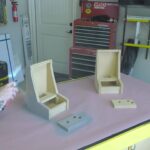
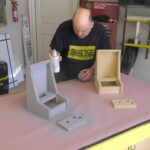
Step 5: Prime the iPad Arcade
I really like to use filler primer. In fact, I have a video about filler primer for guild members.
Step 6: Paint the iPad Arcade
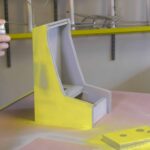
I used three coats of paint after a light sanding. Apply these coats about 7 or 8 minutes apart from each other.
Step 7: Install the T-Molding
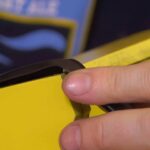
Use a rubber mallet to install the t-molding into the t-slots.
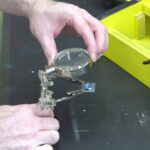
Step 8: Wire the USB to the AdaFruit
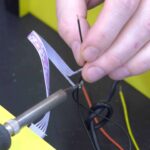
Cut the end off of on old USB cable and use the red and black wires to attach to the ground and voltage in on the Adafruit. Cover the unused wires with heatshrink tubing.
Step 9: Wire the Controls to the AdaFruit
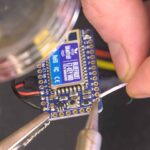
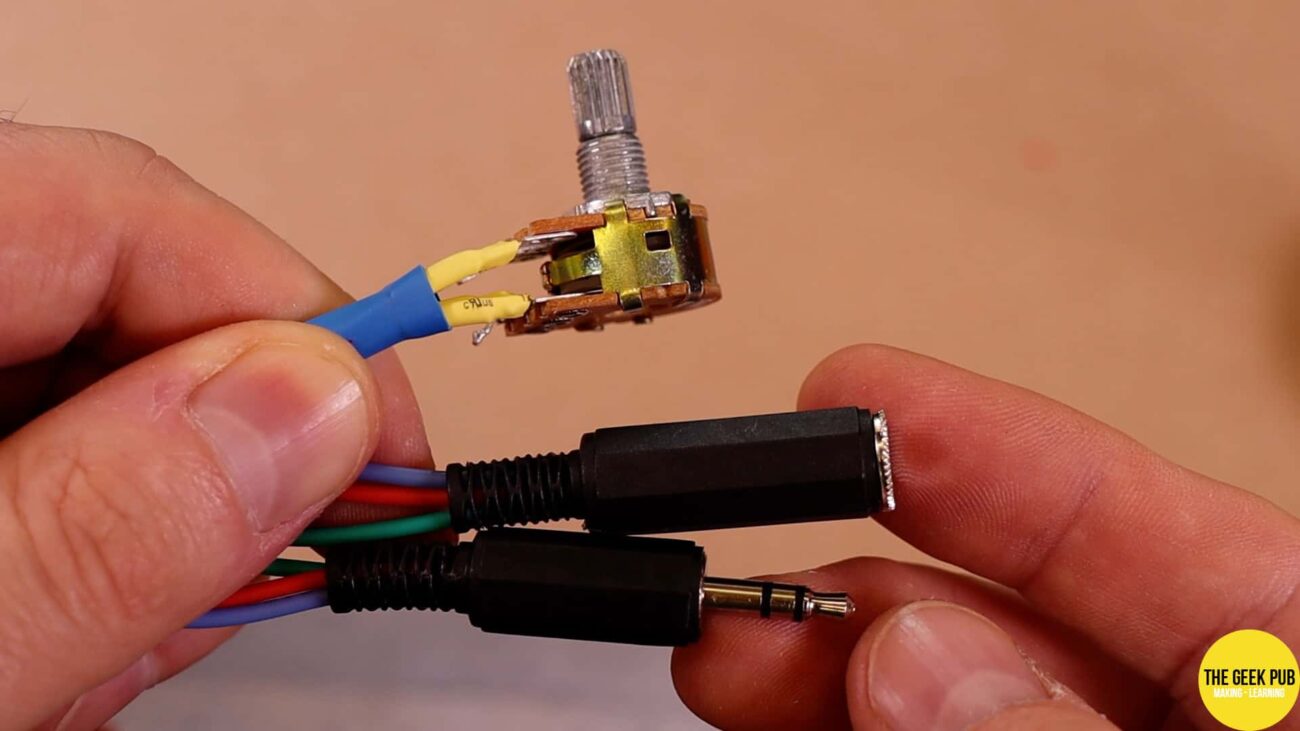
Connect all of the grounds from the buttons and joysticks together and wire those to the ground terminal on the Adafruit. Then connect each button and jokstick position to a pin on the Adafruit.
Step 10: FAIL
Well after all of that work, this project turned out to be a complete fail. Due to the way that the iPad integrates with keyboards (you can’t send up/down, etc and you have to use a key down and a key up event which the Adafruit can not do) I am unable to make this configuration work. I could easily make this work with an Android or Windows tablet. So at some point in the future I will pick up a device and finish this project. For now, I just can’t spend anymore time on it. There is also the option of adding an Arduino as a middle man and having it do the key presses. I just don’t have time to spend hours writing the scripts.






Have you seen the I-CADE, I think it uses normal keys do the joystick controls, search for I-cade enable games. I can send you which keys are send for each movement.
I think is one for activation (UP) and another for deactivation (NO UP) , one pair for each direction, I guess this can be done with the Adafruit b/c those are normal keys.
3
I think it is awesome that you showed this, even though it was a fail. It helps other of us learn from your mistakes!
0.5