Blog
How to use Digital Calipers (The Right Way)
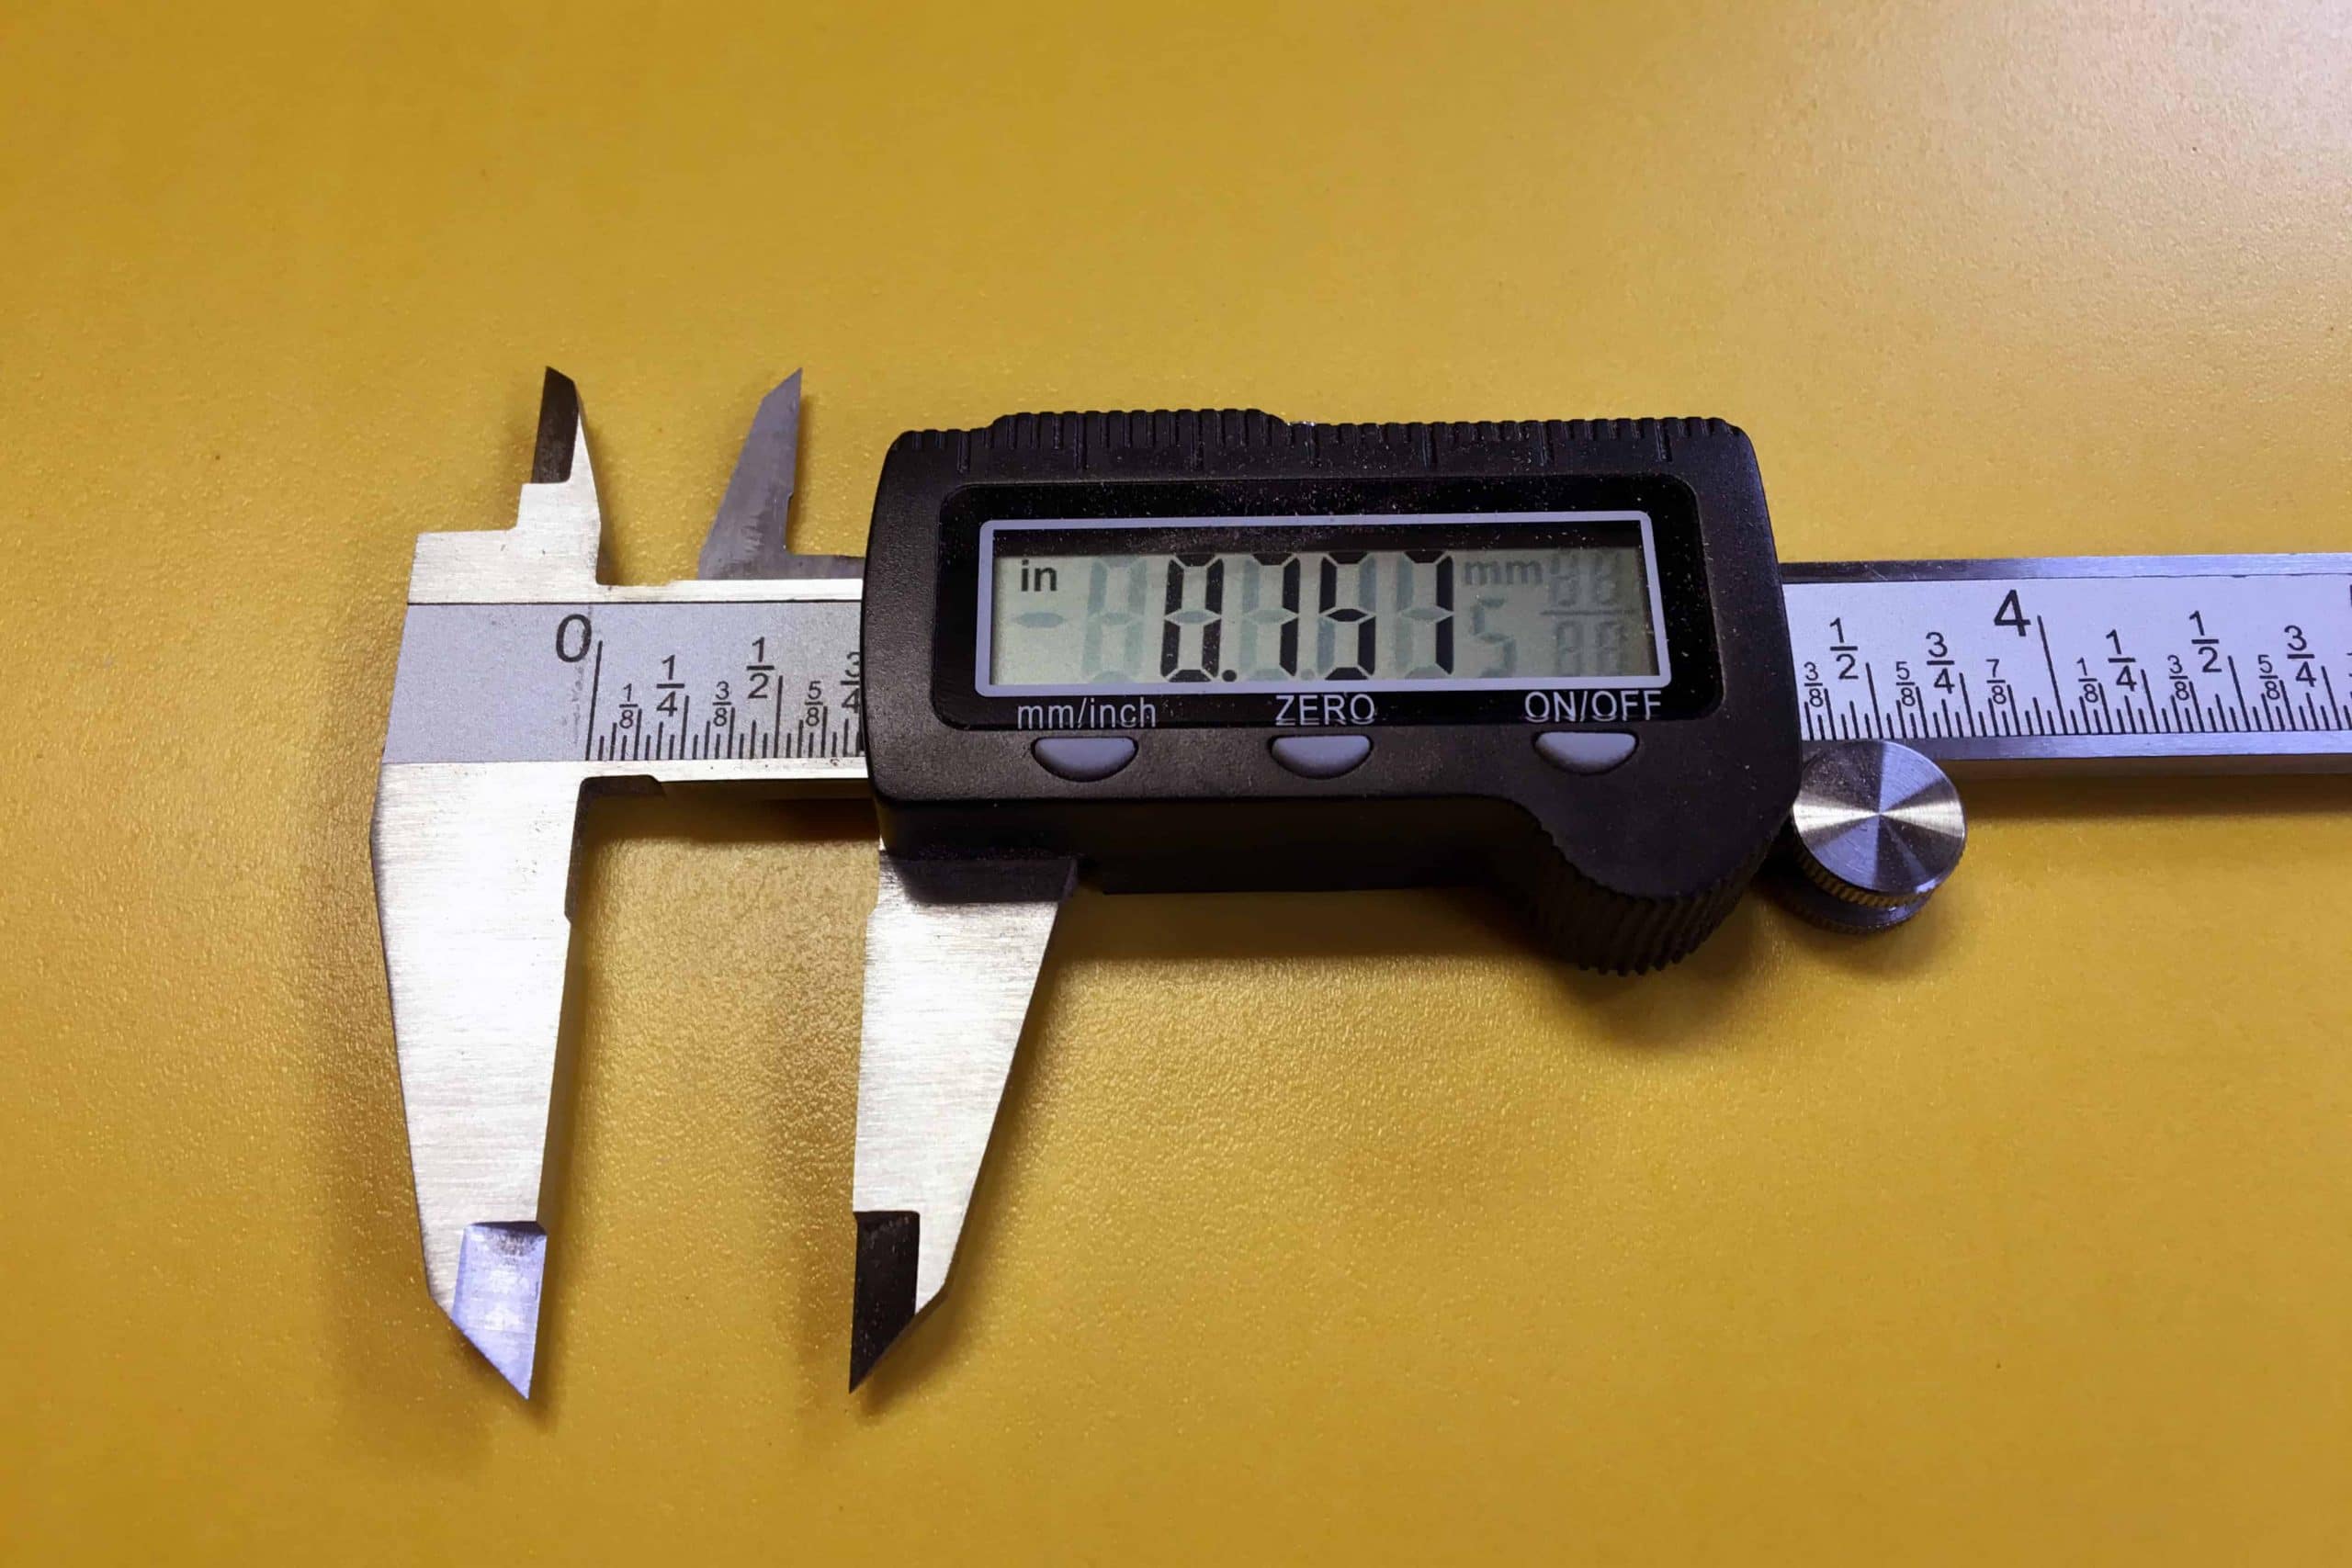
[adinserter name=”TopOfPost”]A set of digital calipers are just about mandatory for any workshop. Even a small shop or just someone who is a tinkerer is going to want a set. Digital calipers can be had in several variations, but the most common style is known as Vernier Calipers. Before they were digital, vernier calipers either had a sliding scale or a dial indicator. Regardless, they are very functional and provide not one, but five different ways to measure an object. In its most exact definition, calipers are designed to measure the distance between two opposite sides of an object. Most digital calipers measure down to three decimal places (1000th of an inch, or millimeter), although some high end calipers will measure even smaller increments. Calipers can be purchased that have an imperial scale, a metric scale, or most commonly both scales.
If you don’t have a set, then you need to head on over to your local woodworking store, home improvement store, or Amazon.com and order a set. No workshop should be without! So now that you know you need one, let’s talk about how to use them; the right way!
The Right Way to use Digital Calipers
There are five different yet distinct ways to measure something with digital calipers.
- Outside Measurement using the large jaws.
- Inside Measurement using the small jaws.
- Depth Measurement using the depth gauge.
- Step Measurement using the head of the calipers.
- Difference Measurement using any jaw and a reset of the zero position.
So let’s a take a minute to break this down and talk about each way. You’ll be using your digital calipers the right way in no time!
Outside Measurements
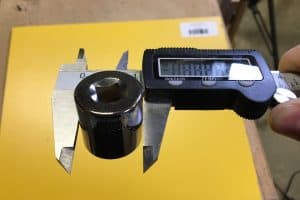 The large jaws on your digital calipers are for measuring the outside dimensions of an object. This could be a bolt head, a dowel rod, a section of lumber, a part you’re machining, or even to help you check your wood-turning dimensions! To measure the outside dimensions first close the calipers. Press the zero button to re-calibrate the calipers from any previous uses. Then open the calipers and place the large jaws around the object. Use the thumbscrew on the caliper to slowly close the jaws until firm contact has been made with both jaws. Read the measurement on the indicator. That’s all there is to it.
Inside Measurements
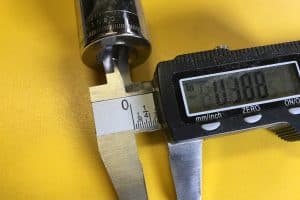 The smaller jaws on your digital calipers are for measuring the inside dimensions of an object. Examples of inside dimensions would be the inside hole of a washer, the diameter of an existing hole to determine which drill bit or bolt diameter to use, the distance between fins on a radiator, or the space between the keys on your computer keyboard. To measure the inside diameter, once again close your calipers. With each new measurement operation it is always a good idea to press the zero button to re-calibrate the calipers before you start. This will insure an exact and accurate measurement. Insert the small jaws of the digital calipers into the hole while closed. Slowly open the calipers using the thumbscrew until both jaws make firm contact with the object. Read the measurement on the digital indicator!
Depth Measurements
At the base of almost every pair of digital calipers is a depth gauge, sometimes called a “depth probe”. This probe can be inserted into objects to determine how deep a hole or cut out in an object is. To take a depth measurement you’ll once again want to close your calipers and press the zero button to calibrate the digital calipers. Place the base of the calipers over the hole and using the thumbscrew slowly lower the probe into the object until it makes contact with the bottom of the recess. Read the measurement on the screen.
Step Measurements
Not all digital calipers are designed to take step measurements. However, most of the good ones are. If your calipers don’t have this ability, you can use the depth gauge in a pinch to replicated this function in a pinch. A step measurement uses the head of the caliper to measure the step difference between two sections of material. Think about measuring a staircase. The bottom jaw of the caliper will rest on one step, while the top jaw will make contact with the next step. This is very handy when working with small objects or building scale models of larger items.
Difference Measurement
A difference measurement can be combined with any of the above measuring choices. A difference measurement gives you the difference between to objects dimensions. To take a difference measurement first close the calipers and press the zero button. Using any of the techniques above, take your first measurement. Without moving or closing the calipers, again press the zero button. Measure the second object, again using any of the techniques above. Read the measurement on the LCD screen. This number represents the difference in dimensions between the two objects!
Some higher end digital calipers now have a button called “reading hold” that can be used in instead of zeroing the calipers back to zero. To use the reading hold you simply take your first measurement, press the hold button, and take your second measurement. The calipers will calculate and display the difference between the two.
Final Thoughts
 Keep in mind that to keep and maintain accurate measurements from your digital calipers you’ll want to keep the clean and free of debris like dust, dirt, or metal shavings. When making measurements down the 1000th of an inch or millimeter, these particles when built up on the jaws of the calipers can wreak havoc on your readings and cause large errors. The same goes for the objects that you are measuring. Be sure to remove any dirt or debris from those as well.
Now you the right way to use digital calipers to take the best measurements for your projects! Share the knowledge with your friends, family, and fellow shop addicts! If you have any other tips or tricks for using digital calipers the right way, leave them in the comments section!
Let’s make stuff!

5
4.5
4
This was a great exploration of caliper basics! My friends know me as a woman who loves tools and I frequently get questions about exactly the right tool for exactly the right job. I can easily use your lovely, clear, handy little overview to help me explain the variety of very distinctive caliper uses. Thank you!