Blog
How to use a Tape Measure (The Right Way)
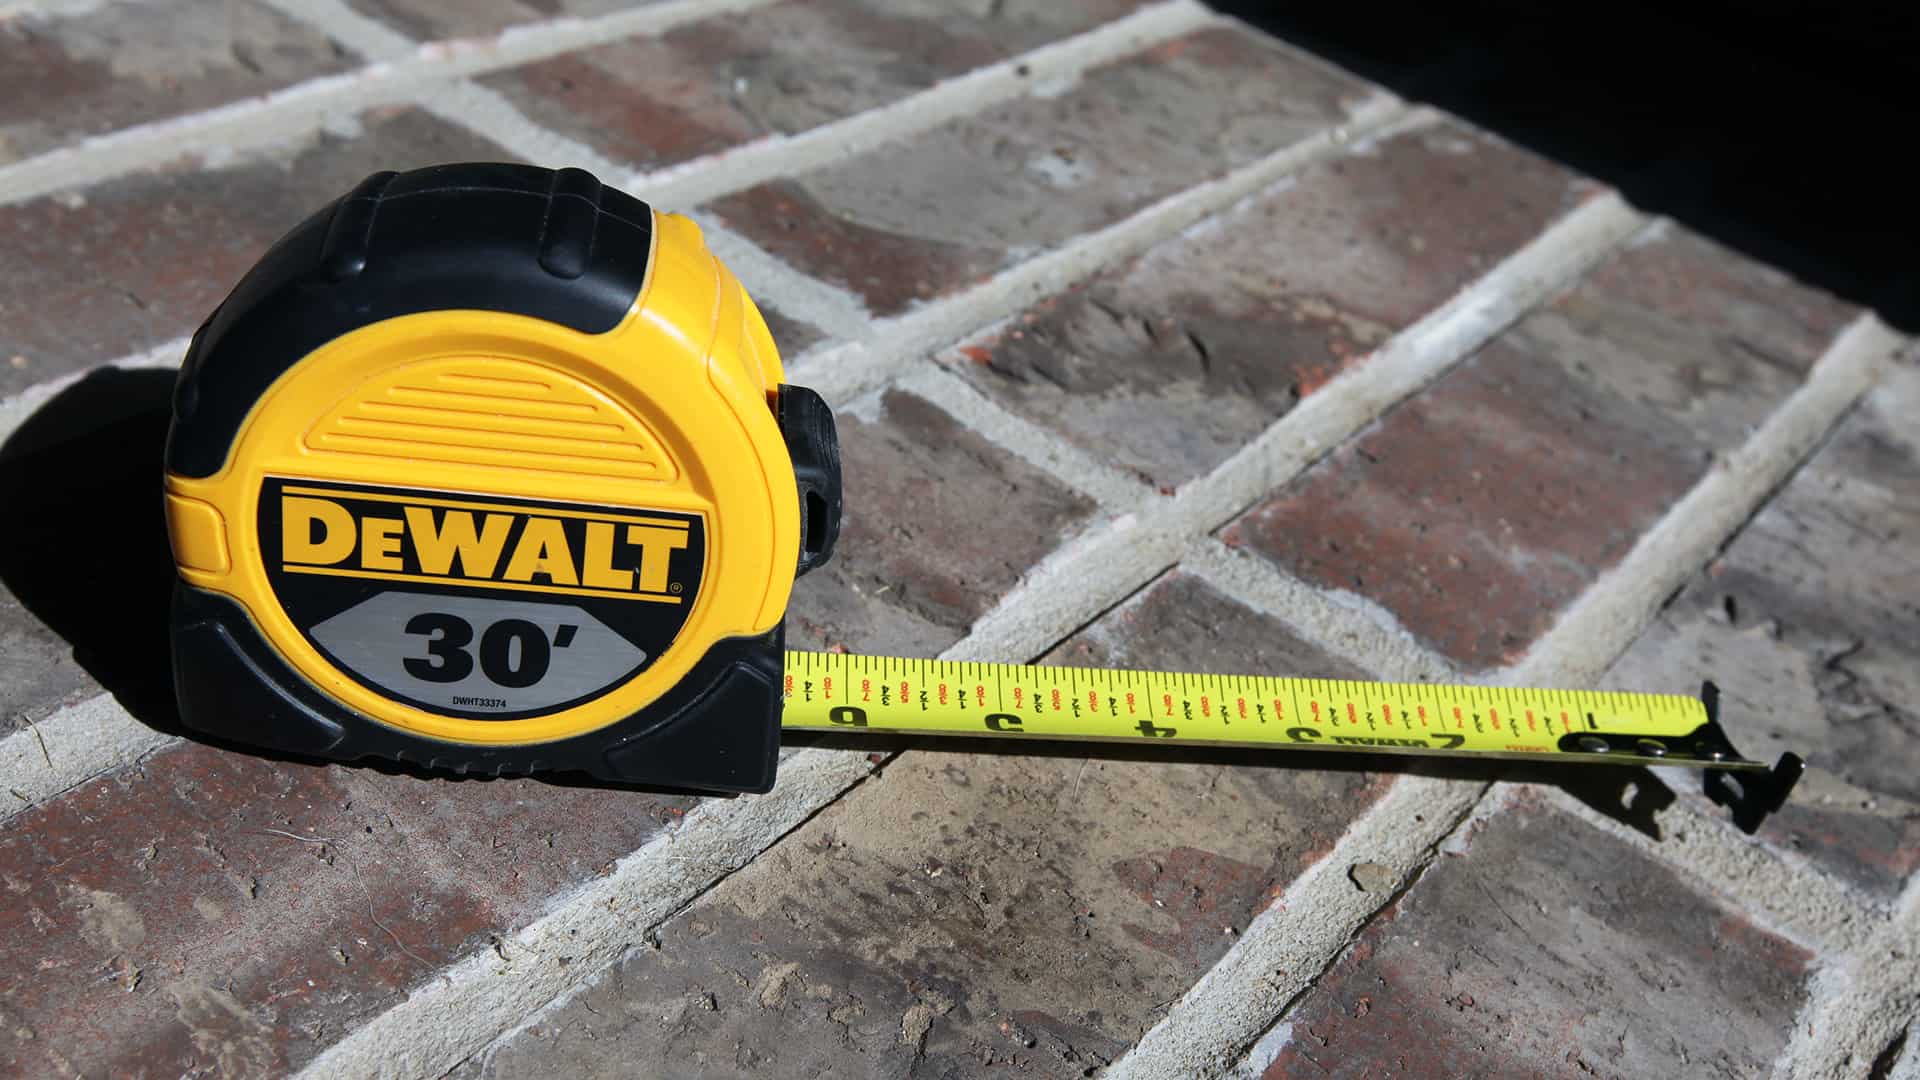
[adinserter name=”TopOfPost”]A tape measure is one of the most important tools a shop can have. It’s also one that surprisingly enough gets the least attention when it comes to learning and skill building. OK, but which tape measure do I need? An accurate tape measure is of course the most important kind of tape measure to have. All of the rest is pretty much up to you as far size and lengths go.
Did you know there are a lot of different features on a standard tape measure? It seems like such a simple tool, but yet there’s more to a tape measure than meets the eye. In this article we’re going to break down the different features of your tape measure and explain how to use it, the right way! So follow along and see if you might learn something new about the simple tool laying around your shop.
Tape Measure Secrets
I’ve seen and heard some really interesting things about tape measures over the years. It’s amazing some of the things people believe to be true (or not) about them. Let’s take a minute to break down some of the best features of the standard tape measure.
The Loose Hook at the End of the Tape Measure
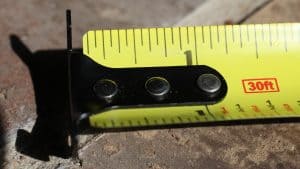 This is probably one of the least understood features of a tape measure. “It’s almost impossible to by a quality tape measure these days. They can’t even get the rivets tight on the end of them.” I’ve heard this statement at least 100 times in my life. I was at friend of mine’s house just recently and noticed he had hammered the rivets on the end of his tape measure flat to “fix the loose hook”. I didn’t have the courage to tell him, but rather than fixing his tape measure, he had actually ruined it.
The loose hook on the end our your tape measure is actually a feature. It’s there by design. Without it, your tape measure would be inaccurate! If you look at the tape measure you’ll notice that the first inch of the tape measure is between 1/16″ and 1/8″ shorter than all of the rest of the inches. This coincides with the thickness of the hook. When measuring outside dimensions, the hook slides to the outer position. When measure inside dimensions the hook slides to the inside position. This eliminates the error of the hook thickness and allows you to measure both inside and outside dimensions accurately! So please, don’t smash those rivets flat! Let’s that hook move freely!
Measuring Inner Dimensions the Wrong Way
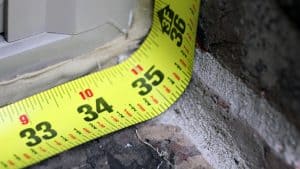 The second most common mistake I see when using a measuring tape is one that has such a simple fix. Again, the measuring tape seems like such a simple tool, but there are secrets hiding within its design that many DIYers never discover. How many times have you yourself done what’s in the picture to the left? Do you curl your tape measure to find the inside measurement of some something? How do you know where the real dimension is? Do you guess and say its somewhere between 5/16 and 3/8″? Do you just cut your material long and then shave it until it fits? What if I told you there was a better way?
Measuring Inner Dimensions the Right Way
What if I said the right way looks like the picture below? “How is this possible?” “Won’t my measurement be too short by whatever the length of the tape measure is?”
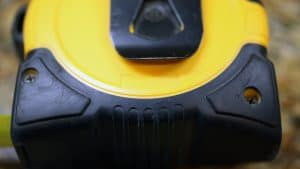 Yes. It will! But the people who designed your tape measure have already thought about that and designed around it. If you’ll turn your tape measure to the back side and look towards the bottom of it you’ll find something very interesting. The exact width of your tape measure. In my case (shown on the picture to the right) there is an inscription that looks like this:
< + 3 1/2″ >
That’s right. You just add 3.5″ to the inside measurement! Those tape measure designer people are pretty smart!
What are these Red Numbers on my Tape Measure?
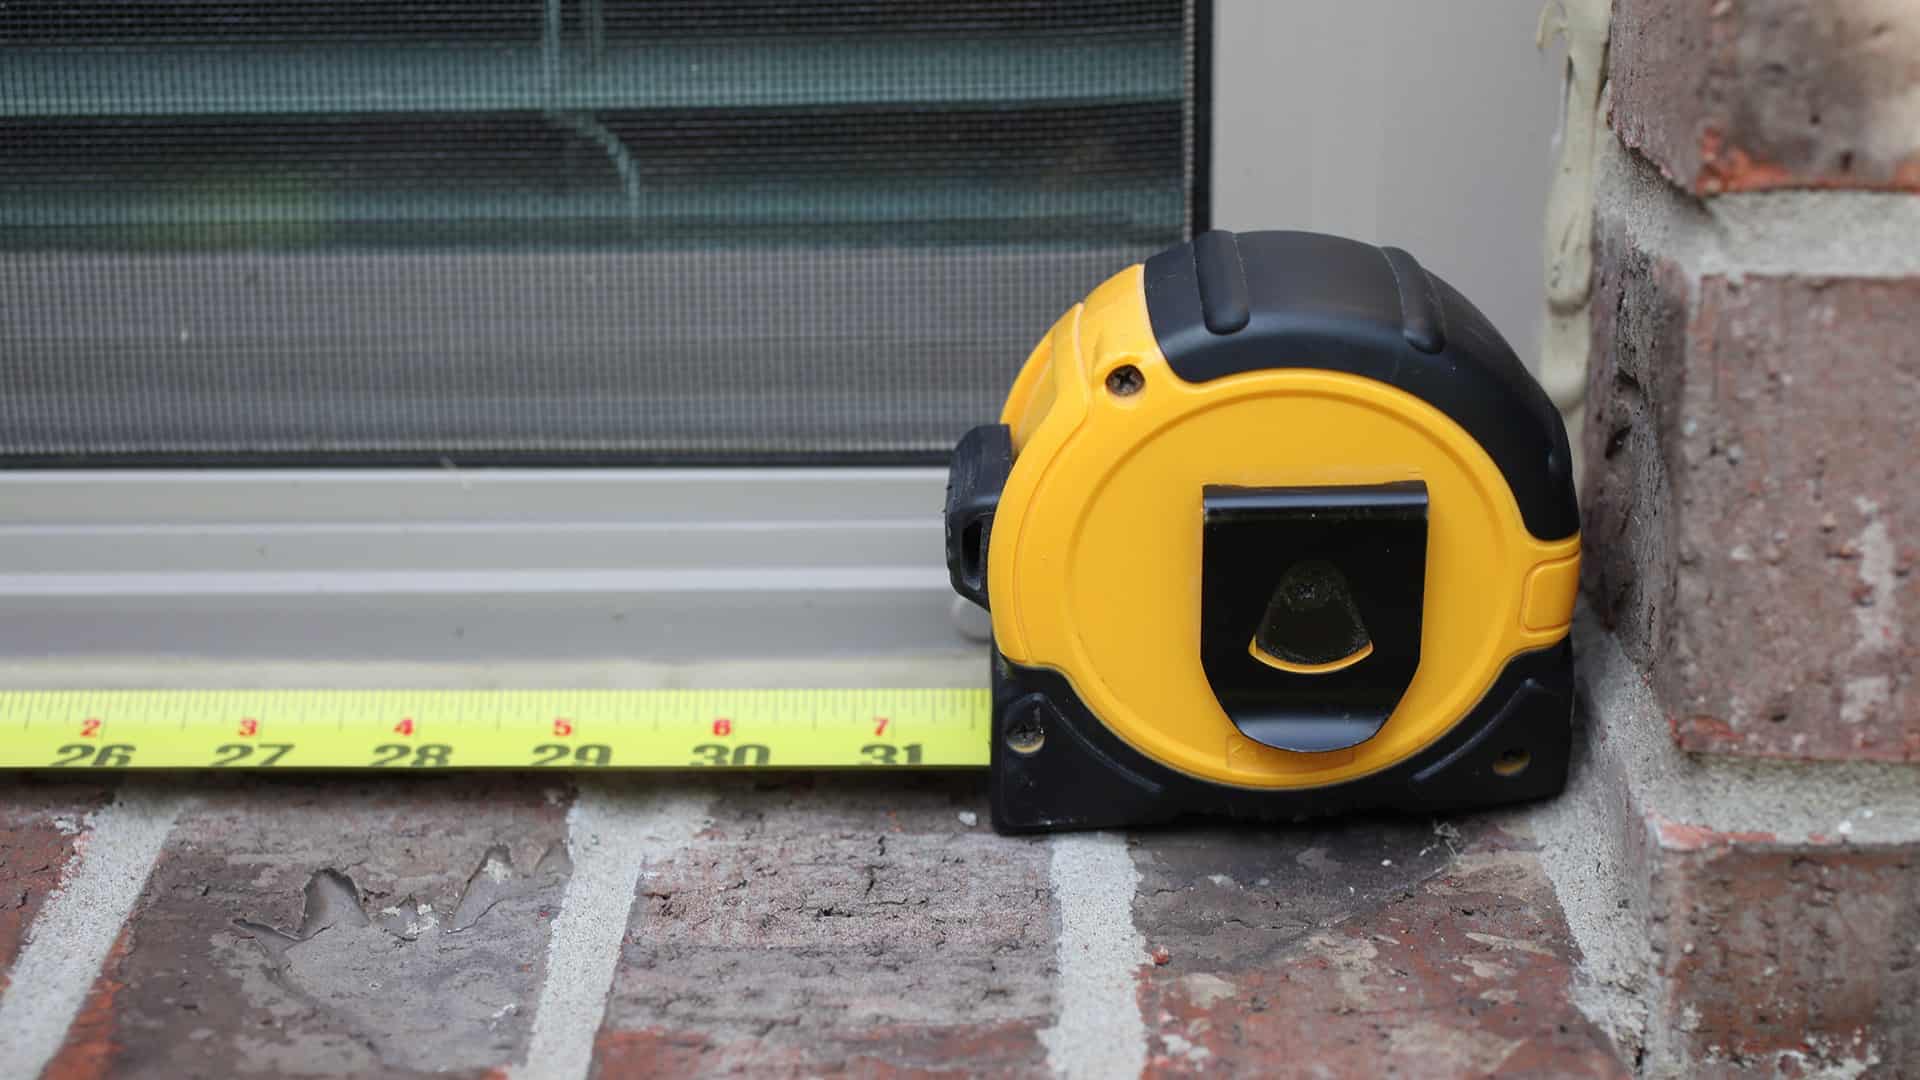
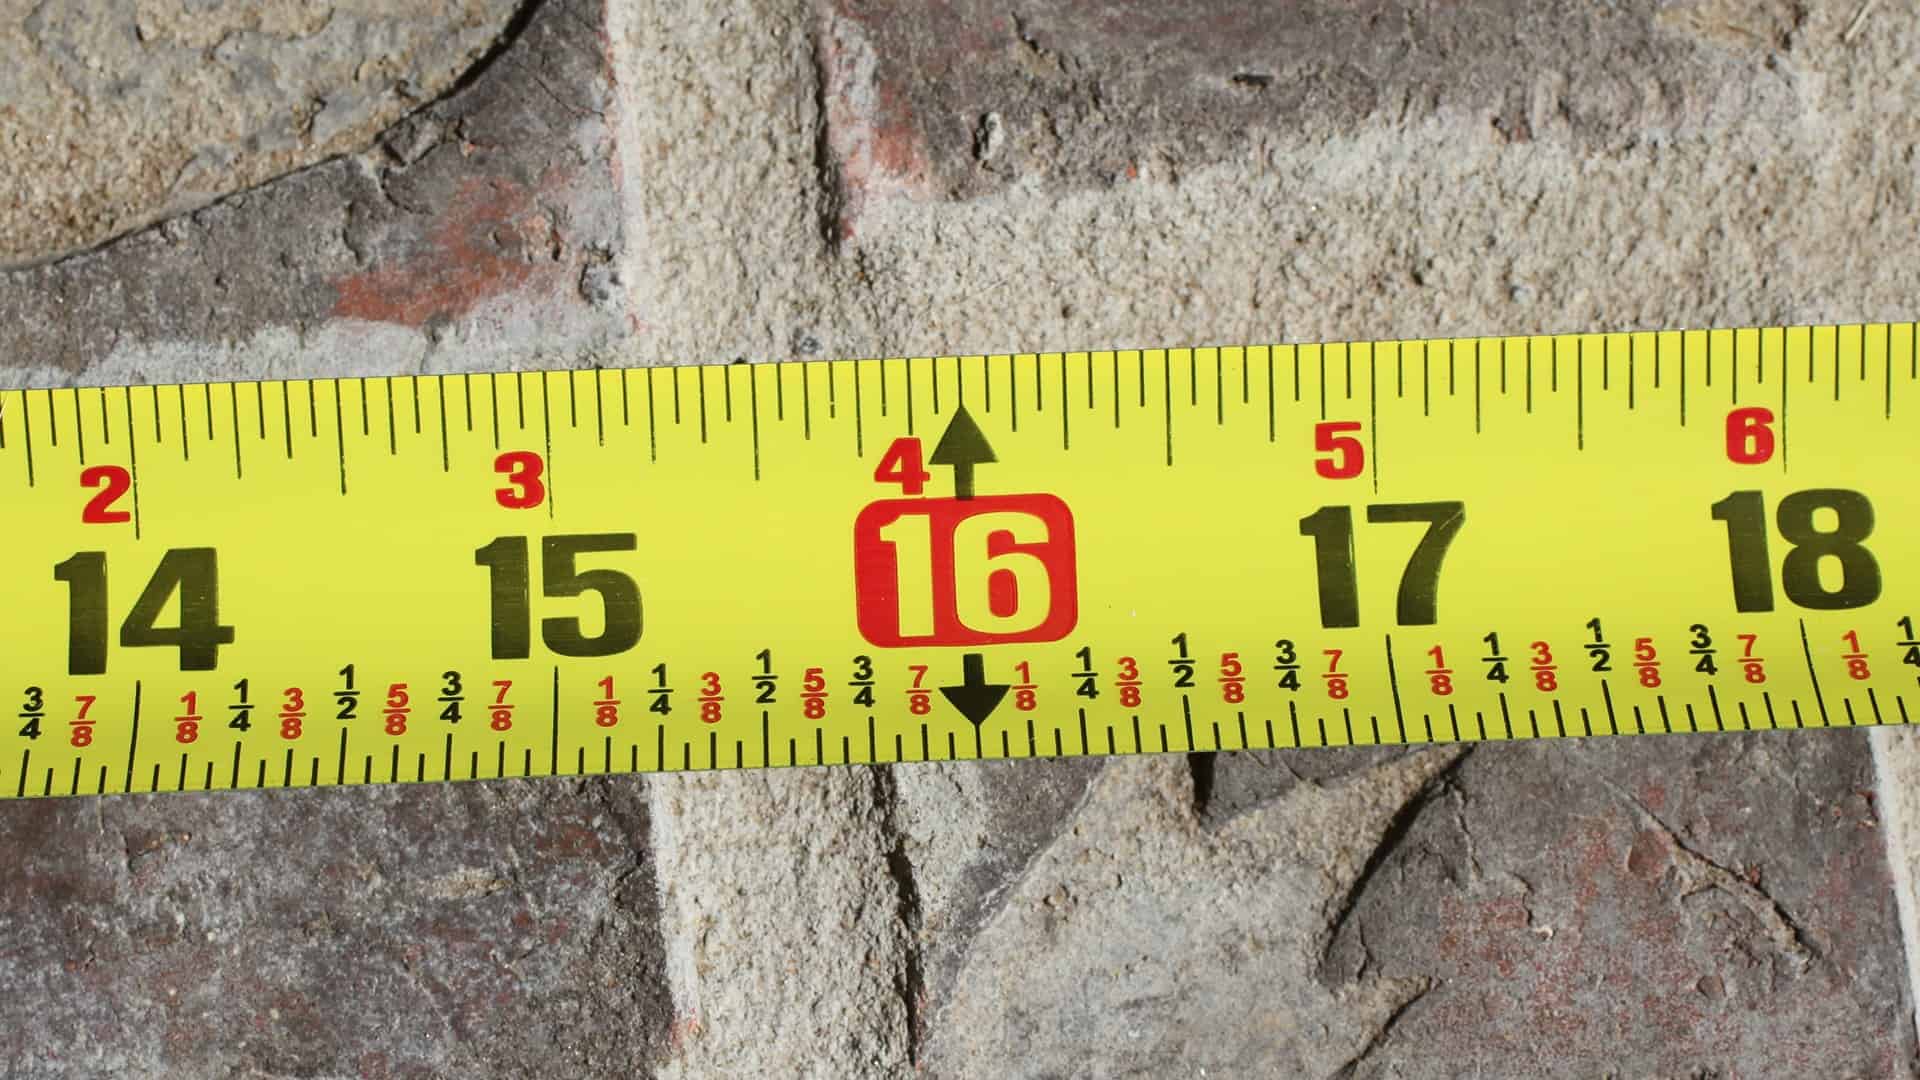
This question comes up from time to time. Mostly from those who’ve never had any experience in the home construction or home improvement business. In most homes (at least more modern ones) wall studs and ceiling joists are placed on 16″ centers. That means the distance from the center of one stud to the center of the next stud over will be exactly 16″. The red numbers on your tape measure are therefore used to indicated stud locations when measuring a wall, and works great with out next secret!
The Slot in the End of the Tape Measure Hook
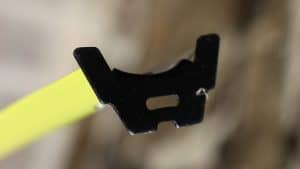 Yep. There’s a slot in the end of your tape measure hook. You’ve probably seen it, but never thought much about it. That slot is there to “hook” onto the head of a nail or a screw. This allows you to walk away with the tape measure while making sure the hook stays where you want it to.
This feature works great for finding and marking wall stud locations for hanging a shelf, photos, or artwork! Find the location of the first stud and drive a nail into the wall leaving the head about 1/2″ to 1″ above the surface. Hook the tape over the nail and stretch it out along the wall. You can now mark every stud between the nail and where you hold the tape measure!
Have any more tape measure tips and tricks? Leave them in the comments below.



Thanks for this!
I wish the people who designed my tape measure (marked only in millimetres and not inches) had thought to convert the width of the tape measure into millimetres, instead of marking it
4.5
5
4
3.5
you forgot to mention the top number of a general measuring tape are the feet and that if you look underneath that a bit from left to right you will see there are inches under any number of feet shown from 1 to 12 feet. you forgot to mention the numbers on the bottom of proper measuring tapes are the meters.