Blog
Coasters and Cheese Tray from a Tree Branch

[adinserter name=”TopOfPost”]This is one of those projects that the product isn’t near as cool, until you learn how it’s made. I mean anyone can make wooden drink coasters. Anyone can make a cheese serving tray. But can they make it from a tree branch that fell in their yard?? I like to make things. It’s what I do for fun. I’d never made anything from an actual tree though. So when my father called me and said his very large and old pecan tree was hit by lightning and some of the branches had been knocked out, I jumped at the change to gather some of the larger ones up.
Those branches have been sitting in my garage for a year drying. This weekend, after roughly 12 months I decided to try to mill them down to make something for my parents. I thought it would be kind of neat to have something in your home that was made from the tree in your front yard. And for those of you wondering, beyond a few battle scars, the pecan tree survived and is doing fine. (Side note: Many consider pecan and hickory to be the same type of tree.)
How to Make Coasters and a Cheese Tray from a Tree Branch
I didn’t want to make the standard old sliced tree branch coasters that you can get at any craft fair. I wanted to do something special. That’s why I chose to actually mill the branches down into dimensional lumber and make square coasters. This also netted me just enough lumber to make a cheese serving tray!
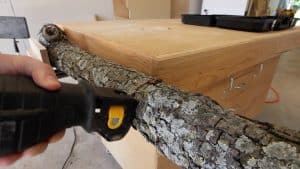 Step 1: Cutting the Branch Down to Size
The branch I had saved from the pecan tree was about 6 foot long. Unfortunately it wasn’t very straight. In order to get decently straight material out of it, I needed to cut it into roughly 14 inch sections. To accomplish that I used a “sawsall” with a wood cutting blade installed. Of course, this will also make it much easier to pass through the bandsaw!
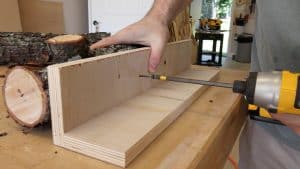 Step 2: Make a Jig for Milling
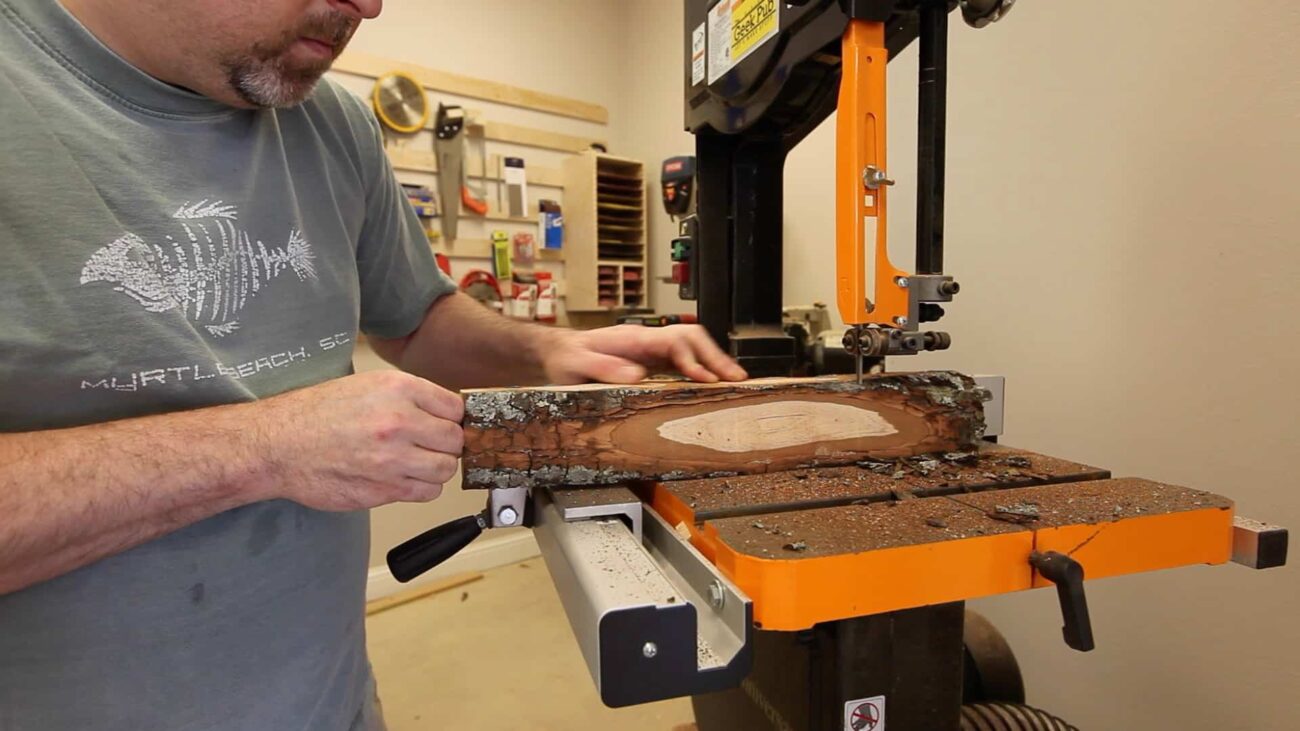
You can’t just run the branch through the bandsaw alone. It’s not straight or flat. There’s nothing to keep it running in the same direction. That’s where the milling jig comes int play. The milling jig will provide a straight edge that you can run down the table and fence on the bandsaw (or table saw). Just use a couple of short screws to attach the branch to it. (Long enough to penetrate all the way through the bark, but not much longer.
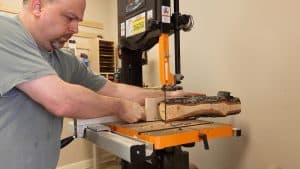 Step 3: Mill Two Straight Edges on the Branch
Run one side of the branch down the bandsaw removing enough to make a flat side at least 2″ wide. Unscrew the branch, lay it down on the newly flattened side and reattach it agin. Run it through the bandsaw again. You should now have two flat sides making a 90 degree angle.
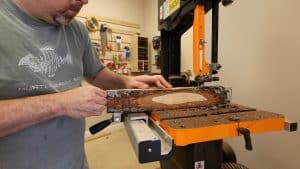 Step 4: Mill the Two Opposite Sides
Remove the milling jig and run the branch through the bandsaw again on the two remaining sides. Again removing enough material to make it flat on those sides. You should end up with a square section of rough cut lumber.
 Step 5: Slice up the Branch
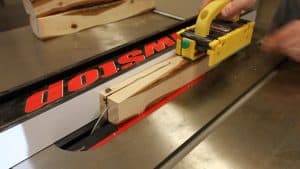
Congratulations. You’ve turned your tree branch into lumber! Now it’s time to make it into dimensional lumber. You can keep using your bandsaw, but I prefer the table saw for smaller material because it makes a cleaner cut. I sliced my rough cut lumber down into 5/8″ slices, leaving me with varying board widths from 2 to 2 1/2 inches in width.
 Step 6: Make the Stock Flat and Square
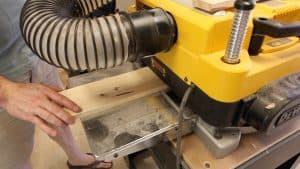
If you have a jointer, now is the time to use it to flatten two sides. Follow that up with a couple of passes on the planer to square up the other two sides. I don’t have a jointer so I ran all four sides through the planer using the alternating method. It’s better than nothing and does a reasonably well job.
 Step 7: Salvage any Good Sections
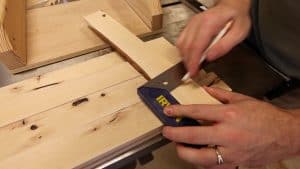
The next step is to salvage any sections of wood from the bad stock. It’s inevitable that some of the stock is going to have nots and/or live edge remaining on them. Measure out and cut off any unusable sections from the wood. It’s also possible to just use some of it for a more rustic look, which I wound up doing on some of my stock (knots, not the live edge).
 Step 8: Glue Up the Sections
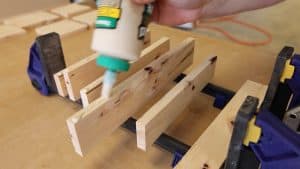
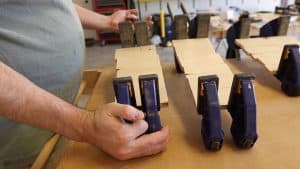
I wanted to make at least four coasters and one cheese serving tray from my father pecan tree branch. I glued up all of the short stock into as close as I could get into 4.5 to 5 inch sections. All of the longer sections I glued up into one single section.
 Step 9: Clamp up the Sections
It took three separate clamp ups to clamp all of the sections. If you haven’t heard the rumor, it’s true. A woodworker (or maker) can never have enough clamps. Buy more. Let the sections dry for at least 12 hours before unclamping. Since the finished product would be used with food and beverage and might get wet, I decided to use Titebond III Ultimate which is water proof.
 Step 10: Finalize the Dimensions of the Coasters
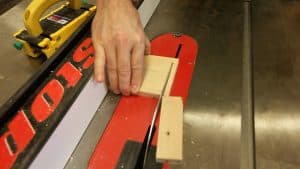
The final dimensions of my coasters were roughly 4 inches. I ran all four sides through the table saw to square them up and bring them to their final sizes.
 Step 11: Finalize the Dimensions of the Cheese Tray
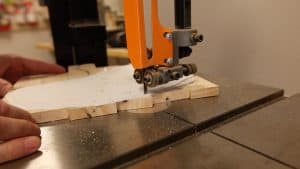
I cut the cheese tray down to its final size and shape on the bandsaw. I found a pattern from Steve Ramsey’s Woodworking for Mere Mortals. You can get the pattern here: Cheese Tray Pattern The pattern is free to download.
 Step 12: Sanding
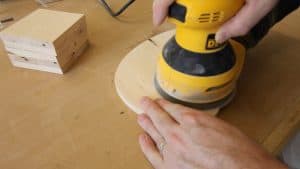
Everyone’s favorite part is sanding! I sanded everything down to 100 grit, routed the edge (step 13) and then sanded everything down again to 220 grit.
 Step 13: Adding a 3/16″ Round-over on the Router Table
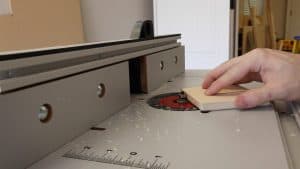
I used 3/16″ round-over bit at the router table to add a nice decorative edge to the coasters and cheese tray. Round-overs seem to always make things look finished to me.
 Step 14: Add the Finish
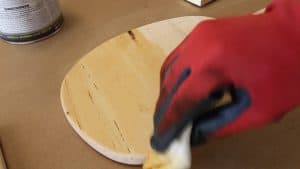
It’s really important to add a finish that is food-safe and non-toxic. My go-to finish when I don’t want to stain the wood and keep it looking natural is General Finish’s Salad Bowl Finish. It’s made just for this purpose and looks great. It will slightly amber the color of the wood so be careful if that bothers you.
The Finished Coasters and Cheese Serving Tray made from a Tree Branch
It’s hard to believe that just 24 hours ago this was a tree branch that had been sitting in my garage for a year, and that previous to that it was sitting in my father’s yard about 20 feet in the air just waiting to get hit by lightning. I hope this project inspires you to make your own project and try something new!
Video Transcript
Oh! Hey Guys! It’s Mike from The Geek Pub! And on this episode we’re going to make this awesome Cheese Tray and Coaster set. And we’re going to make it… from this log.
So I need to turn these into useable stock, and since they’re not flat and I can’t run them up against the fence, I’ve made this little jig out of a couple of scraps of plywood and I’m just going to screw them together and then I can run this straight edge along the fence.
Now that I have two reasonably flat sides, and they’re not perfect. They are just there in order to create a 90 degree angle so that I can run this up agains the fence without the jig in place and I can trim the rest of it off and I can make some usable material out of this.
So I’ve got three sections milled down and there is still some live edges on them. And I did that on purpose because there are some places I can cut out some center sections and get some usable material. And my goal here it to get as much 4.5″ by 5/8″ strips as I can get with no live edges on them. And so I am going to do that on the table saw.
So I’ve got everything cut up into these 5/8″ by roughly about 2″ to 2 1/2″ strips and I am just going to run them through the planer because I want to make sure everything is an equal thickness before I try to cut these out and glue them up.
So I’ve got everything milled down to its final dimensions and most of it is fully usable like this piece, but I have a lot of material that still has a little bit of a live edge left on it and those won’t work for the project that we’re doing. So what I am going to do is use the table saw and the crosscut sled and I’m going to figure out how to get the most usable material out of each one of these boards that has the live edges left on them.
Alright well now it is time to glue everything up and I went ahead and got some Titebond III Ultimate which is waterproof and since we’re going to be using this for food and it’s probably going to get wet from time to to time I thought that would be a pretty good precaution. So lets go ahead and get started.
OK. So now that everything is glued up, I am just going to cut the coasters down to their final dimensions which is roughly 4″ by 4″.
For the cheese serving tray I got this really cool template from Steve Ramsey over at Woodworking for Mere Mortals and I’ll post a link to that, its a free template you can get on his website. I had to shrink it down and flip in to make it fit my material, but it still worked out really well I think. And so we’re just going to cut that out on the band saw.
I’m just going to give everything a quick sanding down to 100 grit before I put it on the router and then I’ll come back and do the final sanding.
I’m just going to use the router and put a 3/16″ round-over on all of the top surfaces.
To finish this project we’re going to use this General Finishes Salad Bowl Finish and it is a non-toxic food save finish. And due to the nature of this project I did not want to use any wood stain. I wanted to keep it very natural and so the Salad Bowl Finish adds just a slight amber tint but for the most part it leaves the natural wood grain. I’m just going to apply that with a paper towel.
Well hey guys! Thanks so much for watching this video! Let me give you a little back story on this. So about a year ago my father called and he said that his pecan tree in his front yard was hit by lightning and that there were a whole bunch of branches that were down and I went over to his house and I helped him clean them up. And there was one log that was pretty, or branch I guess that was really pretty large and I thought I bet I can use this to make my own something or another and I didn’t really know what it was at the time. I knew that the wood was going to have to try, and also we were in the process of moving and so I decided to just put the log in the garage and let it sit for about a year. And a year later this is what I made out of it.
And I think a project like this is fantastic because it allows you to take something that would have either been burned in the fireplace or thrown in the trash to make something that is actually useful. And I hope this inspires you to make your thing out of something that other people might think is trash.
Well guys if you like this video, please hit the subscribe button. And I’ll see you next time!


4.5