Blog
How to Make an Arcade Machine: Part 2
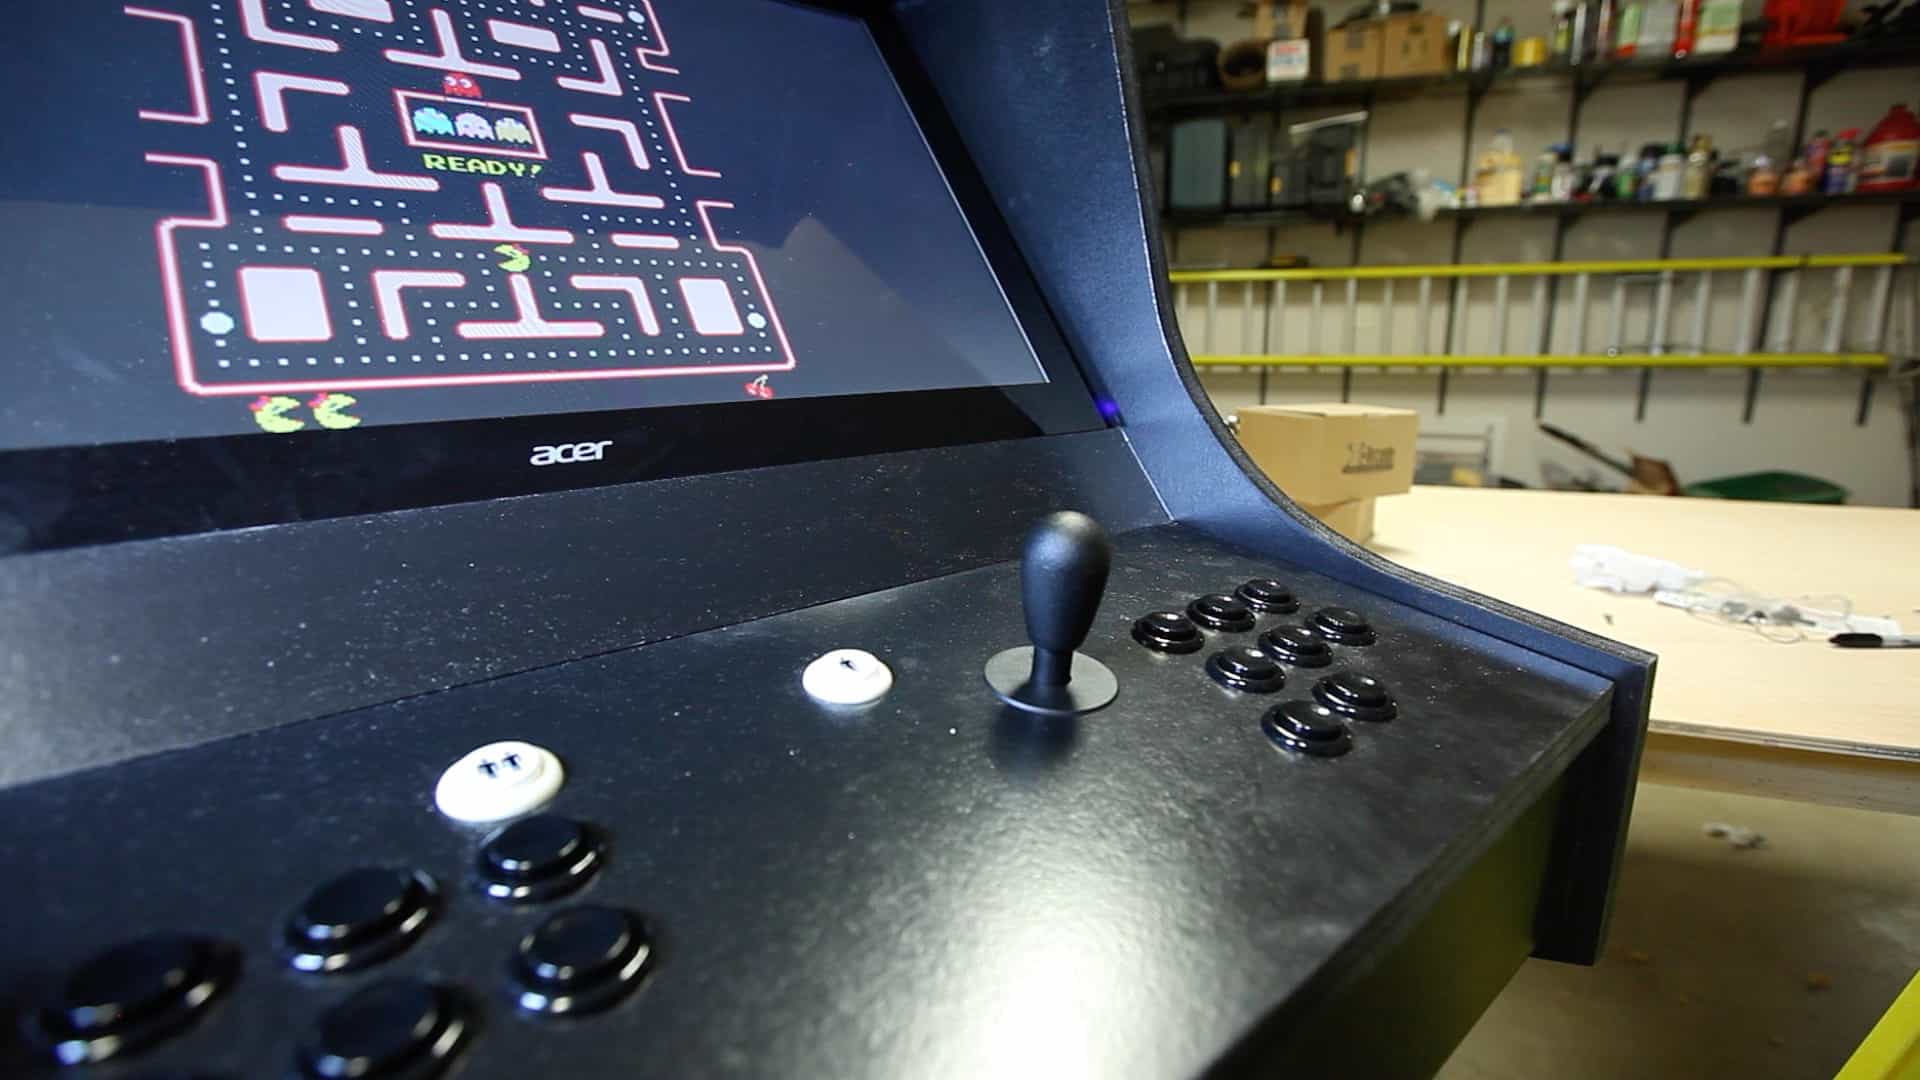
Building this arcade cabinet for MAME has been one the funnest projects I’ve done yet! The memories alone that have been jogged by playing some of these old games again have been great! I’ve played Pac-Man, Galaga, Spy Hunter, Rally-X, Pitfall, Donkey Kong, and even Space Invaders! In addition to MAME, I’m going to have my machine emulate Nintendo NES, Commodore 64, and Atari 2600. I’ll probably eventually add even more emulators as I have time.
Watch the Arcade Machine Video (Part 2)
I’m running my cabinet on a Windows 8 PC. I’ll eventually upgrade it to Windows 10 when MAME works correctly under it. For the hardware, I’m using about a 5 year old PC that I had sitting in storage. Nothing special, and it works just fine.
I wanted to make sure I could turn the entire cabinet off when not using it, so on the top of my arcade cabinet I put a master on off switch for the entire machine. It’s just a Decora paddle light switch. I put it on the top of the cabinet to keep it out of sight, but make it easily accessible. This switches a four outlet (2 gang) electric box in the bottom of the cabinet. I used standard Romex 14-2 electrical wiring to run everything. I also used cable clips screwed to the cabinet walls to make sure the cable is fixed and doesn’t rattle around when playing the games (or get pinched by the keyboard tray, etc).
As already mentioned, in the bottom of the cabinet is a 2 gang electrical box that is switched by the light switch on the top of the cabinet. Connected to the light switch and outlets is a power cord that runs to the outside of the cabinet to supply electricity for the entire cabinet. Looking back on this, I should have bought those new outlets that have USB ports on them, because immediately after installing this outlet, I plugged a Belkin power strip with USB ports on it, for the sole purpose of adding USB power for the cabinet fan and cabinet speakers. Lesson learned. I might go back and change this some day if I ever have time.
Arcade cabinets that run under emulation need some way of sending the joystick and button presses to the computer software running the emulation (in my case MAME). This is generally done by a serial to USB keyboard adapter with some special connectors on it for attaching the buttons. The buttons then emulate keyboard presses. I chose a controller from a company called Sanwa. Amazon sells all of the controllers, joysticks, buttons, etc. They even sell complete cabinets, but that takes all of the fun out of it! Seriously. Build your own. You won’t regret it.
It is really important to me that my arcade works and acts like the original, even if it is a modern version. To help in this desire, I bought an authentic coin door and coin mech ($29 on Amazon). This coin mech uses the same microswitches and sends a keyboard letter to MAME (coins are key 5 or key 6, for coin 1 and coin 2). This mech also has a lighted quarter slot and can be calibrated to take to tokens in you prefer not to use quarters. I still haven’t put a coin tray in my machine and I need to do that. Right now the coins just fall on the bottom of the cabinet and that’s not very optimal. You can use an old school coin mech from an original arcade if you can find one. Electrically the operate the same as a modern one.
Using the kit really makes everything simple. No soldering or splicing wires is a huge plus. Most kits come with everything you need to wire up the arcade controls, including the plastic buttons, microswitches, and wiring harnesses. It is possible to take an old keyboard and gut it for all of the parts. There’s videos on youtube showing how to do this if you are interested. I was much more interested in having something that I knew would be reliable. I also wanted to buy something I knew for sure I could find replacement parts for.
For the speaker bar (goes above the monitor, under the lighted marquee) I wanted something invisible. I came up with the idea to just drill some holes in a piece of MDF and cover with black fabric. That black fabric turned out to be an old black T-Shirt I had in my closet. I used 3M Super 77 spray adhesive to attach it to the MDF and it worked great! Just lay the T-Shirt down on something flat and smooth all of the wrinkles out of it. Carefully lay the MDF on top of it and press it down. It will look like it was factory made when you’re done. For the speakers, I bought a cheap pair of USB powered speakers that were flat, and just hot glued them into the cabinet from behind. It sounds great!
For a monitor a chose and edge to edge glass display from Acer. It’s touch screen and 27″. This provides a large screen that looks gorgeous. And even better, I don’t need to cover it with plexi-glass since the screen is edge-to-edge glass already!
Read Part One of How to Make and Arcade Machine!
Read Part Three of How to Make and Arcade Machine!
Video Transcript
Hey guys! It’s Mike from The Geek Pub. And on this episode I’m going to show you how to put all of the electronics in your game cabinet.Alright. So on top of the cabinet I have cut this hole, and in that hole I am going to put an electrical conduit box and in that box I am going to put this little paddle switch. And this will work as sort of a master on/off switch for the entire cabinet.
So in order to hold the cables in and keep them from rattling, I am going to use these little clips that just wrap around the cable and screw in.
I’m going to install this electrical conduit box in the bottom of the cabinet and it will be connected to a power cord that runs out of the back of the unit and also to the switch we just installed at the top of the cabinet. This will be the main power source for everything in the unit.
The arcade cabinet is going to have a lot of electronics in it and in order to keep those electronics cool, I’ve purchased this little USB powered fan off of Amazon that I am going to install in the back of the cabinet. And to power it, I got this little Belken power strip that has USB ports on the side of it.
Alright so the really good new is that while you can design your arcade in pretty much any way you want, any form factor, you can have a stand up like this, or you can have a cocktail table like I was originally going to make. The good new is that all of the componentry that goes into it, over the years, has pretty much been standardized. So for example, this board right here is a keyboard controller that wires all of these buttons directly to a USB port on your computer. So you don’t have to do any special wiring or any soldering. This all comes pre-manufactured. Al you gotta do is assemble it into your cabinet. So the same thing for all of these little buttons. They come with micro switches that just attach to the bottom of the switch. You can get these in all kinds of different colors. Unfortunately I messed up and ordered all of mine in black, so I’m going to order some new ones in different colors. But these little micro switches are standard. You can get these from anywhere: Amazon, Mouser Electronics, X-Arcade. You name it. Same thing for the joysticks. Same thing they are standard. You can just put them together and assemble them into your arcade. The coin door is all standard mech. You can get this mech off of Amazon for $29 or you can get it from companies like X-Arcade. As I said before they sell a lot of arcade parts but they are not the cheapest. So just kind of look around and decide what you want. So we’re going to go ahead and assemble all of this into our cabinet.
So now we need to install all of these little micro switches on to the backs of all of the buttons.
OK. So whats left to do now is to install all of these little wiring harnesses. They will wire into the PCB and then connect to all of the buttons.
So now its time to just start butting all together.
So the coin mech is really simple to install. It just slips into the slot, and then it clips in with these clips from behind.
Once again I am going to use these little clips with screws to hold the cables in place.
So the speaker bar is just some MDF that I’ve drilled some holes in, and I am going to cover that with this black cloth. Behind it I am just going to glue in these really thin speakers that I got at the local big box store.
And all that’s left to do now is install the monitor.
Ok guys, well that is all for part 2. Come back for part 3 and we’ll put the lighted marquee in, the t-mould, and hopefully the graphics if I get them printed in time.





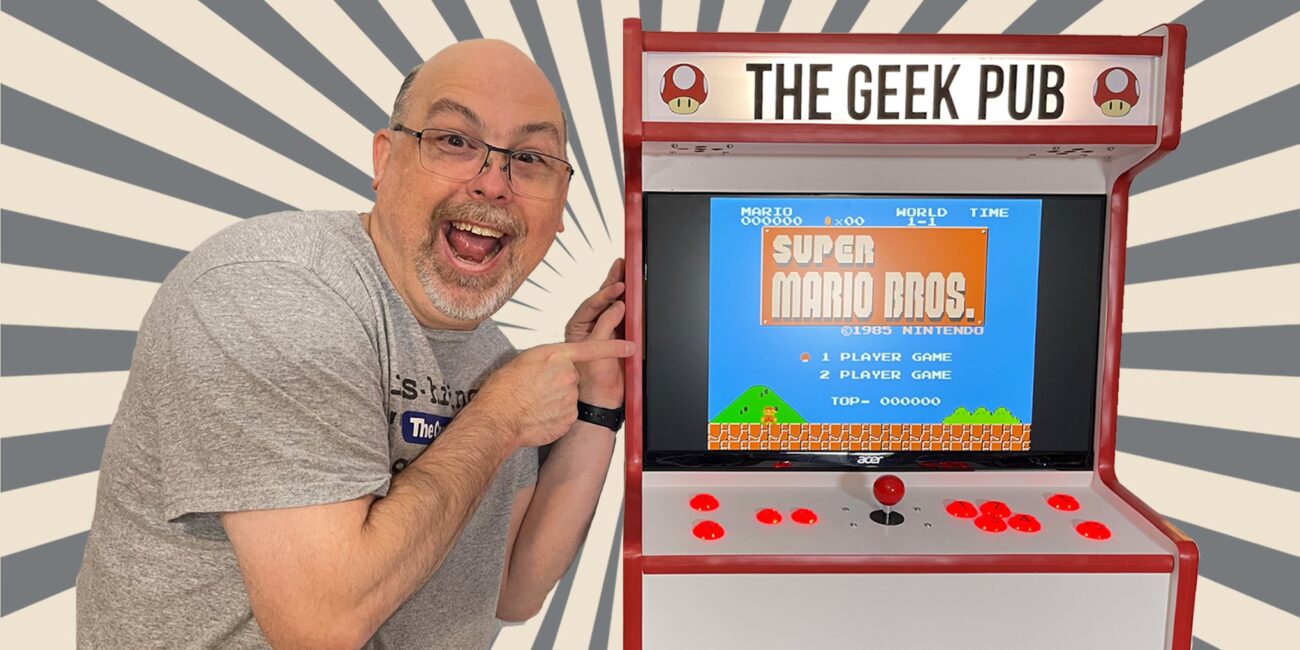
This turned out just freaking incredible Mike! I bought your arcade plans and am going to build this myself! Thanks for leading the way!
Awesome! I can’t wait to see what you do! Post some pictures on my facebook page!
Hey Mike do you have some other monitor options that work with your build. I checked out that Acer edge to edge and it was like 500$ and a bit out of my price range. I’m just afraid of ordering a random 27 Inch monitor and it not fitting into the case.
Resizing the cabinet to fit a different monitor is pretty simple. If the monitor is 1 inch narrower for example you would just cut all of the interior boards 1 inch shorter. If the monitor is 1 inch shorter, you’d just make the monitor support 1 inch taller.
Hi Mike, awesome project I can’t wait to start. But… where’s part 3?
https://www.thegeekpub.com/2710/how-to-make-an-arcade-machine-part-3/
5
Hey Mike, just bought the arcade build plans, hopefully it will turn out great. Does the mentioned monitor (acer t272HL) still apply, or do you recommend a different one now? Regards, Marc (The Netherlands)