Blog
Change the Raspberry Pi DNS Settings
In this quick tutorial we will cove the right way to change the
DNS or Domain Name Service is the service which your
Parts list for this project:
You’ll of course need a
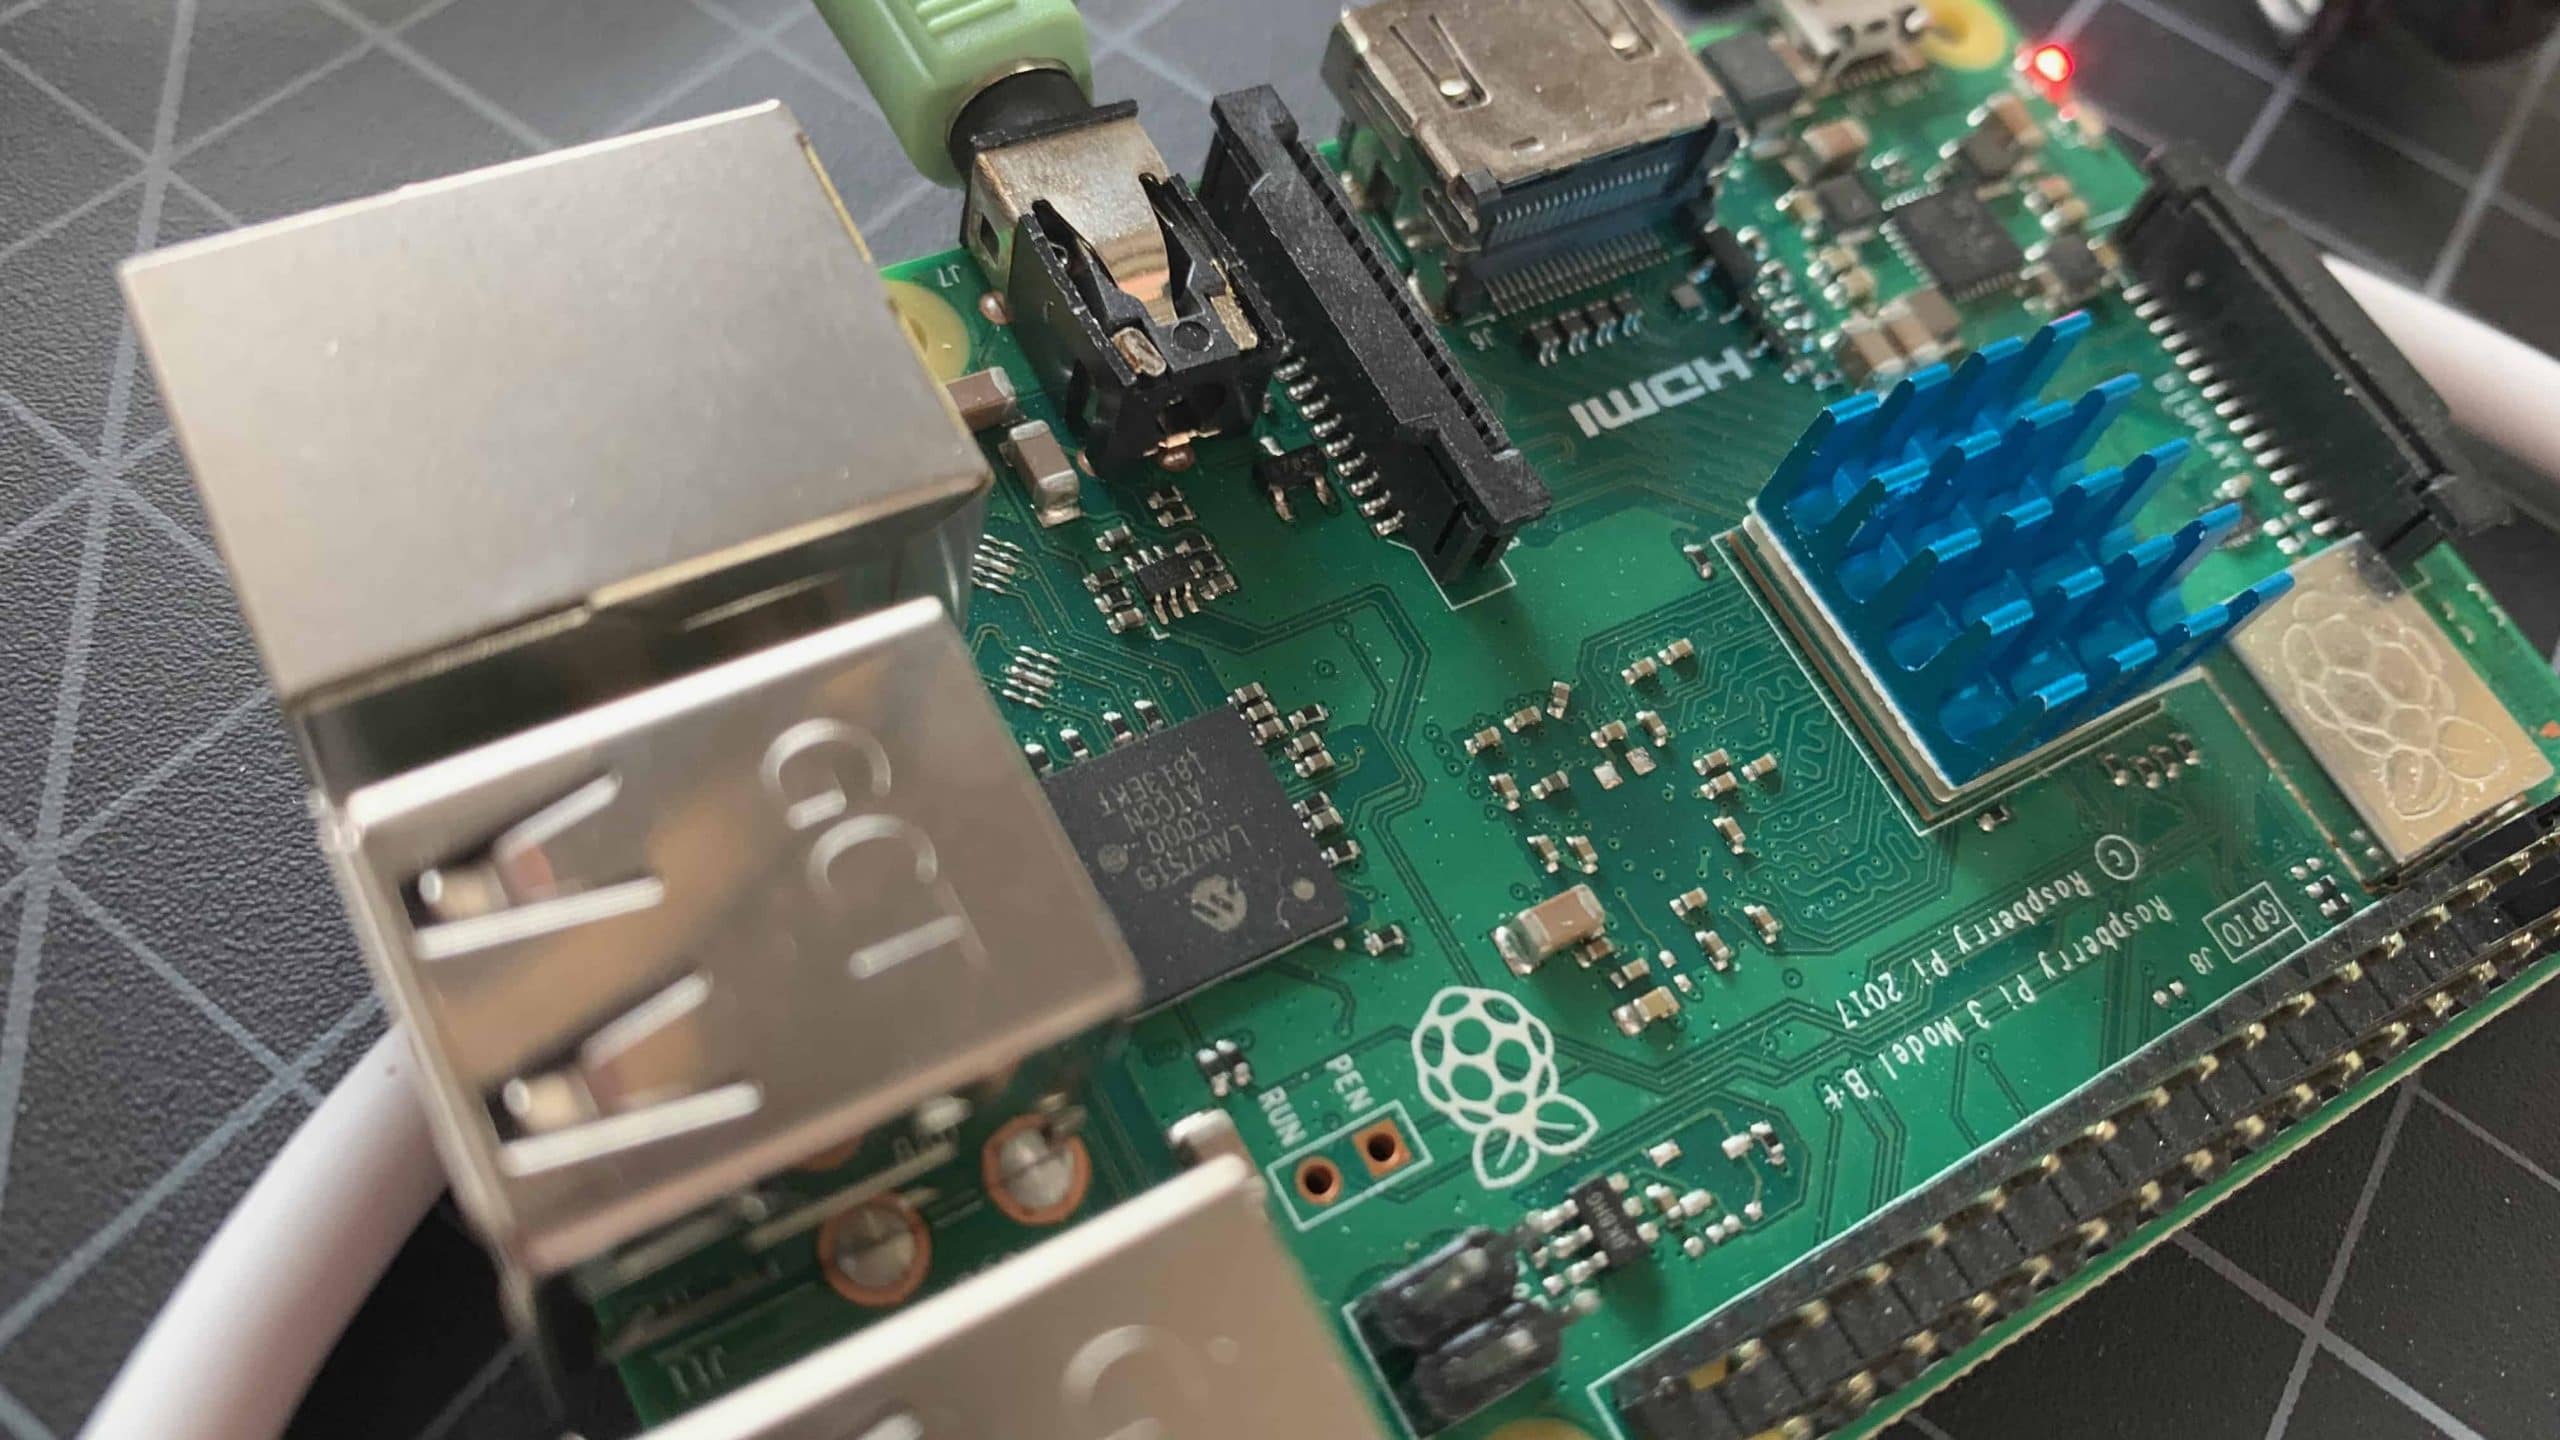
- Raspberry Pi 3
- RPi Power supply
- CAT5 Network cable
- Raspberry Pi 3 case
- Micro-SD Card
- Keyboard and Mouse
Changing the DNS Servers on a Raspberry Pi
Before starting this project it is highly recommended that you update Raspbian to the latest version of the operating system. Almost every problem reported to us is fixed by doing this first. To update your
[code language=”bash”]
sudo apt update
sudo apt upgrade
[/code]
Be careful of instructions floating around the web telling you to modify the /etc/resolv.conf file! This will not work on Raspbian will not change
Run the following command to edit dhcpcd.conf:
[code language=”bash”]
sudo nano /etc/dhcpcd.conf
[/code]
Once opened, add one of the following lines to the very end of the file:
For Google DNS Servers:
[code language=”bash”]
static domain_name_servers=8.8.4.4 8.8.8.8
[/code]
For Open DNS Servers:
[code language=”bash”]
static domain_name_servers=208.67.222.222 208.67.220.220
[/code]
For Cloudflare’s DNS Servers:
[code language=”bash”]
static domain_name_servers=1.1.1.1 1.0.0.1
[/code]
For your ISP, change the IP addresses to your own ISPs servers. For your router, your address will be something like 192.168.0.1, or 192.168.1.1 in most cases.
After making these changes its time to save the /etc/dhcpcd.conf file. In Nano, we save files by pressing CTRL + O. Then press CTRL + X to exit Nano. Now restart the the Raspbian dhcpd service to cause Raspbian to start using these new DNS server settings.
[code language=”bash”]
sudo service dhcpcd restart
[/code]
That’s all it takes to change
Testing the Raspberry Pi DNS Server Changes
If you’re a true geek, you’ll want to do what a geek does and open the hood to see your changes. Use Nano again to open the /etc/resolv.conf and you’ll see your new DNS servers are now present (assuming you did everything above correctly).
[code language=”bash”]
sudo nano /etc/resolv.conf
[/code]
Of course, the simplest way to see if they worked is to run nslookup. Type the following command:
[code language=”bash”]
nslookup www.thegeekpub.com
[/code]
You should be greeted with the following message if everything worked as planned (in this example, we used Google DNS):
[code language=”bash”]
Server: 8.8.8.8
Address: 8.8.8.8#53
Non-authoritative answer:
www.thegeekpub.com canonical name = thegeekpub.com.
Name: thegeekpub.com
Address: 107.20.215.52
[/code]
I hope this quick tutorial helped you along the way in setting up and using your
[amazon_link asins=’B01H4ZLZLQ,B01LPLPBS8,B01EV6LJ7G,B01EV70C78′ template=’ProductGrid’ store=’murraynet-20′ marketplace=’US’ link_id=’c98daf12-a9c4-49c2-8a92-850bbd2bb86f’]


4.5
5
How do you stop it from changing on every reboot
nslookup command does not exist on my pi3
you need install the package ———>sudo apt-get install dnsutils