Blog
How to make a Hobo Stove (Soda Can Stove)
Making a Soda Can Stove (Hobo Stove)
[adinserter name=”TopOfPost”]If The Walking Dead comes true we’re all going to be in for a world of hurt. The Walkers aka Zombies might actually be the least of your worries. In fact, they might not be a problem at all with a sharp knife to take them out. What is going to be a problem is starvation. Many people are going to starve to death and quickly. There’s only so much food to go around when no new production is happening. But it gets even worse. Water and food are going to need to be cooked, and its not going to be practical to cook outside all the time, and a log fire in your living room is just asking to burn your house down or kill everyone of smoke inhalation. What’s needed to solve this problem is a “hobo stove”! A hobo stove cooks food using regular old alcohol (basically any kind).
Making the Hobo Stove
To make a hobo stove you need to find nothing more than a couple of soda cans and some alcohol to power it. A knife or a pair of scissors will be the only tool you need.
 Step 1: Acquire the Parts for Soda Can Stove
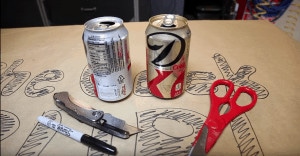
The first thing to do is acquire the parts. A couple of empty soda cans, and one unopened one if you can find one. Grab a marking utensil such as a pen or sharpie. A knife and/or a sharp pair of scissors works well to cut the cans with.
 Step 2: Practice some not so Hobo Safety!
The apocalypse isn’t actually upon us yet. So grab some safety gear and make sure to cover your eyes!
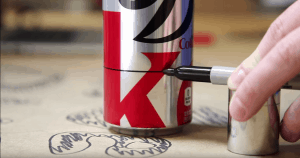 Step 3: Mark the Cans
Mark the cans for cutting. You’ll want to mark both about 1.5″ off the bottom, but honestly that’s just rough guideline. Just about any depth you like will work, but there’s little reason to make it bigger.
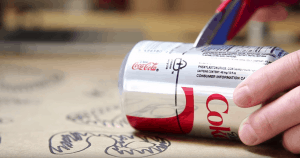 Step 4: Cut the Cans
Using the scissors if you have them or a knife if you don’t to cut the can on the line you just drew.
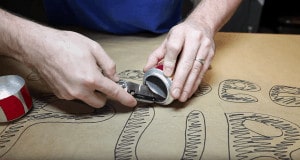 Step 5: Cut the Bottom out of the other Can
Using a knife, cut the bottom out of the other can. This is very dangerous as the can metal is quite difficult to cut. Just go slow and keep your fingers out of the way!
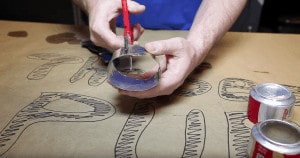 Step 6: Cut the Excess and Split It
Now cut the excess of the can about 1.5″ from the bottom. Then split that excess in half. This will be the ring we put in the center of the can.
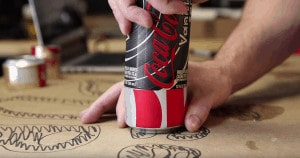 Step 7: Enlarge the Bottom Half
If you have an extra can that is still full, then press it into the bottom half of the soda can stove. This will make the assembly much easier as it enlarges the cans diameter.
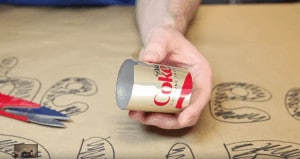 Step 8: Cut out the Fuel intakes
Cut two to three triangles out of the bottom of the center tube. This will allow the hobo stove to siphon fuel to the jets. Bigger doesn’t mean better. So start small and adjust if needed after a few test.
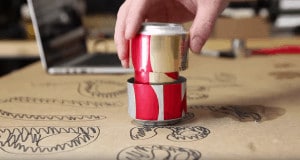 Step 9: Test Fit the Pop Can Stove
Lay the base down, insert the center tube, and then test fit the top. If it all fits, go on to step 10! Otherwise make any adjustments that are necessary or re-expand the bottom can with the full unopened can.
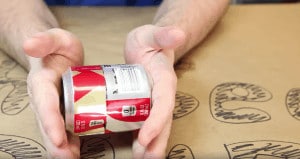 Step 10: Press them Together
Press the two cans together. This will likely take a bit of force. You can even stand on them with your foot if you need some extra force.
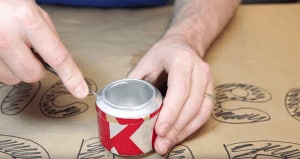 Step 11: Punch the Fuel Jets
Using your knife or any fine pointed sharp object punch a minimum of 16 to 20 holes, evenly spaced around the top of the hobo stove. These will be your jets when for when the stove is fully lit.
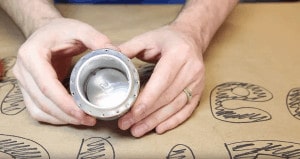 Step 12: Get Ready to Light It
Clean the can of any dust or dirt. Make sure there are not pieces of metal still in it, and not burs that you might cut yourself on during daily use.
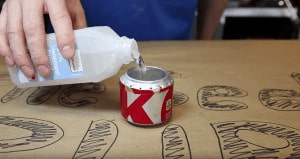 Step 13: Add Some Alcohol to the Can
Pour some alcohol into the can. Just a little is all you need. I am using isopropyl alcohol in the picture/video, but you can use just almost any alcohol: Vodka, or even Paint Thinner/Mineral Spirits. It’s the apocalypse after all! Find whatever you can. I suggest not wasting the Vodka though, you’re going to need that to drink!
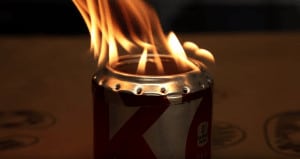 Step X: Light the Stove
Use a match, a cigarette lighter, or some sun rays with a magnifying glass to light the stove. You’ll need to let it burn for about two minutes before the jets take off and it really heats up.
The Completed Hobo Stove (Pop Can Stove)
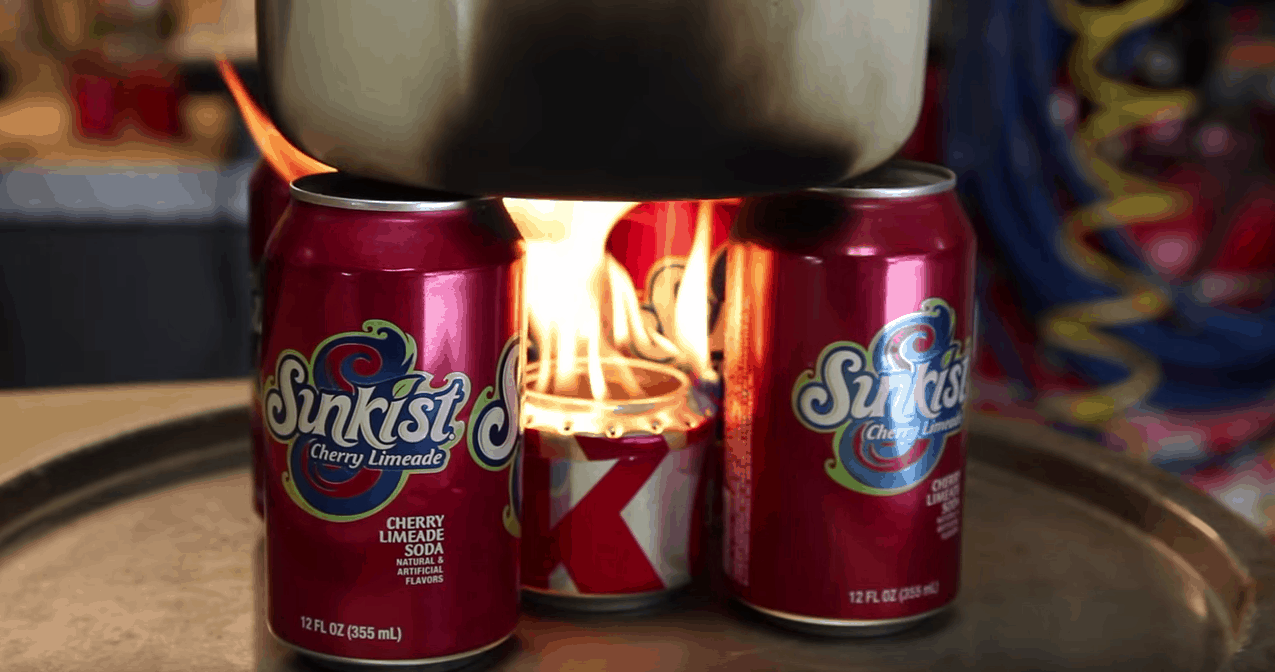
The completed hobo can stove is ready to use. I suggest using some other cans to set your meal on top of, and then putting the hobo stove underneath. This will make it much more efficient and allow it to properly breath! Enjoy! You’re prepared to cook when those “walkers” come to town, because I doubt Rick Grimes will be there to save your ass!
Video Transcript
To make a hobo stove, we’ll need two cans, some cutting utensils, and a sharpie. Now guys, we’re working with combustibles in this video, so proper safety is a must. Don’t take chances.
The first step is to mark a line about one and half inches up the side of both cans. It helps to sit the sharpie on something and spin the can. Then use our scissors to cut the bottom of the can off. We’ll want to use a razor knife for cutting the bottom of the can out. This is dangerous so take your time and work slowly.
Now we need to cut the top of one of the cans off. Discard the top and cut the lower portion in half. This strip of aluminum will be our inner ring. For this next step you’ll need an unopened soda can. Press the soda can into the in tact base. This will enlarge it enough so that we can press the two cans together. Take the inner ring and make two small triangular cuts at the base. This is how our fuel will travel to the burner jets.
So now it’s time to assemble our stove. Insert the inner ring into the base and then press the open top into the base that we enlarged. This can be a little tricky, just take your time and press it in slowly. Now we could use our drill to make the jets, but since there’s no electricity during the apocalypse, we’re going to use a punch. We’ll need to make sixteen small, evenly spaced holes.
I used isopropyl alcohol to power my hobo stove, but just about any alcohol will work. Fill it about half way up and then light it with a match or lighter. Now just stand back and let it burn for a while. It takes a bit to warm up, but in about two to three minutes you’ll see the jets starting to light, and before you know it they’ll be burning strong. Now you’re ready to cook!
I decided to boil some water with my hobo stove. After lighting the stove and placing four empty soda cans around it… I placed a pot with about two quarts of water on top. Now you know what they say about watching water boil? Well, I sat back and timed it with my iPhone. Well before I knew it my water was boiling nicely, and according to my iPhone it took less than 5 minutes.
Well guys, now you know how to make a hobo stove that can boil water and cook food during the apocalypse!

