Blog
How to make Magic Water-Proof Sand
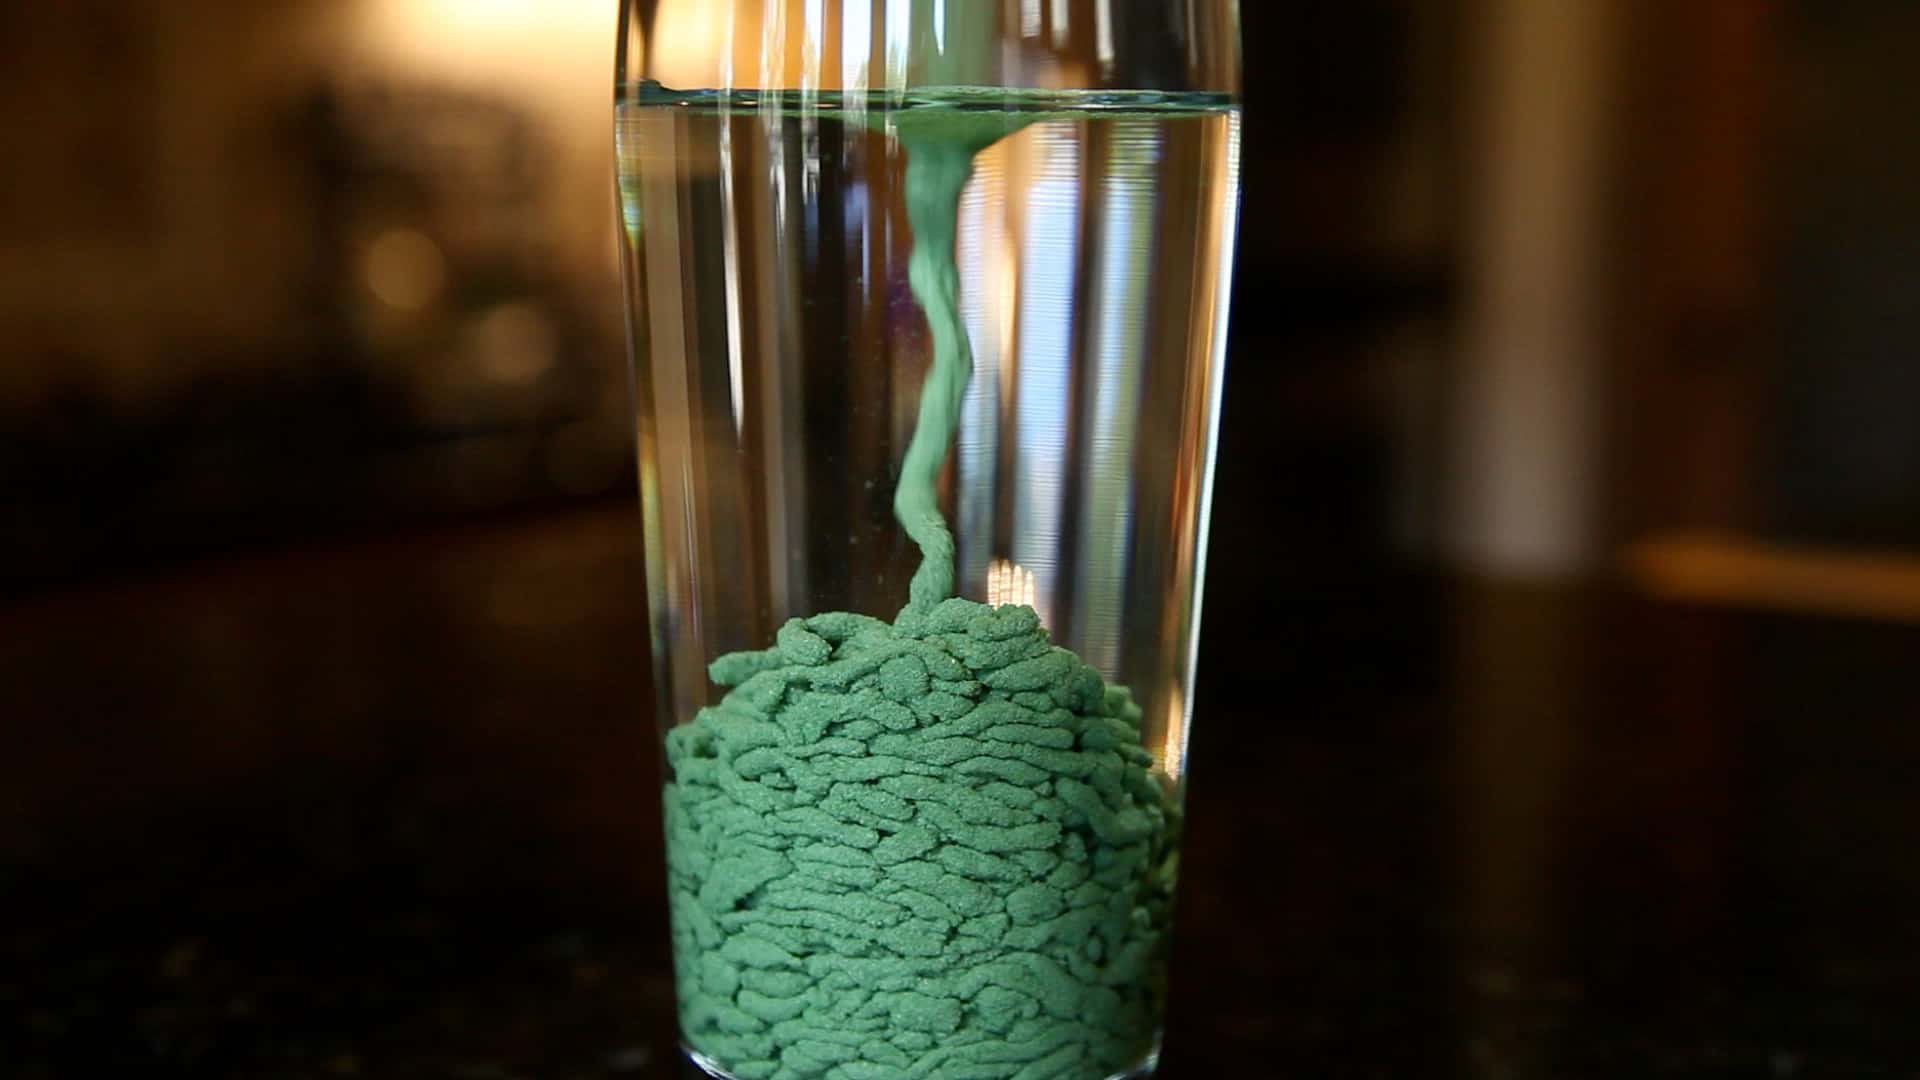
How to make Magic Sand
[adinserter name=”TopOfPost”]Magic sand is awesome. It’s one of those things that’s just sort of mesmerizing to witness. Sand that is somehow waterproof! Sand that refuses to get wet! If you didn’t see water proof magic sand when you were a kid in school, well I hate to say it. Your science teachers were lame! Magic sand is something every kid should see and learn about in school.
Magic sand works by coating the sand with a hydrophobic material. The hydrophobic material causes the sand grains to adhere to one another and form cylinders. This greatly minimizes the surface area when exposed to water. This allows for the sand to be completely dry when removed from the water, as no water was able to penetrate the individual grains.
Magic Sand Items List
Here’s a quick parts list to get you going on this project in no time:
Let’s make Magic Sand
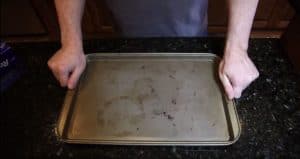 Step 1: Get a Flat Pan
You’ll need a flat baking pan. It can be any shape you have around. A rectangular pan works well, but you could also use a pizza pan or a deep dish pan (like the kind used to make brownies). It just needs to have a flat bottom.
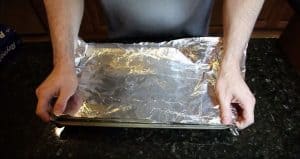 Step 2: Wrap the Pan with Aluminum Foil
You’re probably going to want to use this pan for food in the future. So let’s take just a second to protect it from the sand and the Scotchguard protector we’re about to spray it with. If you don’t plan to ever use this pan for food again, then this step is purely optional.
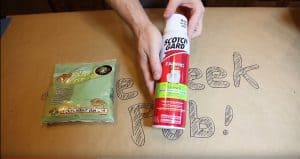 Step 3: Get your Sand and Scotchgard Protector Ready
You’re going to need some sand and some Scotchgard protector. The finer the sand particles are, the better it will work. I recommend getting some hermit crab sand from your local pet store. Any sand will produce the effect we’re looking for though, even beach sand.
Make sure you get Scotchgard Protector rather than cleaner (the can in the picture is wrong and will not work, where it says cleaner, it needs to say “Protector”). You can get the protector at just about any home improvement center or big box retailer.
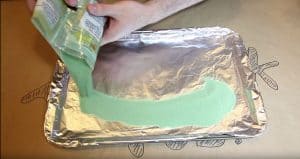 Step 4: Spread the Sand over the Pan
You’re going to want to spread the sand over the pan as thinly as possible. The thinner the later the better. Cover the entire surface area of the pan. If you have more sand don’t make thicker layers. Set it aside and make a second batch. The thinness of this layer is a key to correctly making magic sand.
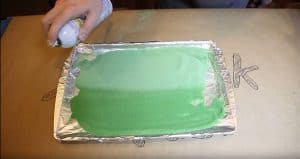 Step 5: Spray on the Scotchgard Protector
Spray on a fairly thick coating of the Schotchgard protector. The idea is you want it to penetrate all of the grains of sand. But don’t spray it on so thick that there is liquid pooling anywhere. The sand should easily absorb all of the protector.
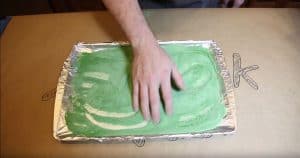 Step 6: Mix Up Your Batch
Wait 15 minutes (or more if needed) to let the Scotchgard protector completely dry. Once it is dry use your fingers and stir and mix the sand. The idea here is to expose any grains of sand that did not get coated in step 5.
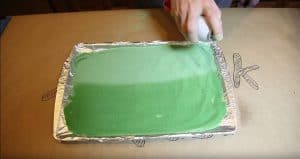 Step 7: Apply Another Coat of Scotchgard Protector
Once you’ve mixed it and spread it all back flat again, spray on another coat of the Scotchgard Protector. Repeat steps 5-7 as many times as necessary. I’ve found that it takes a good 4 coats to get the best magic sand effect. If you find your magic sand isn’t working, you probably needed more coats.
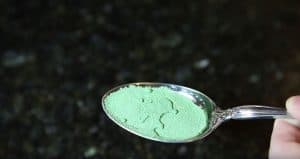 Step 8: Test the Magic Sand
The best way to test your magic sand to find out if it needs additional coats is to put some of it in a spoon and then drizzle some water on it under the sink. If its not working, your pan needs another coat.
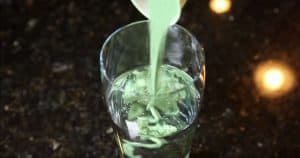 Step 9: Have fun with your Magic Sand
Pour your magic sand into a container of water! Go amaze your friends and family! Magic sand is fun to show off!
Your Finished Magic Sand
Magic Sand is fun for the entire family, and it’s a great and simple science project to use for explaining hydrophobic sand! Thanks for visiting us and watching our videos!
Video Transcript
You’ve probably seen Magic Sand at your local gift shop or magic store. Today, I’m going to show you how it’s made.
The first thing we’ll need is a baking pan wrapped with aluminum foil, so that we don’t damage it. Be sure to wrap it around the edges to completely protect it. The second thing we’ll need is some dry sand. I bought this bag of hermit crab sand at my local pet store for about $3 bucks. And lastly, the key ingredient is can Scotch Gard from your local home improvement store.
Now take some of the sand and spread it around evenly on your baking pan. I like to shake the pan gently to thin it out. Then spray an even coat of Scotch Gard over the top of the sand. Once it is dry use your hand to spread it around and mix it up. We want a whole new layer of sand to coat. Once you’ve smoothed it out completely, it’s time to apply another even coat of Scotch Gard. After dries you’ll need to repeat this process five or six times.
And that’s it! Now you have your own batch of magic water-proof sand to amaze your friends with! Try pouring some into a glass of water. The effect is quite cool and it really shows the water repelling effect of Scotch Gard. Since the sand is heavier than the water it just clumps at the bottom of the glass and pushes the water to the top.
Well hey, that’s it for this mini project. Thanks for watching.

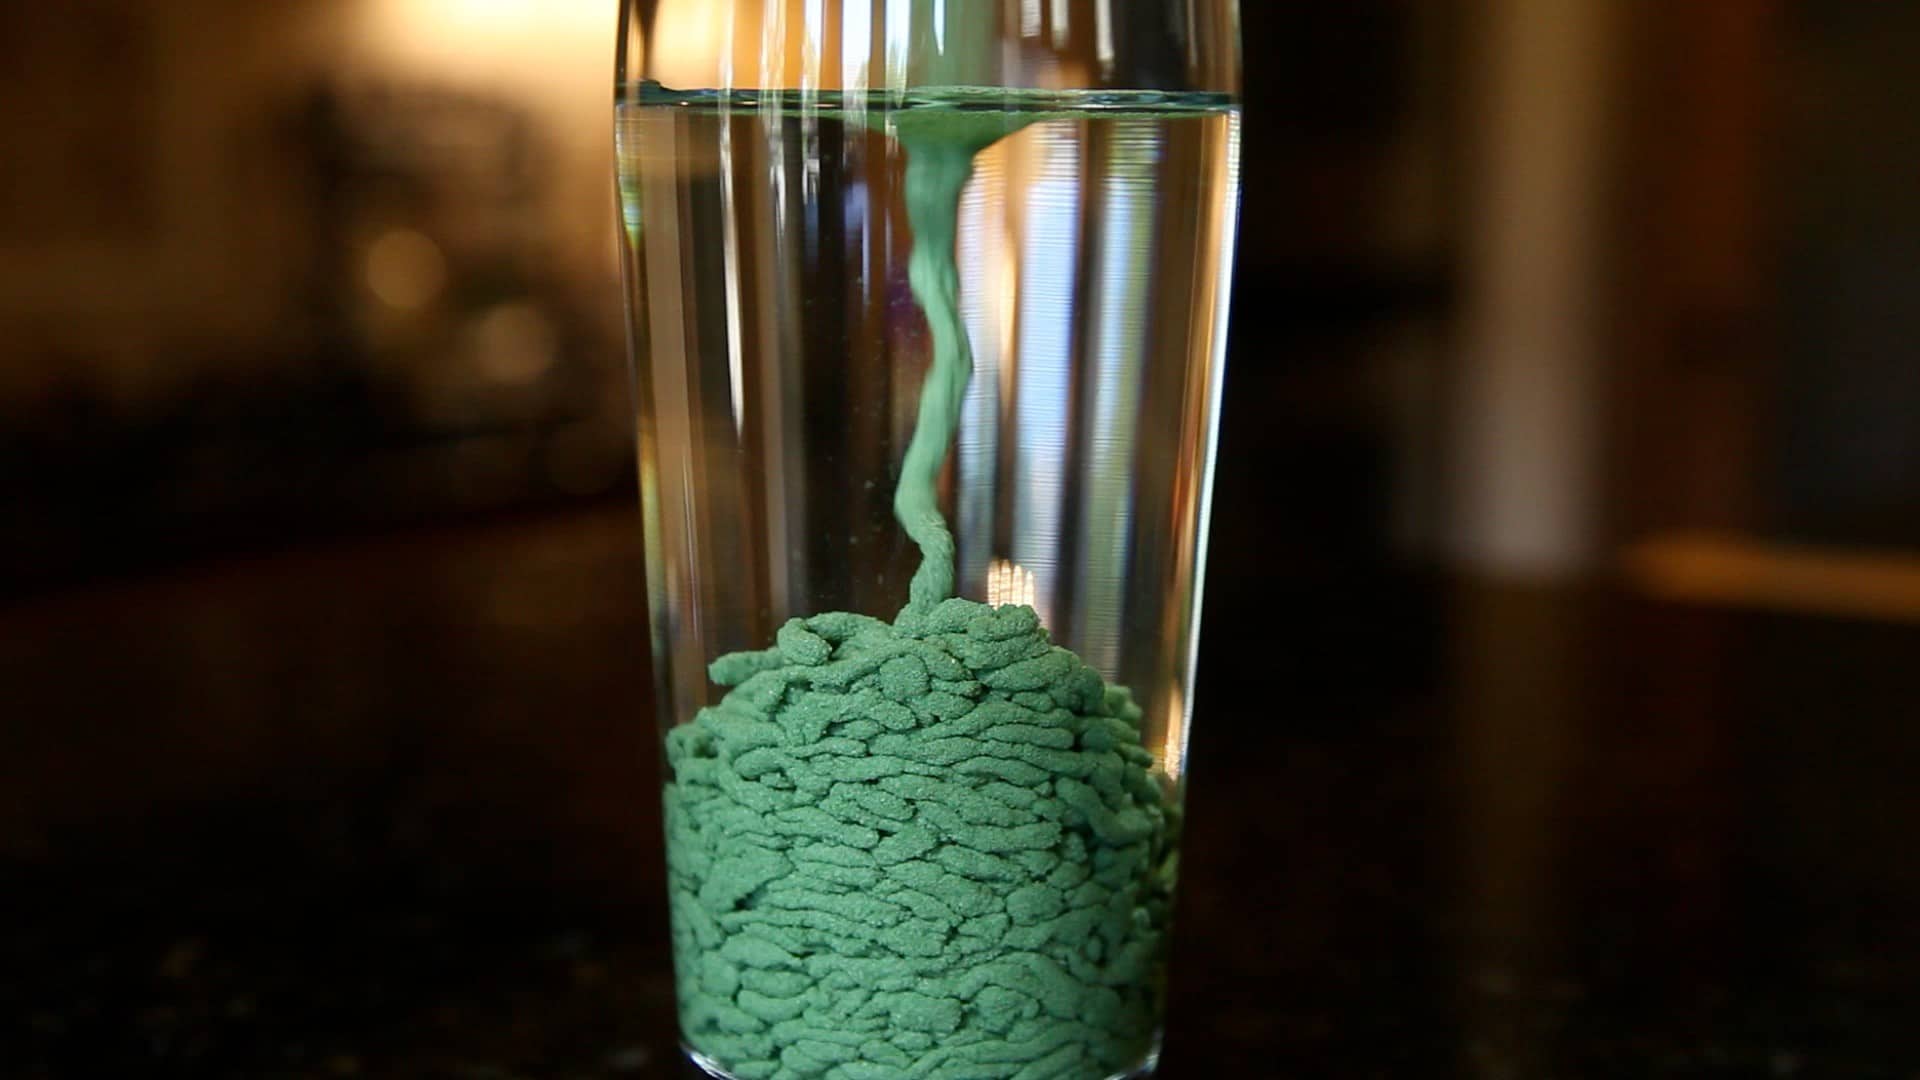






If you bring a spoonful of the sand back out of the cup of water, would it still be dry? Can it be re-used?
Yes. It is infinitely reusable.
Hi Mike Are there non toxic colorants you can add to this that won’t come off on your hands or leave a rig in the bathtub?
sorry typo meant to say ring not rig
1
5
Thank you for showing how to make the “Magic Sand”. I am wondering can the magic sand be used for holding pieces to be soldered?