Blog
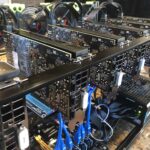
Tour of my Mining Rig
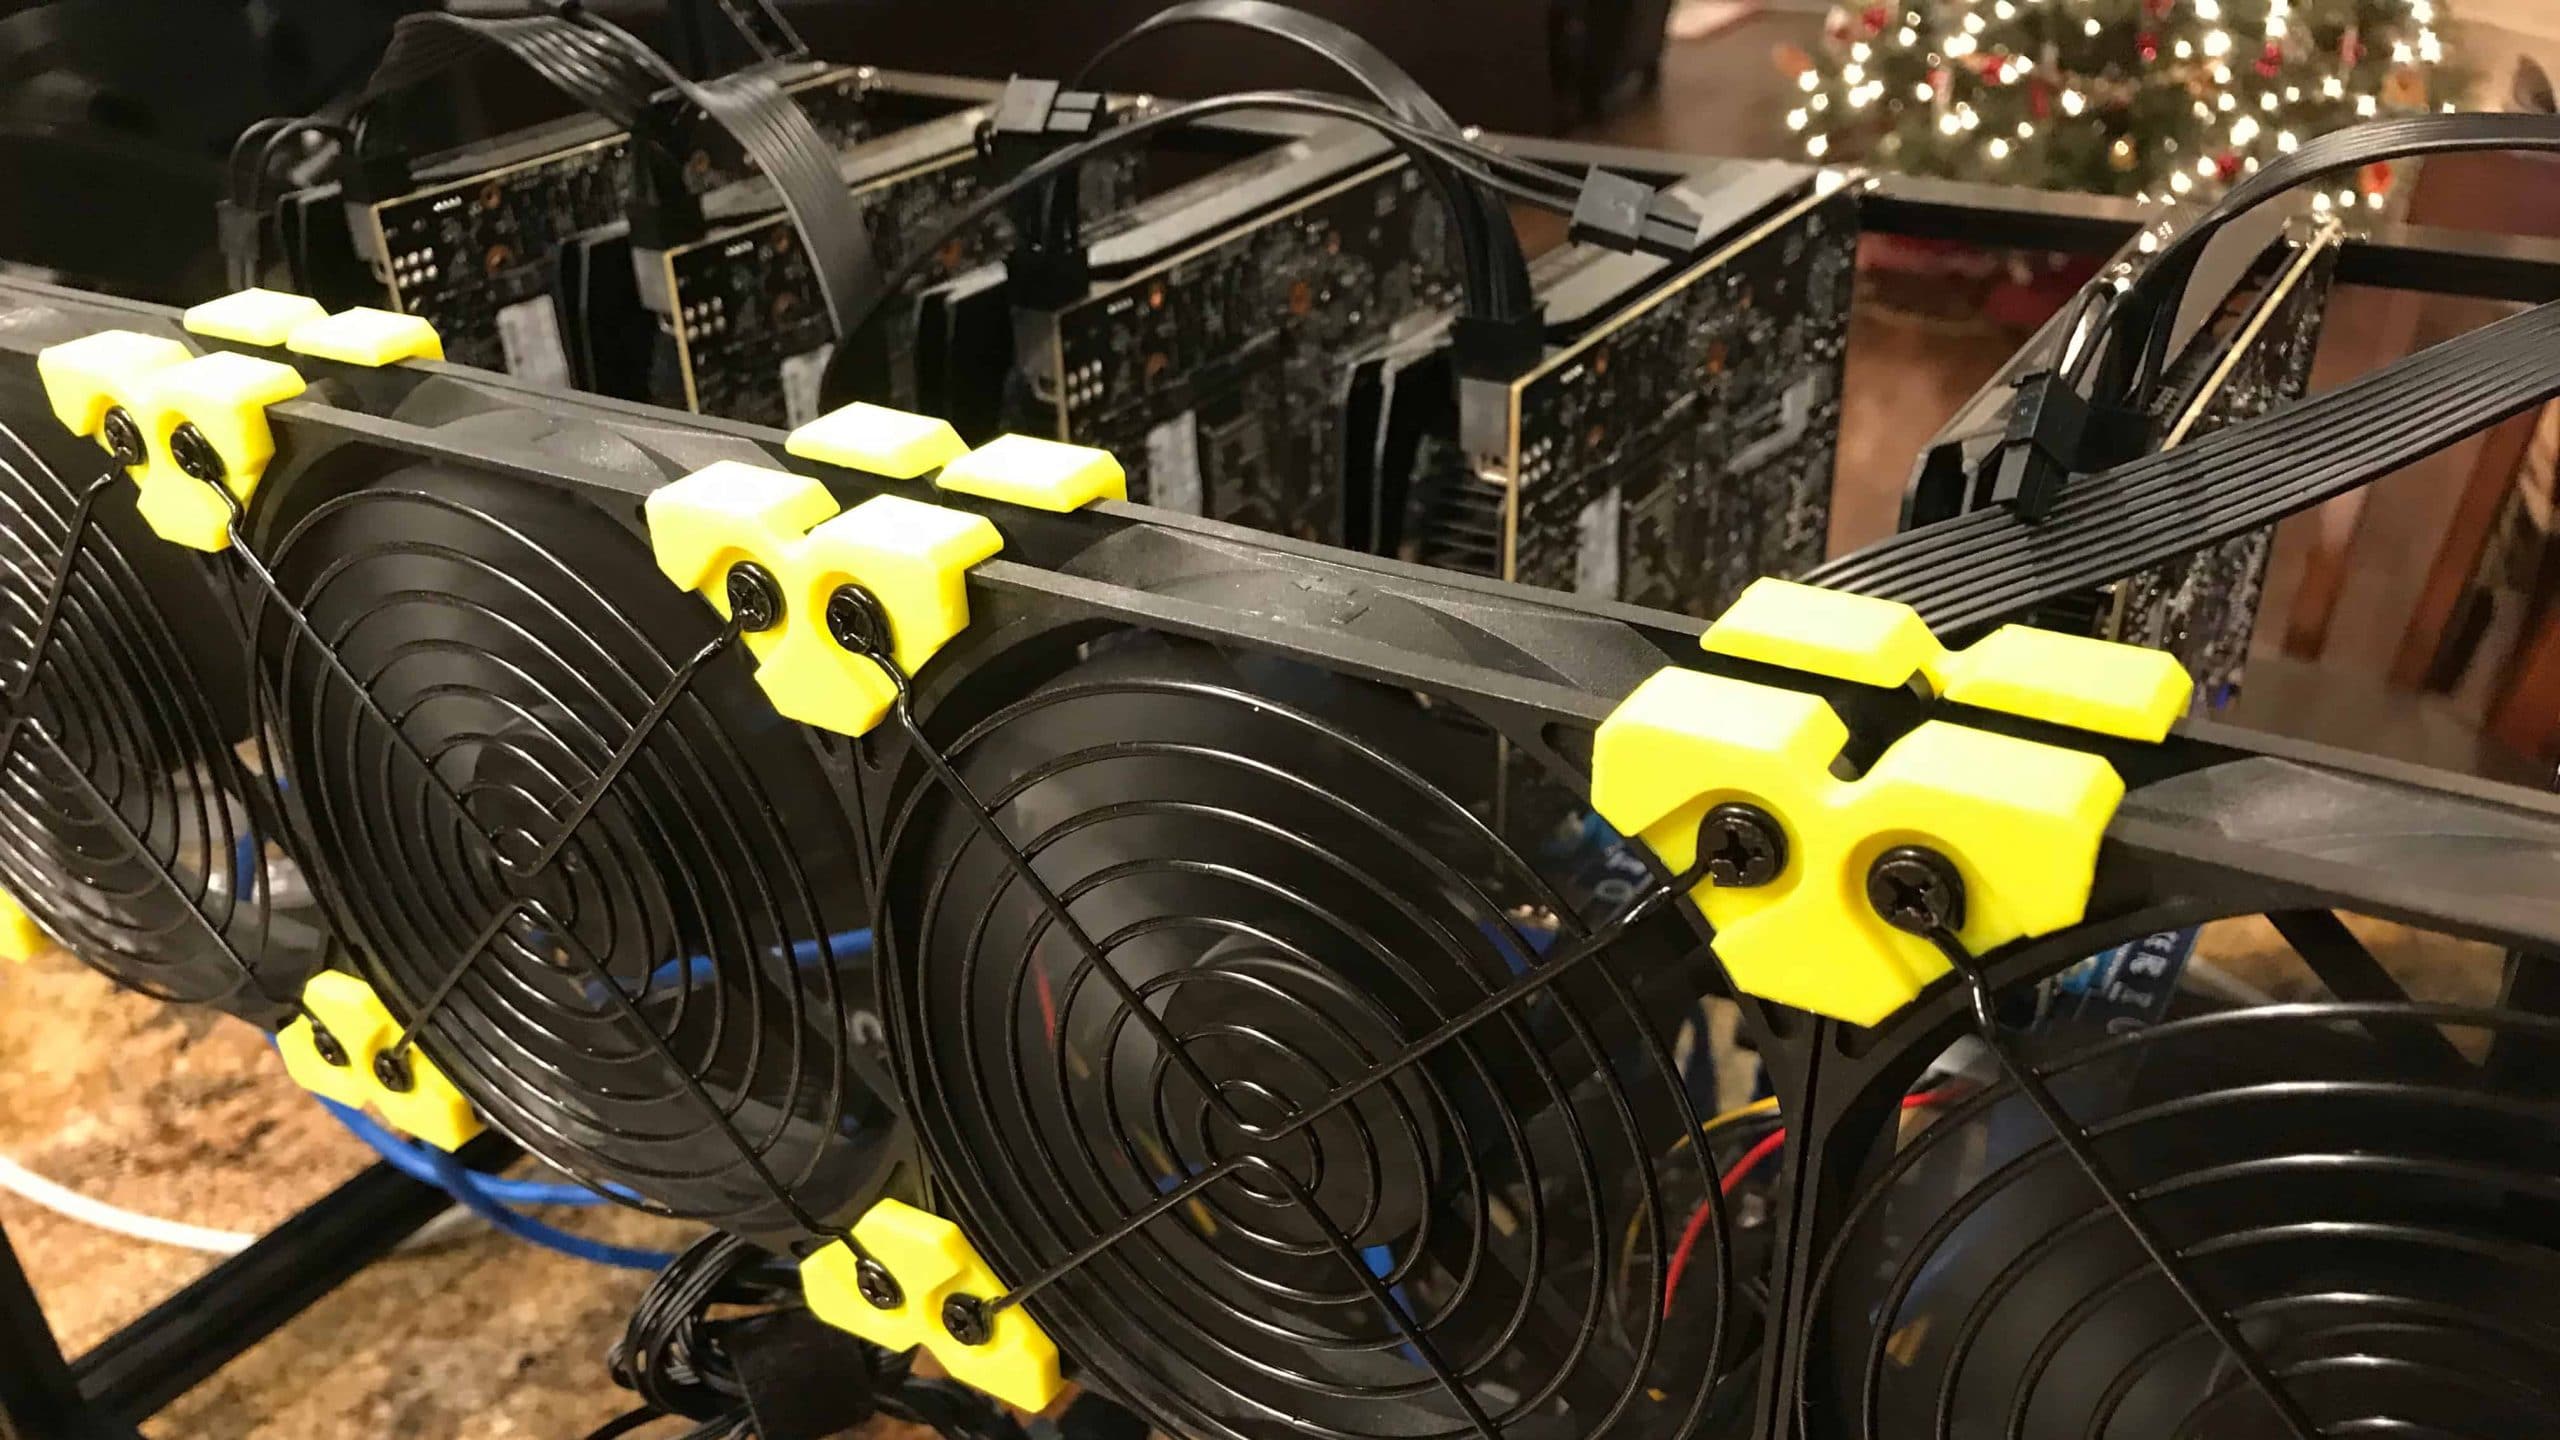
[adinserter name=”TopOfPost”]Cryptocurrency is all the rage right now. Bitcoin (the most popular type of cryptocurrency) has made national headlines recently for reaching its highest valuations yet – almost $20K/bitcoin. In this post and video and I am going to give you a tour of the mining rig I built to mine Ethereum (another popular cryptocurrency that is competing with Bitcoin). This can be a fun hobby and also one that makes money. It does of course come with some risk. All of which we will discuss shortly. It’s also a fantastic opportunity to learn some new things about technology, investment strategy, and the cryptocurrency itself. Mining can be one of those profitable and fun hobbies to have if you balance the risk and unknowns of a new emerging and unstable market.
Watch the Mining Rig Tour Video
Tour of My Mining Rig
So lets move on with the tour of my cryptocurrency mining rig. After the tour, we will run through some of the ins and outs of mining in general, so read to the end if you want to know more (or skip there now if you don’t intend to build a rig). As always, I’ll provide a link to all of the components at the end of the article if you’d like to build this rig.
The Mining Rig Case
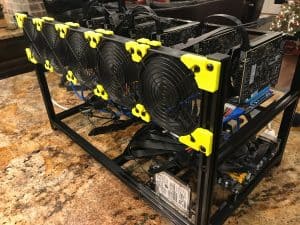
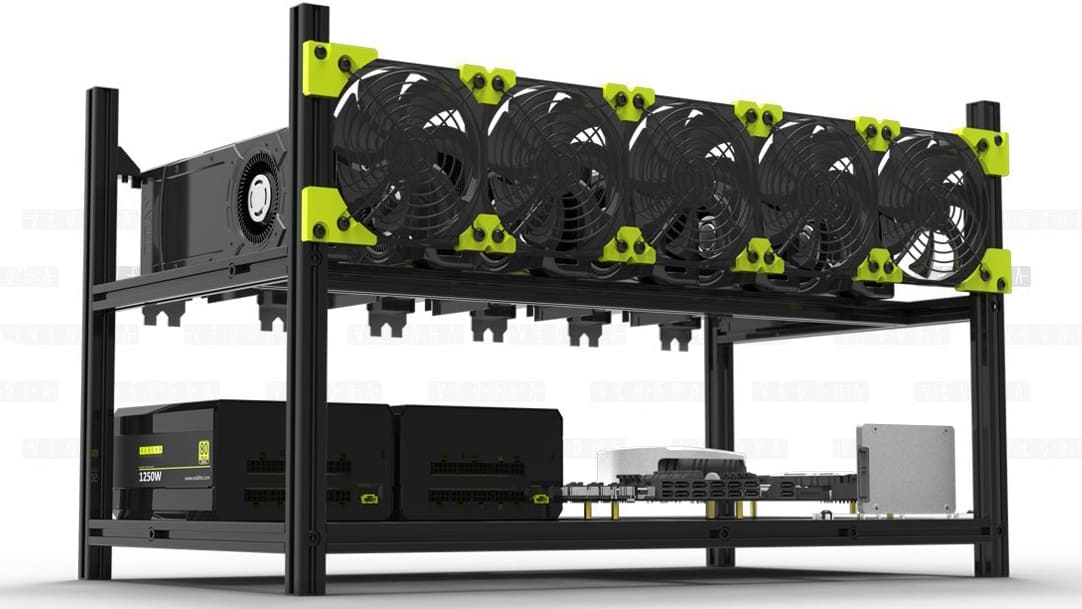
For my case I chose an open-air or open-frame case. This type of case is very popular with both home hobbyists and mining farms pros. There are several reasons for this, but at the top of the list is cooling. It’s super easy to keep all of those hot GPUs cool with this type of setup. The second reason is maintenance. It really just can’t get any easier than this to replace a failed component. No covers to remove, no cramped places to contort your hands into. It’s just super easy to replace any component in just a few seconds. The last reason, is that it is almost the perfect design to allow the use of risers.
About the only downside to this style of case is space. It takes up a lot more space than a traditional PC case would, or a rack mount mining case would.
I chose the Minercase V3 for my rig. It was affordable and super easy to put together. What you need to know is that all of these open-frame cases for mining are all made from off-the-shelf aluminum extrusions. Some people call it MakerSlide or MakerBeam. The fan clips can be 3D printed from free plans. You can most definitely build this case from parts cheaper than you can buy it on Amazon. But you need to think hard about doing that. It would take all day measuring, cutting, drilling holes, etc. to build this case from scratch. All to save about $40. What is your time worth? That’s an entire day your rig could be mining Ethereum. You’re probably better just buying the case. That’s the route I went.
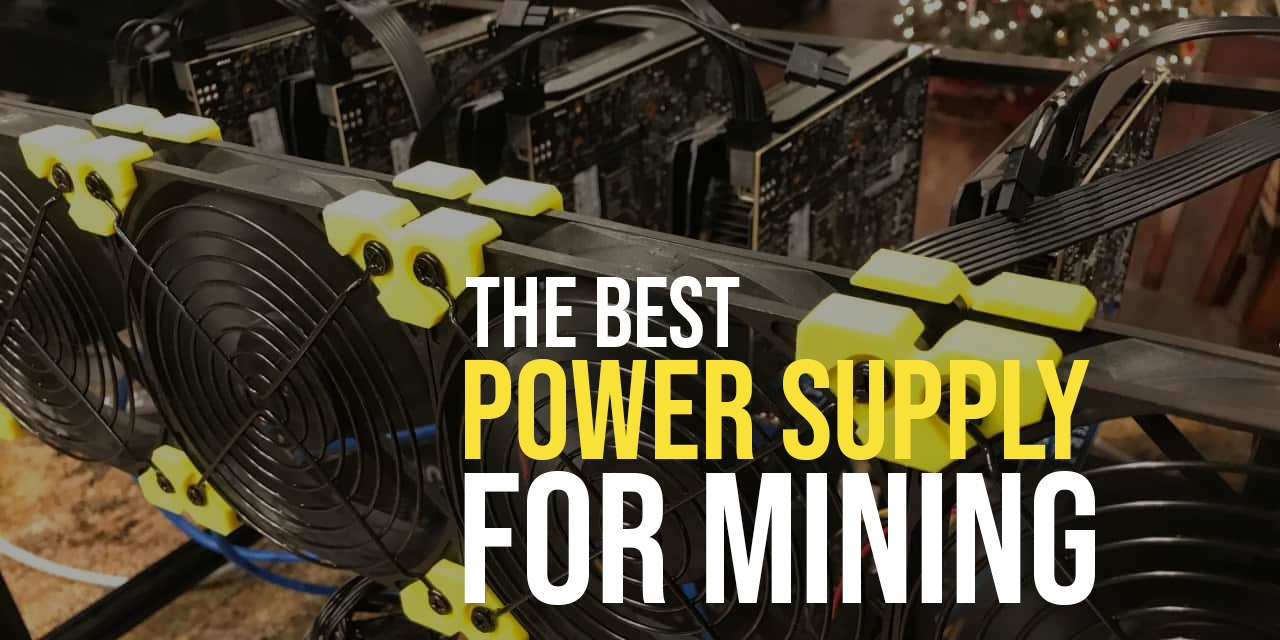
To keep the GPUs cool, I bought these awesome Rosewill silent 120mm fans.
One last cool feature of this case. They’re stackable and come with bonding clips to connect them together. You can stack these things floor to ceiling if you so desire!
The Mining Motherboard
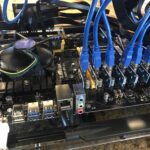
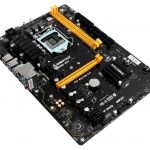
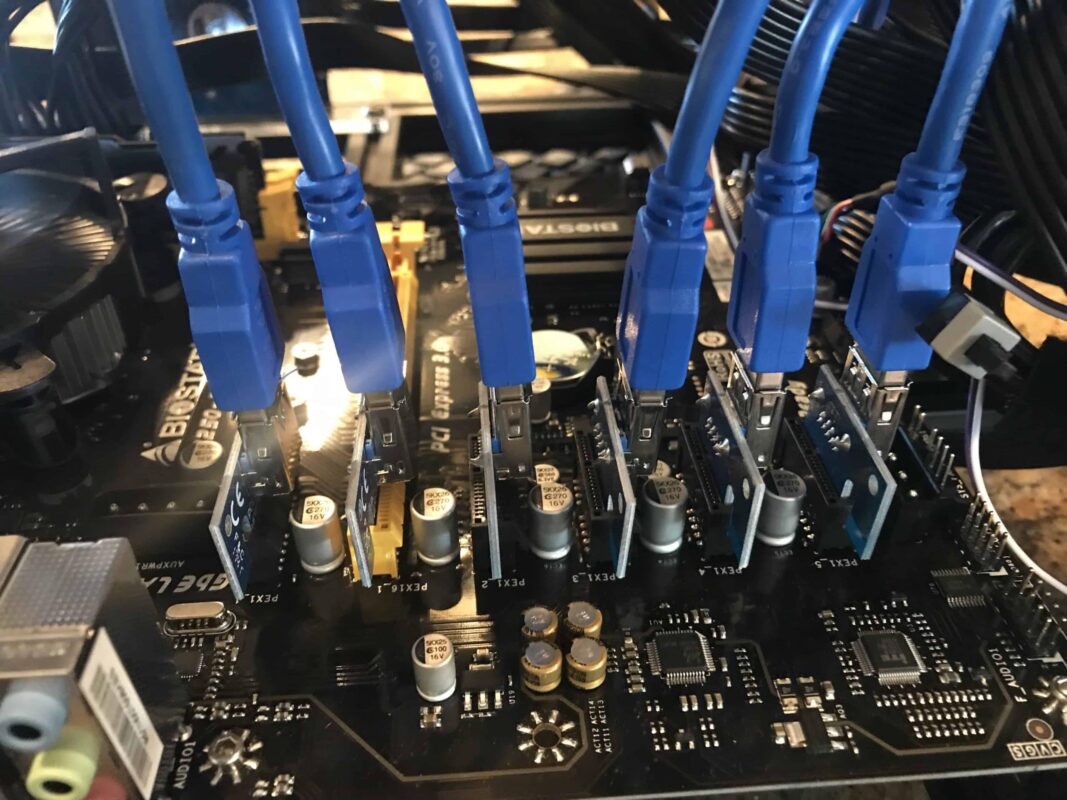
I bought the Biostar TB250-BTC motherboard for my mining rig build. This motherboard is designed specifically for mining rigs. The truth is, almost any motherboard will be suitable for mining. What Biostar has done here is make a motherboard that has six PCIe slots, some extra power options, and made the guarantee that their machine will work with PCIe USB risers that are commonly used on mining rigs. They even have a BIOS setting specifically called “Mining Mode” that will set the board up for you.
The PCIe USB Risers
This is the one that always throws new miners for a loop. What the heck are these risers and why do you need them!?! Well its pretty simple and really not complicated at all.
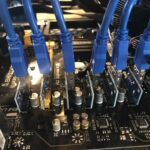
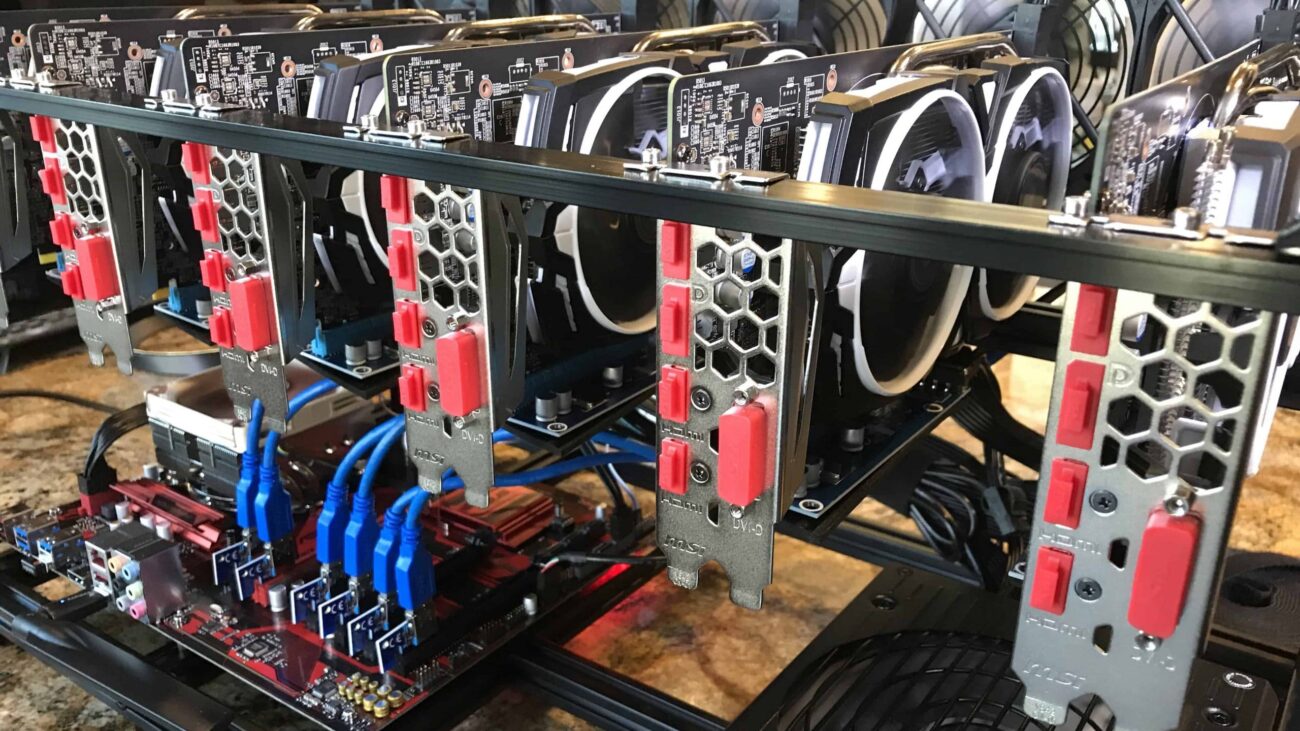
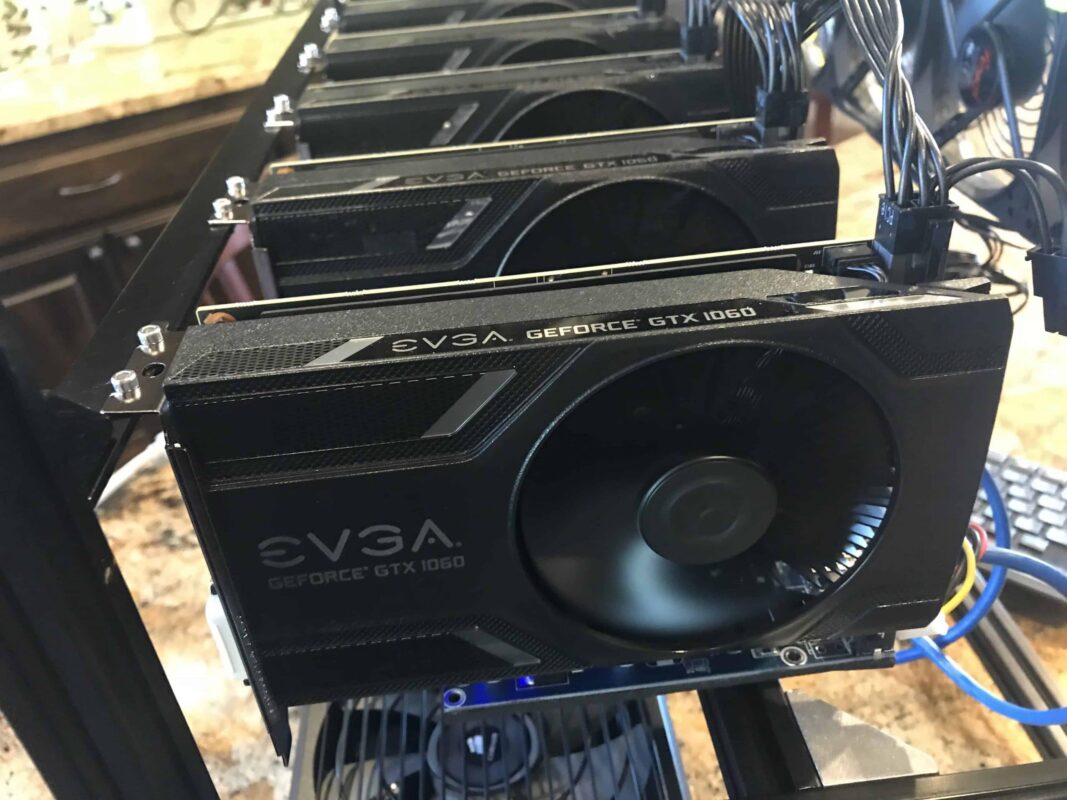
PCie Risers are designed simply to allow you to move the cards up and away from the motherboard. This allows you to properly cool the cards, something that is much harder to do when they’re all ingesting each others hot air. Just as important, these risers allow you to actually fit six (or even more) cards on a single motherboard. Most video cards take up two slots due to their size. Meaning you’d only be able to get two or three on most boards.
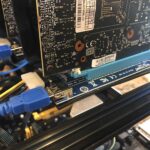
Additionally, most video cards need x16 slots, and most motherboards don’t have six of those! These risers convert X1 PCIe slots to X16 slots, albeit at X1 speeds. Which is fine, since for mining we’re doing all the work on the card’s GPU and memory and the system bus speed isn’t too important. These would not be suitable for a gaming rig.
The Power Supply
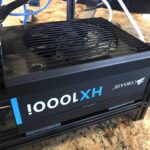
I did a lot of reading in forums and asked a lot of questions before I built this mining rig. The overwhelming consensus was that a 1200 watt power supply was absolutely critical to building a rig like this. The math just wasn’t working for me and I couldn’t find a 1200 watt supply that was affordable. I gambled a little and grabbed a 1000 watt power supply. I picked the Corsair HX1000i for a few reasons.
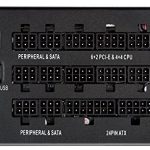
The HX1000i has a protocol known as LINK. This allows me to connect the power supply to the motherboard via USB. From that connection the power supply will transmit all kinds of useful information to the operating system including fan speed, voltage, wattage load, and a lot more. This was incredibly helpful for me with this build. As I added video cards to the stack, I could tell immediately what the draw of each card would be. My findings? Most of the people on the forums are bullshitters and have no idea what they are talking about. With six cards, overclocked +500 Mhz I am pulling an average of 516 watts. I could have used an 800 watt supply with no issues whatsoever. Don’t fall for the hype Dale.
The CPU and Memory
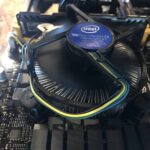
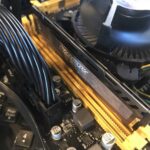
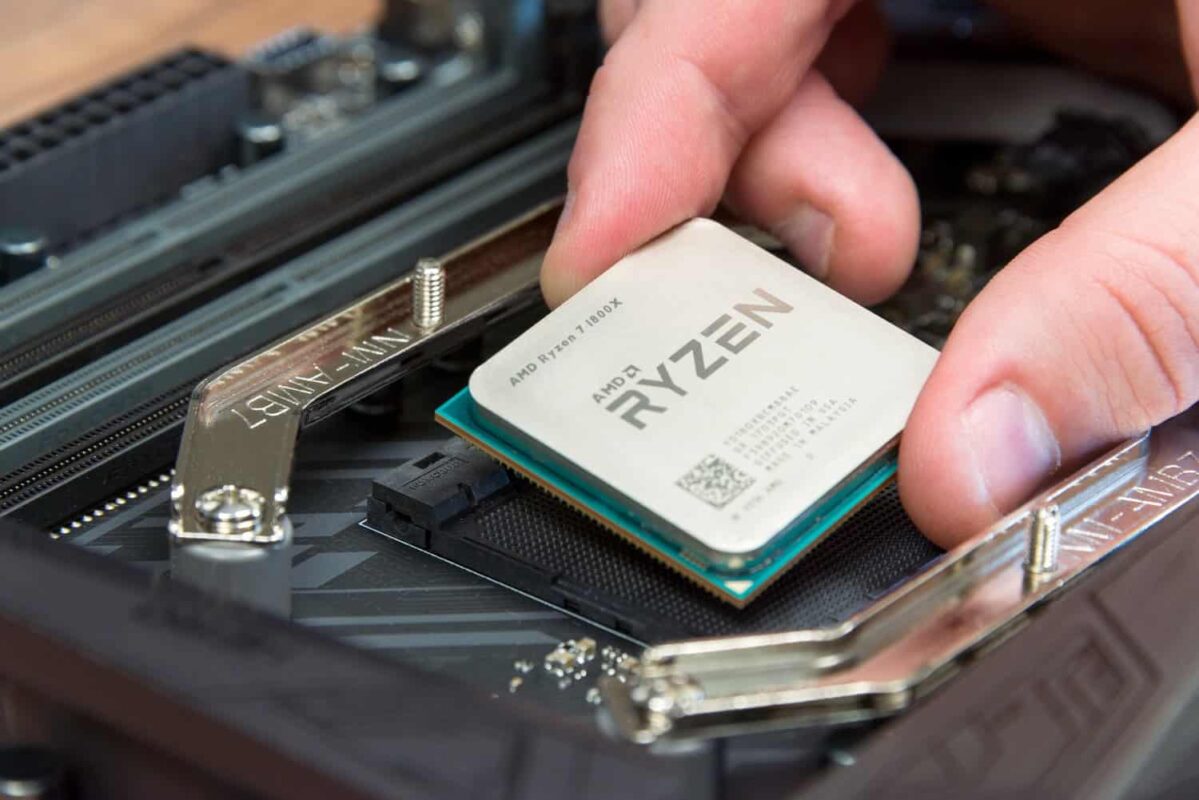
This is another area that often surprises new miners. You don’t need a lot of memory or a powerful CPU to mine cryptocurrency. In a mining rig the main CPU is just a traffic director and doesn’t do any of the heavy lifting. It’s all done on the video card GPUs! That being the case you can go with bare minimum amounts. In my case a cheap Celeron processor and 4GB of RAM. I highly recommend getting a Noctua silent cooler. This machine will be almost silent after that.
The Video Cards (Mining GPUs)
The video cards are the heart and soul of your GPU based mining rig. This is where all of the real work happens. The GPUs are the actual “miners”.
There’s a lot of debate on which video cards are the right choice. So you’ll likely want to do some research before deciding on your cards. It also greatly depends on what your goals are. If this is just a hobby and you’re not strictly doing it for profit, then it might make sense to pick better, faster cards than these. If you’re doing it to make a profit as your primary goal you’ll want to weigh your card costs and look at your ROI. In my case these cards costs $250 each. If the machine makes $300 a month it will take 5 months to pay for itself. You could put GTX 1080ti cards in your machine at mine about 20% faster. However, you’d spend almost four times the money making your payback time several years. For a hobby that doesn’t matter, for a business it is critical.
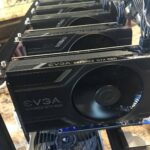
I landed on the NVIDIA GTX 1060 cards from EVGA as a compromise. They’re affordable, use very little power compared to other GPU choices, and have a great hashrate when overclocked between +500 and +800 Mhz.
Complete Parts List for this Mining Rig Build:
- Minercase V3: http://amzn.to/2kg2qL0
- Rosewill Silent 120mm fans: http://amzn.to/2ATSD7p
- Biostar TB250-BTC: http://amzn.to/2iOp10S
- PCIe USB Risers: http://amzn.to/2AUdnvR
- Corsair HX1000i PSU: http://amzn.to/2iPDsBL
- Intel Celeron CPU: http://amzn.to/2BSgrG5
- Noctua Silent CPU Cooler: http://amzn.to/2yMTfXN
- Ballistix 4GB RAM: http://amzn.to/2kPF5Uw
- 160GB 5400 RPM Drive: http://amzn.to/2iLJcfZ
- EVGA NVIDIA GTX 1060 GPU: http://amzn.to/2kQ4pd5
Is Mining Even Profitable Anymore?
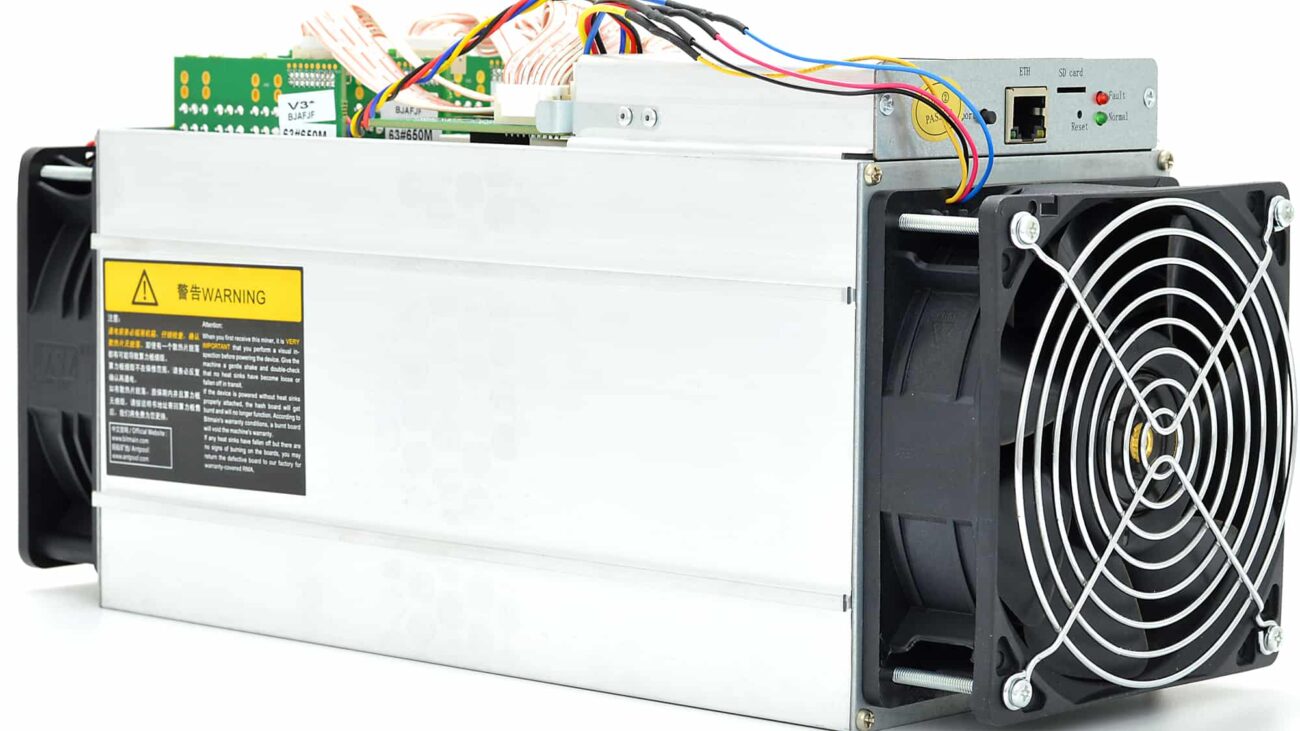
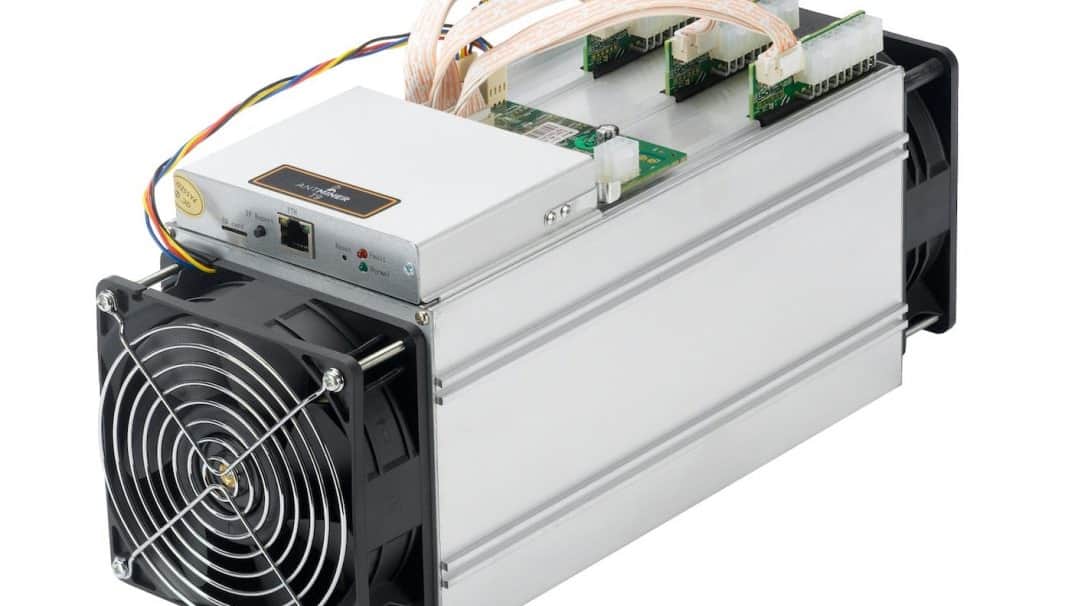
Well that totally depends! If you want to mine Bitcoins, you’ll need a purpose build hardware ASIC miner. This machine will be a big time money loser for Bitcoin. However, there are plenty of cryptocurrencies that can be profitably mined using GPU based miners. My personal favorite choice is Ethereum. This machine will make about $10-$12 dollars a day mining Ethereum at the current Ether price of $450. An Ether is just what Ethereum calls their coins. Of course, the price could go to $2000 tomorrow making it wildly profitable, or it could go bust making it worthless. That’s the nature of this new and emerging market. It could be the next Apple or the next bubble that pops. There’s a lot of opinions, but no one can tell the future even if they claim they can.
The Reasons I Built a Mining Rig
 For me, I built this rig for two main reasons:
- Knowledge and Learning
- Maybe make some cash
Learning is Something I Enjoy
Seriously. I know we live in a world today where people expect their ignorance to be taken as seriously as someone else’s knowledge, and where school children actually despise the education they are receiving. For me however, I want to learn something new every day. Sometimes it is something small, sometimes it is something bigger.
So the main reason I built this rig was to learn the ins and outs of cryptocurrency. Not just to understand how to mine it, but to truly understand how it works and why it is an important new technology. So the money I spent on this machine was a cheap education in the end.
Maybe I Can Make Some Cold Hard Cash
If something new I learn makes me some cash then that’s just fantastic. Since I started The Geek Pub almost 10 years ago, I have done a lot of experiments with how to make money. Some of them failed. Some of them worked beyond my expectations. In fact, some of them I didn’t even expect to work and took off like wildfire. I’ve made a lot of money on my experiments, and to this day I have not ever lost anything of significance on a failure. The reason why is two fold. First, I never “invest” anything I can’t afford to lose if it flops. There’s big difference between losing your lunch money for a week and losing your home. Invest wisely.
The second reason is that I always invest in a way that reduces or mitigates my risk. In the case of this mining rig, if the market for cryptocurrency pops like an overinflated balloon tomorrow I will have lost nothing but my time at the end of the day. If I had spend $1500 buying Bitcoin that money would just disappear. It would be gone in an instant. By putting that money into this rig instead, if the market pops I still have the rig. I can break the machine down and sell it, or repurpose it for something else like a PLEX media box or a PC for my kids. I still have an asset. Remember, invest wisely!
Where I Stand and the Future
Where I stand right now is interesting. I’ve made about $3000 cold hard cash in my cryptocurrency adventures. Some of it from mining, some of it from buying some, holding it and then selling it off. I’ve ordered an ASIC miner for mining Bitcoins using some of the profit. We will see where that goes!
Bookmark this page and check back in a year to see if I went bust or not!
Cryptocurrency/Bitcoin/Ethereum Mining FAQ
Q: Why does mining use GPUs instead of CPUs?
A: Think of it like this analogy. If you had four really smart scientists and put them in the desert with nothing but hammers and shovels, and then put a big brute with a whip behind them and told them to build a pyramid. How fast would these office worker guys get the job done? Not very fast. Their intelligence doesn’t really matter. Those four scientists make up the modern quad-core CPU. GPUs on the other hand have thousands of cores. They’re not very smart, but really good at one job: math. So in our same analogy if you take thousands of dumb guys and put whips behind them your pyramid will get built much faster. You just need brute force laborers to get the job done.
Q. What if the bottom falls out of this tomorrow?
A: It might. But read above. I’ll still own the hardware and will have lost nothing but my time. There are risks in every investment. Mitigate your risk as much as possible and dive in. Those who take no risk in life won’t ever win. Some level of risk is unavoidable if you want to rise above.
Q: What if Ethereum moves to Proof of Stake?
A: If the change eliminates miners (which is still unknown), then I will move to mining another coin. There are plenty of cryptocurrencies that can be mined by a GPU. Moving to Proof of Stake is a bad move for them in my opinion. I understand the reason why, but the community is what keeps a coin moving forward. If all the miners jump ship and get pissed off, then no one will invest in Ethereum and it will tank. The developers better be sure they know what they are doing before they do it (if it even ever happens).
Q: Where are you keeping your miner?
A: Well, since my wife won’t let me keep it on display in the kitchen, I currently have it sitting in the garage. When I am making a bunch of dust out there I move it inside the house to my office for a while. I just don’t like it in the office due to the noise.
A friend of mine is considering getting a warehouse/shop. If he does that I will move it to his facility and pay him some sort of rent.
Q: How many hashes per second can your machine do?
A: My current Ethereum hash rate is averaging 133.7 MH/s. I suspect I could get another 3-4 MH/s by upping my overclock. I’m just not willing to risk stability of the system right now. I know its 100% stable at this rate.
Q: Are you going to build a second machine?
A: Maybe. But not anytime soon. I don’t have a place to put it. And since I have an Antminer S9 on the way already that sort of counts as my second machine anyway. We shall see. Check back in a year! 😉
Q.: Would you use all the same parts again?
A: Probably pretty close. I’d definitely look at a less expensive power supply. But you have to be careful with that. Cheaper power supplies also tend to be less efficient. You might wind up saving $50 only to pay it back in electricity over just a few months. I’d probably get whatever the cheapest CPU is at the time. It’s almost irrelevant. I’d also cheap out big time on the hard drive. Like this $19 one on Amazon. Hell, you could even boot off a USB stick.
Q: Why did you go with Windows instead of Linux?
A: Well, first of all I didn’t feel like dicking with drivers and configuration files for hours on end getting it setup. Additionally, it is well known that the GPU drivers for Windows are fare better, more stable, and better optimized. Windows was just a safe bet. I love Linux though. All of my server gear runs Linux. Maybe someday I will switch. Who knows.
Q: Seriously, you should switch to Linux?!
A: Go away troll.
Q: How much heat does it put off? How loud is it?
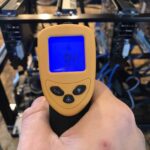
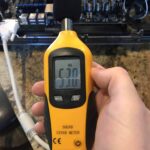
A: Not as much as you would think. But it will keep a room nice and toasty if you shut the door. According to my infrared the cards put out about 94 degrees at the back side. As for noise the noisiest part of the rig is the stock cooler on the CPU. If I replaced that with something quieter I could seriously cut the noise levels. Right now it shows around 50-53 decibels on my decibel meter.
Update: After living with the noise for a couple of weeks I upgrade the CPU cooler to a Noctua Silent Cooler. The entire machine is basically silent now.
Q: How much power does this miner use? What’s your electricity cost to run it?
A: About 520 watts. We’re at 0.065 Kwh here in Texas.
Q: What did you say that case is made from again if I wanted to build instead of buy?
A: It is nothing more than extruded aluminum beams. Sometimes referred to as MakerBeam or MakerSlide. You can buy kits of it on Amazon to make all sorts of things from: http://amzn.to/2iNgtas

This is just freaking awesome Mike! Thanks for posting this!!!!
Sorry if this was asked and answered, It looks like you custom mounted the power supply? The case “instructions” seem to show the power supply bolting the that poly part that you have in front of the mother board header. You PSU is also oriented out the short side and not the long side. It looks like you have something in the maker beam slot but nothing I could sleuth out from the video.
Did the included part not work or did you just want the power cord out the side? Like you, i have been wanting to get into mining because I’m a build stuff junkie. Your video really helped fill in the questions on the software side. I’m currently building the same rig. Glad I saw your note about the fan clips, I was trying to figure out how you had more than the kit came with 🙂 Cheers.
-Ralph
Because of where I was putting the miner I wanted the power cable to come out of the side rather than the back of the case. That’s the only reason I did that. I am planning to move it to a new location next month and will move the power supply to the “correct” orientation at that time.
Well I’m mining! About 120 Mh/s. I’m seeing DCR errors but I think that I’m probably short on power. I had an AX650 laying around so I started with that based on your 5xx watt readings. I have a killowatt meter that says I’m drawing about 7 amps at 120 volts so that’s a lot more that 650. My bigger power supply is already on it’s way but I figured I’d play with what I had. Been a fun learning experience. Looking forward to spending some time dialing in the overclock on all the cards once I have the psu.
Hi Mike, thank you so much for putting this together! Could you possibly explain how you configured the PSU to power the 6 GPUs? I have the same PSU, and it only has 6 8-pin connectors. Wouldn’t you need one 8-pin for the MOBO, leaving only 5 for GPUs? How did you get around that? Ultimately, I want to power 3 Rog Strix 1080 ti, which EACH require two 8-pin connectors. Would this be possible on the HX1000i? Thanks in advance!
Were there any specific instructions you followed (or could share) regarding the Claymore / Awesome Miner setup? Was a Nicehash user and looking for an alternative. Winminer not accepting new users, and I’ve been running Minergate, but not liking what I read abut them on reddit.
Not sure what instructions you are looking for. You just click the install files and next next next.
Learn more here: https://www.thegeekpub.com/11292/how-to-mine-ethereum/
What is the total cost of your rig? And the average power consumption/month? And also the software you use? Thanks! Nice setup btw.
Does it have video training creating the mining rig?
Hii, Would you tell me the software which you used to mine all the Cryptocurrency..
Learn more here: https://www.thegeekpub.com/11292/how-to-mine-ethereum/
I love everything about this build. Damn is that machine sexy too! Great job Mike!
Thanks for this Mike – easily the best walk through/rig tutorial I’ve seen! One small question: did you connect via Ethernet or Wifi? I saw there was a busy usb stick in the video and wondered if that was the network connection? If so is there one that you would recommend or are they all pretty much the same?
Thanks again for a great breakdown!
I used WiFi while making the video (no ethernet in the kitchen). In my office it is wired. I honestly doubt it makes even the slightest difference. Mining barely touches the network.
thanks Mike. actually i was really asking in reference to drivers – as a linux n00b, i just wondered if any usb stick in particular was recommended or should everything work these days?
Got it. Most any USB WiFi will work with Linux, but the hands down favorite seems to he the TP-Link, and its super cheap: http://amzn.to/2zLWn6z
brilliant? ..many thanks
Hey Mike great walkthrough. You mention plans for the 3d printed fan clips. Do you have a reference for where I can find those? Thanks
Hey Mike, great post!
I have a quick question. Your GPU is consuming 120W each and the total power consumption for GPU alone is already 720W (6 x 120W). But, you stated the usage is about 520W only. Can you share more on how you achieve this?
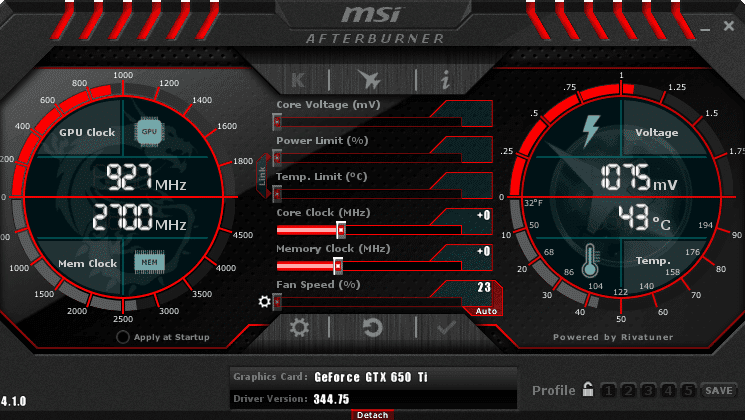
Using MSI Afterbuner to lower the power consumption. Go here: https://www.thegeekpub.com/11350/overclocking-a-mining-gpu/
Noted Mike 🙂
Hi Mike,
Really good article.
Do you have an idea of the hash rate for this rig?
S.A
Hi Mike,
I followed your build to a “T” and actually came in a little lower on the power consumption, 515 Watts. 😀
The EVGA 1060’s run so cool I really don’t needs the fans, though I’m having a issue with powering the 5 fans. I purchased a 5 into 1 splitter with 1 molex connector attached and the fan header 4 pin switch. Hooking it up to either sys_fan1 or sys_fan2 I’m able to get the fans to light up but no movement. Well maybe twitching but thats all.
If you can offer any suggestions I would really appreciate it and thanks again for the wonderful right up and video.
-R
Damn, we pay over 35 cents for each kWh in Germany…
Great video. In fact I am building your rig now has you have it. Got a Home Depot wire shelf for 35$ and am able to build 3 rigs into it.
Couple questions.
How do I get windows on that blank hard drive?
How do I get the power supply software into the system with cd unit?
Do I need to put cd program in for the nvididias?
Thank you!
I wonder how you manage the output from the power supply. There are 6 GPUs + risers + 5 fans + motherboard + hard disk. Sorry if its a dumb question, but I can’t figure it out
is the modules on the PSU enough, or did you share any power through split cables.
I connected everything directly to the PSU and had plenty of ports left over.
Thanks for replying, my concern is that there’s only 6 8pins port on the PSU. But you got 6 cards + 1 CPU to power on those port isn’t it?
I have 5 GTX 1060 GPUs in my rig. set Power limit to 78% in MSI Afterburner. Still it is consuming 615 W. 🙁
Any suggestions to improve?
Which card model (exact number) and brand are you using?
Hi Mike, thanks for the prompt reply, these are the cards I have in my mining rig.
2 – EVGA GTX 1060 SSC 6GB, 2 fan version
1 – EVGA GTX 1060 FTW 6GB, 2 fan version
2 EVGA GTX 1060 SC 6GB, 1 fan version
Thanks for posting this Mike! I am going to be building my first rig in the next two weeks. I am going to be using this as a guide. 1060s still seem to be a good price given the wattage and hash rate.
Fantastic build!
Hi Mike,
With regards to mining software is there anything you would recommend for Nvidia cards? I started out using WinEth (the GUI miner for n00bs) which works but I keep reading that non-gui miners have better performance/configurability. My initial searches keep landing me in places that assume I want to compile stuff from scratch? Is there a pre-built windows binary installer you could recommend or do you think it’s better to go straight to linux?? :-O
Best regards,
Mark
I’d recommend checking this out: https://www.thegeekpub.com/11292/how-to-mine-ethereum/
I use Claymore Miner exclusively for mining Ethereum. Rock solid.
absolutely perfect ? – many thanks!
Hello, Can you tell me what the connectors are called and where you got them for the Fans?
You show yellow ones here, just can’t seem to find the things.
Thanks!
Just want to ask for the link in amazon maybe where you got the connectors adapters for the fans connections going to i guess psu or motherboard.
5
Love your rig dude. I am building mine soon and wanted to ask about your fan setup. How you power them? Do they connect to the power source or the motherboard?