Blog
BLOG: First run of the X-Carve & Slipping Belt Fix

[adinserter name=”TopOfPost”]It’s very obvious that CNC (computer numerical control) machines are going to change the landscape of woodworking and home workshops in a big way. Some people are going to think this is for the worse, some will think for the better. The truth is that times change and technology continues to transform the landscape of the home workshop. Seriously. Gone are the days of smelting iron in your back yard and hammering out your own tools in favor of a trip to your local home improvement center. CNC is just another natural progression of technology.
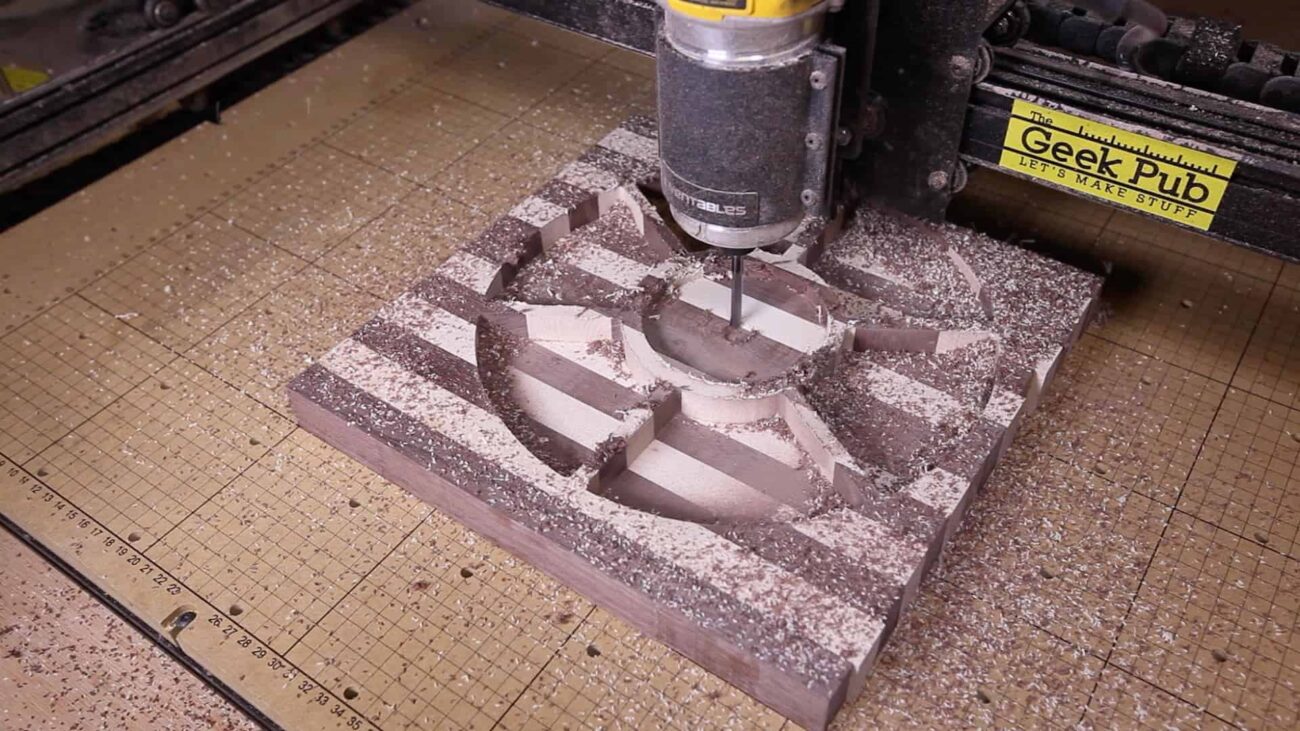
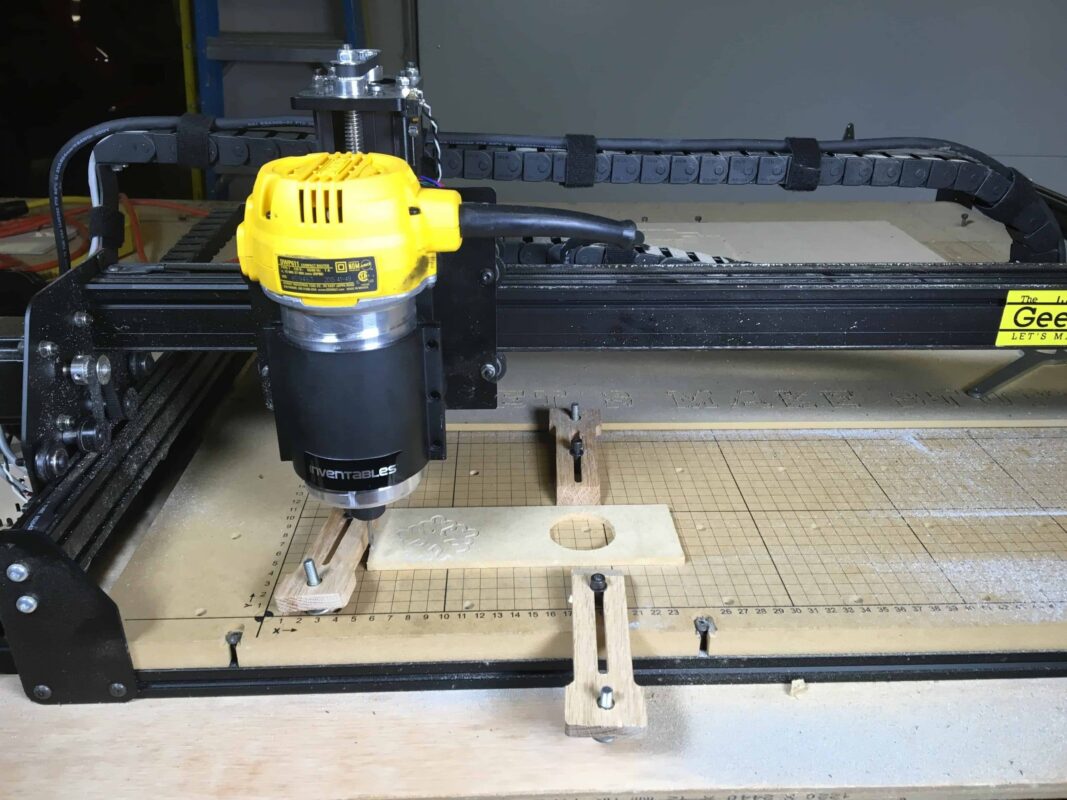
This weekend was my first chance to run the X-Carve after assembling it a few hours at a time over the previous week. It wasn’t a perfect start though, and it required some tinkering to get it right.
Testing and Fine Tuning the X-Carve
 I wanted a very simple project for the first run. Something that would not be a big loss if things went wrong, and something that I could cut relatively fast. I mean the last thing I’d want to do is ruin a brand new guitar if the X-Carve messed up and went off track cutting a line through the finished piece!
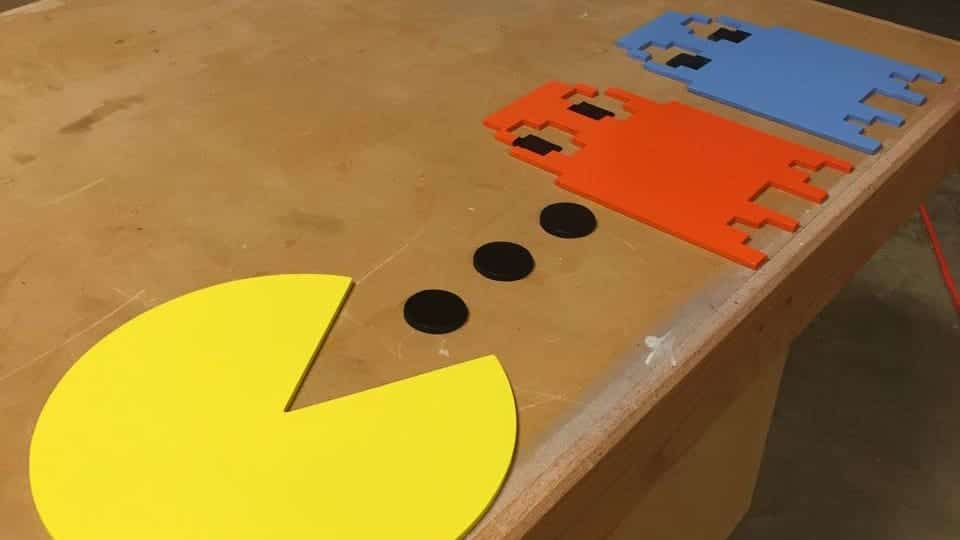
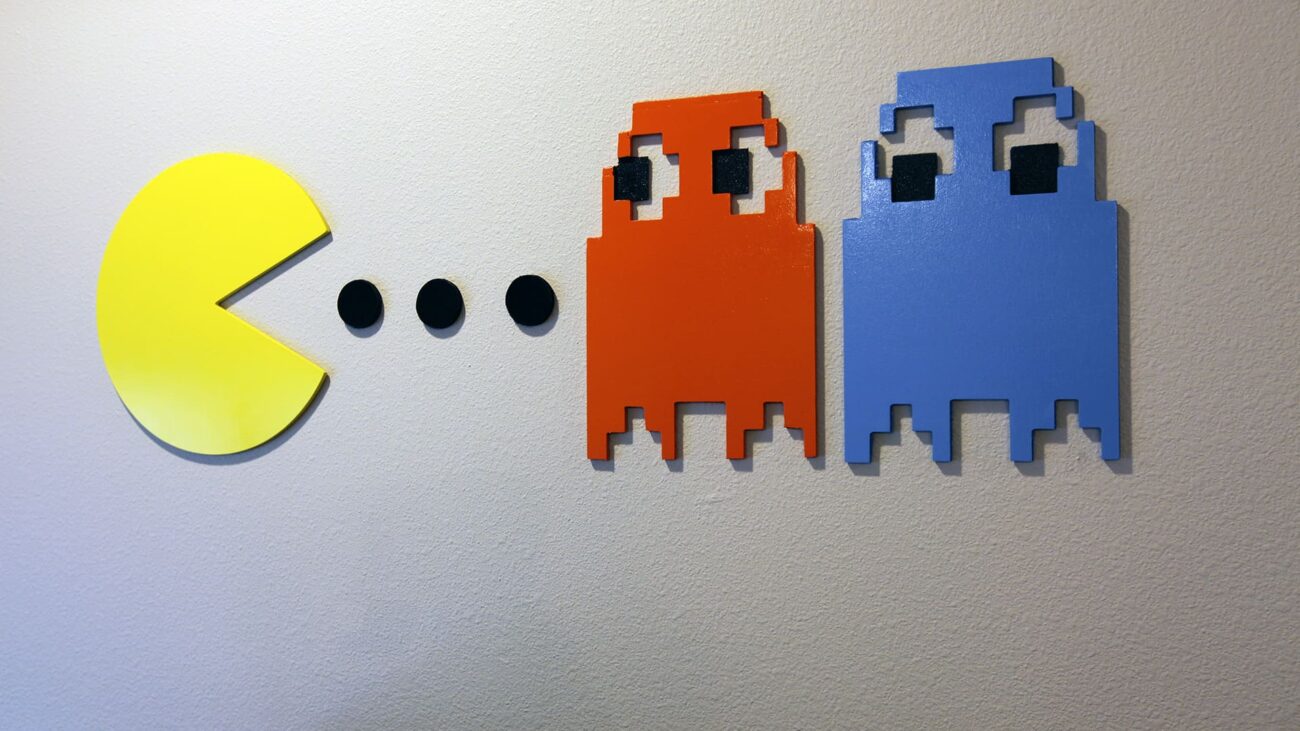
I landed on something I could make from thin plywood or MDF. The project is my Pac-Man wall art that was my weekend project video last weekend. The material I chose was 1/4 inch MDF. Something thin to cut, and super inexpensive. I would need to cut Pac-Man himself, two Ghosts, and three pellets. I also wanted to add a little flair to the project so I made the eyes of the ghosts sunken by 1/8 inch.
X-Carve Slipping Belts
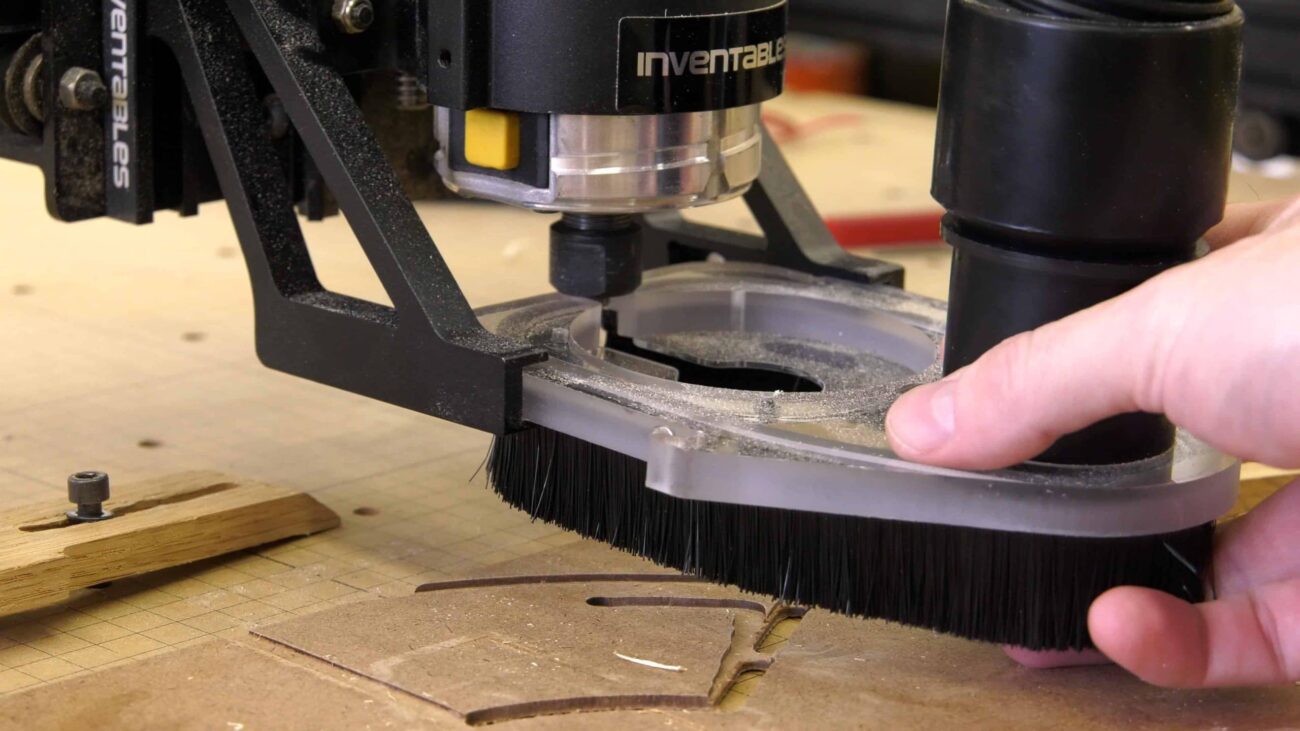
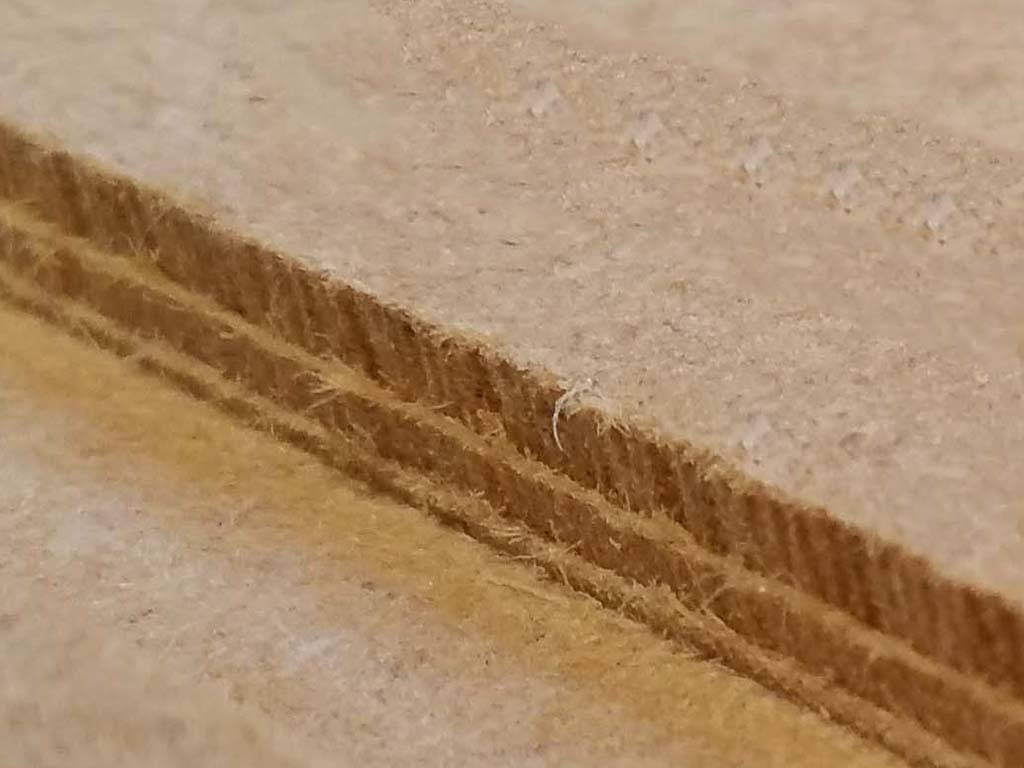
 My first run was a giant mess. The X-Carve went off track twice and cut a line straight through the middle of my first ghost. I tried slowing down the feed rate. Same problem. The I tried reducing the depth of cut for each pass by half. Same problem. Then I realized, it wasn’t the stepper motors struggling, it was the belt slipping. I had spent a lot of time adjusting the X-Carve before I used it the night before. How could this be? It appears the belts actually lost tension at their tie downs, as I could see the clamp marks had moved. Time to do some research so I hit the Inventables forums. I immediately found others with this same issue. I tried tightening them tighter, I tried zip-ties. None of it worked.
X-Carve Slipping Belt: The Fix
 I was running out of time when I saw a forum poster recommend heat shrinking the belts together at the ends. I tried that it worked like a champ! I was back in business. The heat-shrinking worked by locking the teeth together on the belt. The smaller heat shrink you can find the better it works as it puts more pressure on the teeth.
After apply the heat-shrink tubing to both ends of the belt I was able to put far more tension on the belts than previous attempts (I’m going to suggest to Inventables that they make a fix to this or add heat-shrink as the official method.). In fact, the next problem I encountered was that the x-carve was able to put more stress on the bit and I could hear it struggling to keep up. Some slowing of the feed rate and/or cutting depth seems to have solved that easily enough.
Initial Thoughts on the X-Carve
It’s very obvious that the X-Carve is going to be one of my new favorite tools to use. It’s certainly a little more trouble to get going than I would like to see, but once you get passed that it’s pretty smooth sailing. Inventables is up front that this is an open source machine that you can build and customize to your specifications. Anyone buying the machine should be aware of that.
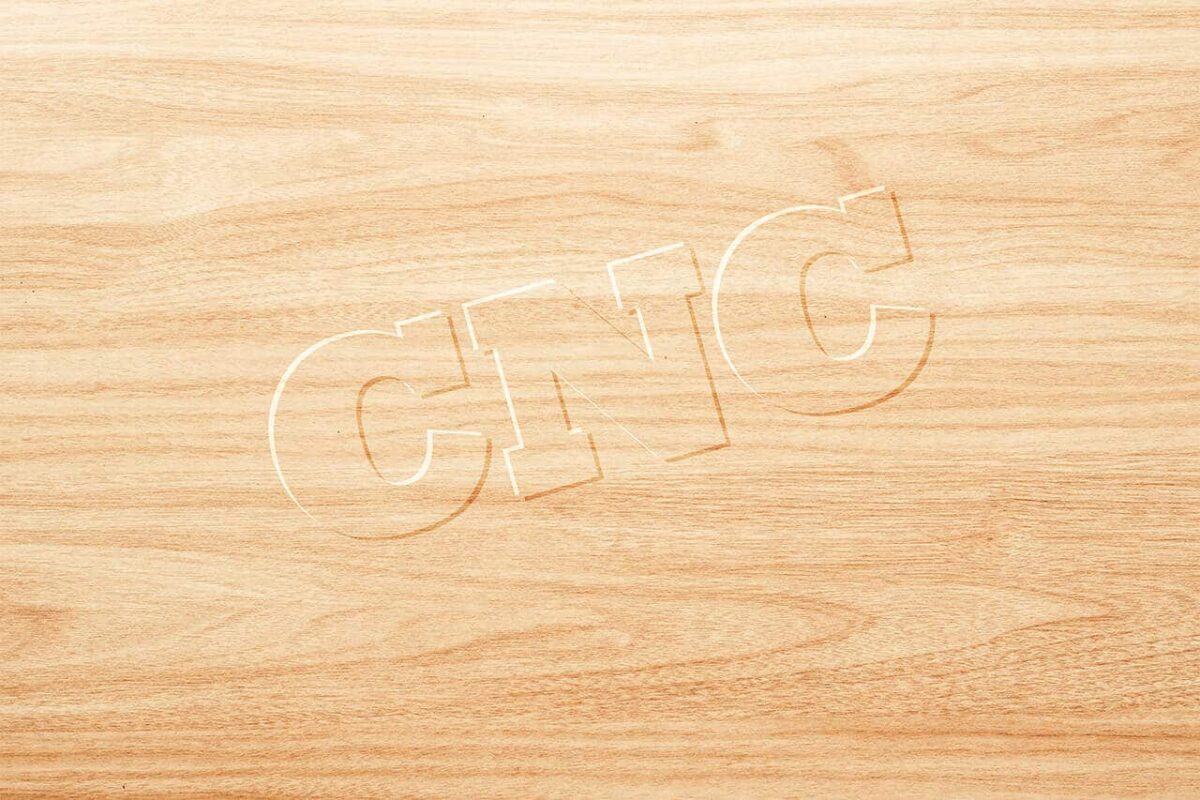
The versatility of the machine is what’s going to make it a super star of The Geek Pub workshop. I can already think of hundreds of uses. And once you get passed the idea that this is a woodworking only tool and realize that you can cut plastics, and non-ferrous metals the list of possibilities get even larger. You can cut sign letters. You can cut and etch printed circuit boards (PCBs). You can cut replacement latches and parts for repair work for other tools (from aluminum sheets or stock found at any home improvement center). You can cut acrylic sheeting to exact shapes and sizes.
Unless something changes like reliability or future support, the X-Carve is here to stay in my shop.
And yes. My Pac-Man wall art turned out awesome! Check out the video!


1
5